
To start drawing from observation, set one simple object such as a mug or apple under a single light source, grab a pencil and sketchbook, and draw only what you see in front of you, comparing shapes and proportions as you go. Observational drawing simply means drawing what is actually there, not what your brain assumes is there, and anyone can learn it with structured practice.
I teach adults in my online academy, It’s Easy To Draw, and these are the same steps I use with my beginner and intermediate students every day. Here is a moment I see all the time in my classroom: a student sets a coffee mug on the table, picks up a pencil, and draws a perfect little cylinder with a cute curved handle. Then I ask them to look at the mug again. Really look. The rim is an ellipse, not a straight line. The handle connects at two different heights. The shadow pools to one side. That gap between the mug they “know” and the mug that is actually sitting on the paper in front of them is exactly what observational drawing closes. You can practice at a kitchen table or in any quiet corner of your home with a mug, an apple, or your glasses as first subjects.
What Is Observational Drawing, Really?
Observational drawing is the act of careful observation translated into marks on paper. You look at a real subject in your environment, you study its shapes, proportions, textures, shadows, and lighting, and you record what you actually see. It is not drawing from imagination, and it is not copying a stylized cartoon or a coloring book image. It is the foundational bedrock of visual art, and it underpins everything from still life to figure drawing, portraiture, landscapes, and urban sketching.
Here is a concrete example. Imagine drawing the plant on your window sill. Instead of sketching a generic leaf shape from memory, you notice that one leaf tilts sharply to the left, another curls under, and the cast shadow falls at an angle you would never have guessed. That kind of paying attention is what separates an accurate drawing from a symbol. Art schools and portfolio reviewers look for this confident observational work far more than polished fan art, because it shows that the artist can truly see.
I use still life, not memory or reference-free sketching, to train the eye, because an object that sits still lets you check your drawing against it again and again. The practice of observational drawing encourages patience and requires time and concentration, but that slow process is where the real learning happens. It develops visual awareness, essential for all drawing skills. Understanding real life forms enhances your ability to create meaningful artwork, even from imagination. And over time, artists become more aware of their surroundings through observational drawing in ways that change how they experience the world.
How Do You Learn to See Shapes and Proportions Instead of Symbols?
The biggest hurdle for adults is what art teachers call “symbol drawing.” Your brain stores a shorthand for every object: eyes are almonds, noses are triangles, mugs are cylinders with a loop on the side. Improving observational drawing is less about moving the hand faster and more about retraining the brain to bypass those mental symbols. Once you learn to see the actual form in front of you, your drawings improve dramatically.
Start by simplifying complex objects into basic shapes. Look at a coffee pot and find the cylinder of the body, the sphere of the knob, the rectangle of the handle. Identifying basic shapes simplifies complex subjects for drawing and aids accuracy from the very first line. Proportion refers to understanding the size and relationship of different parts of an object. To check those relationships, try sighting: hold your pencil at arm’s length, close one eye, and use the tip and your thumb to measure how tall something is compared to how wide it is. Sighting involves using a pencil to measure proportions, and it catches errors your eyes alone will miss. Try negative space drawing too, where you focus on the shapes of the empty air around an object instead of the object itself. And blind contour drawing, where you draw the contour lines of a subject without looking at your paper, forces attention to subtle curves and improves hand eye coordination.
Here is a mini assignment: in a single session, draw three kitchen objects only as overlapping shapes. Ignore labels, textures, and details. Just capture the big forms. The most common mistake I see is students rushing to details like handles, lettering, and textures before the big shapes are right. I have them hold off on detail until the shapes pass a sighting check. That constant comparison, this is twice as tall, this angle leans more, this shape overlaps that one, is the core habit of good observational drawing.
What Observation Exercises Can You Do This Week?
Think of this as a simple workout plan for one week of practice, designed for busy adults who have maybe 20 minutes a day. Keep each study short and draw the same subject more than once. My students improve faster from several quick studies of one object than from one overworked drawing. This builds muscle memory, fosters creative discipline through consistent sketchbook practice, and helps close the gap between seeing and understanding. Drawing involves patience and careful observation of details, but short sessions keep the process enjoyable.
Clutter corner still life. Find a messy area of your home, a desk with pens, tape, and a coffee mug, and draw the entire subject as a tangle of overlapping shapes. Do not clean it up. The clutter forces you to observe how objects relate to each other. Grid drawing helps break complex images into manageable sections, so if the scene feels overwhelming, lightly divide your paper into a grid and work one square at a time.
Time and light study. Draw the same object twice on the same day, once in the morning and once in late afternoon. Notice how the shadow shifts, how the light source changes the sense of depth and form. This trains your eye to see value shifts that most people walk right past.
Interior corner perspective. Pick a hallway or a bookshelf against a wall and sketch the lines receding into space. You will start to see how two point perspective and the vanishing point create the illusion of depth on flat paper. Linear perspective uses vanishing points to create depth, and even a rough sketch of a hallway corner teaches this concept better than any diagram.
Hands and objects. Draw your own hand holding a pencil or your favorite mug. This is a gentle bridge toward figure drawing and a great way to explore line quality and contour lines in a subject you always have available.
How Do You Apply Observation to Figure Drawing?
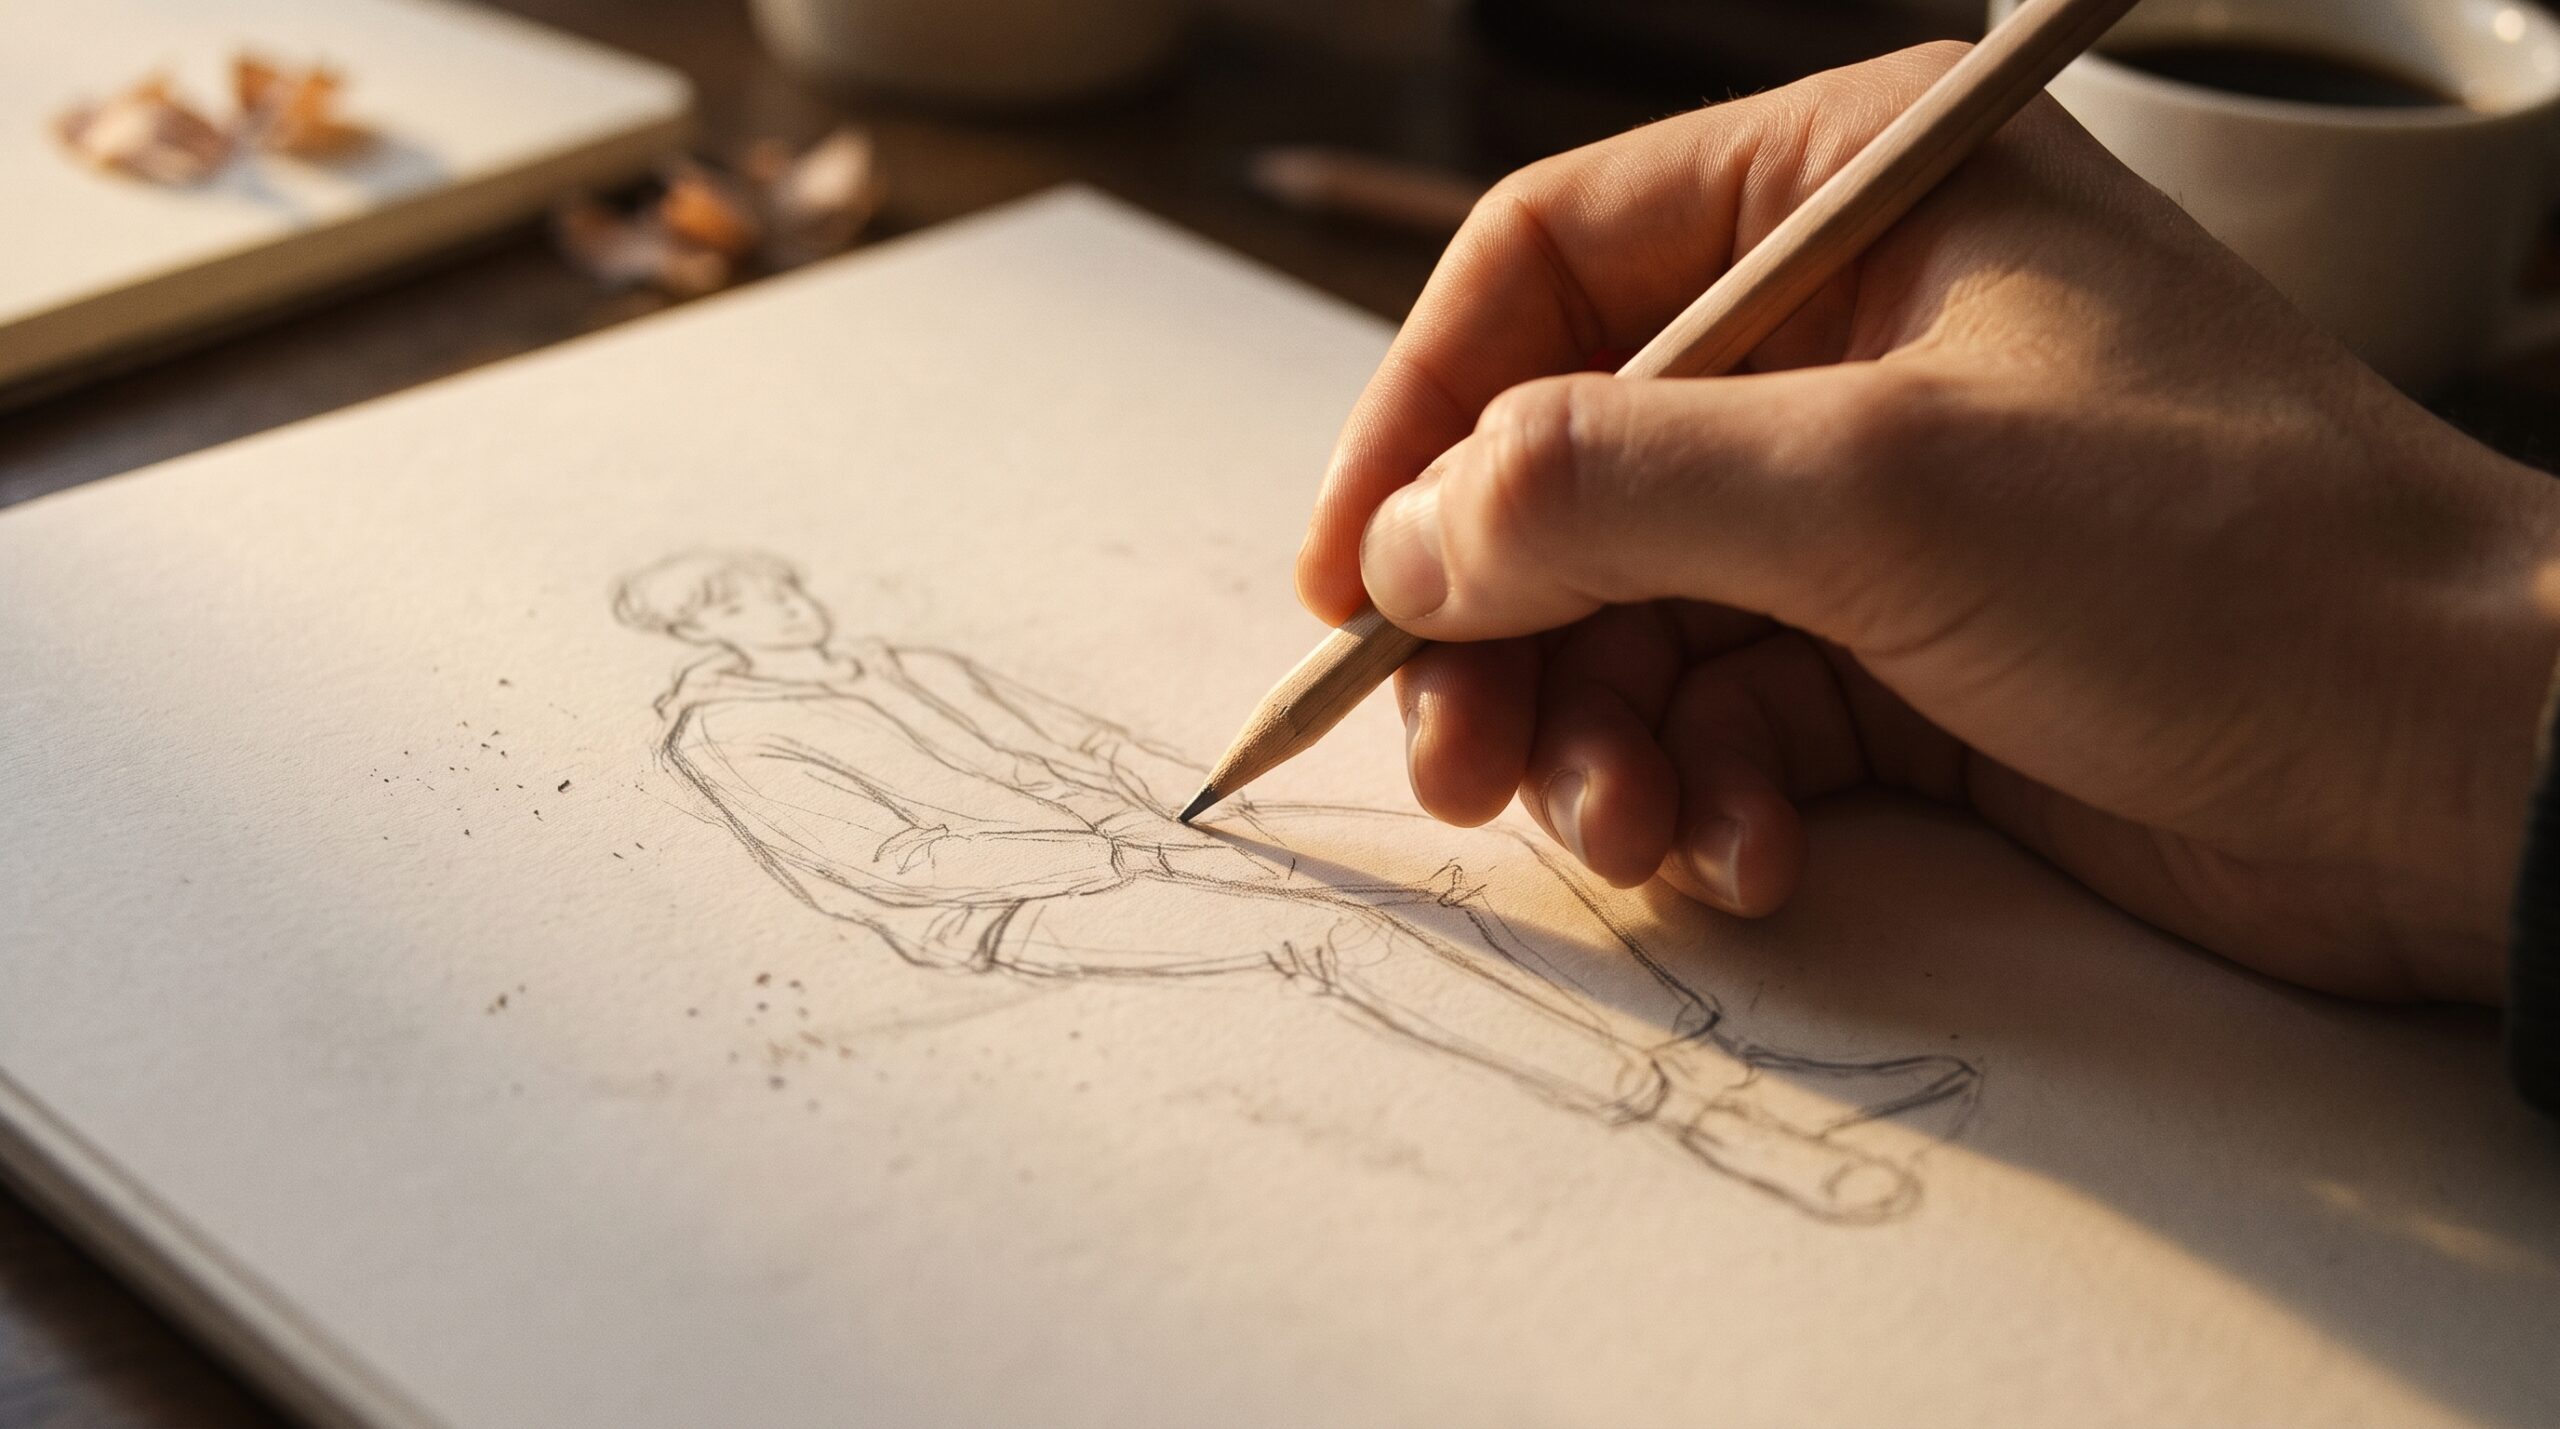
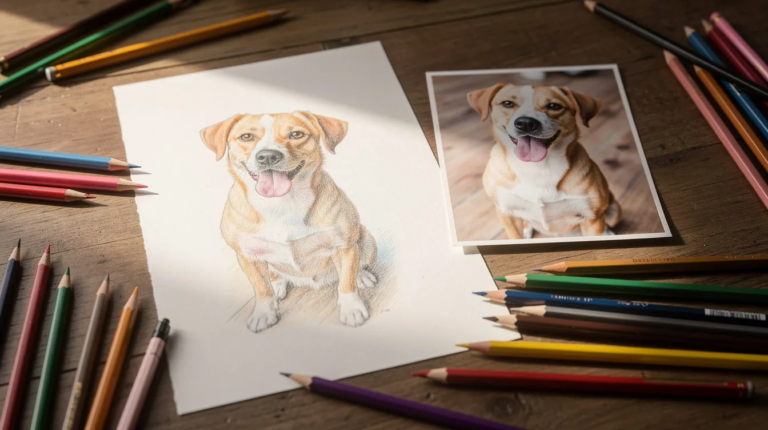
Figure drawing is just observational drawing applied to the human body. It is not a mystical skill reserved for talented people. Start with small parts of the figure from life or photo references: your own hand, your foot in a shoe, a person sitting in a chair across the room. Photos can supplement life drawing when a live model is not available, though keep in mind that photos flatten perspective and hide subtle value shifts that real life shows.
Try a 10 minute gesture drawing exercise. Set a timer on your phone, ask a friend or family member to hold a relaxed seated pose, and capture the overall posture before any detail. Look for the tilt of the shoulders and hips, the line of action running through the pose, and the relative size of the head to the torso. In my courses I blend human anatomy knowledge and direct observation so students can eventually draw figures both from life and from imagination. Students often start with the face and run out of steam, so I have them begin with the gesture and the big angles of the pose first. Observational drawing enhances visual perception and hand eye coordination, and figure work is where those skills really show.
How Do You Build Value, Light, and Form in Observational Drawings?
Outlining a shape is a start, but showing three dimensional form requires value, the range of light and dark across a surface. Shading describes how light and shadows create depth and dimension on a flat piece of paper. Perspective involves learning how objects appear to change depending on distance and viewing angle, and value is what makes those changes feel real.
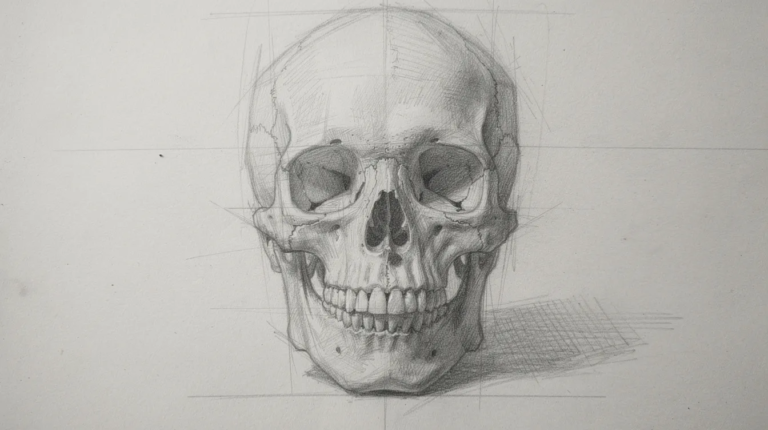
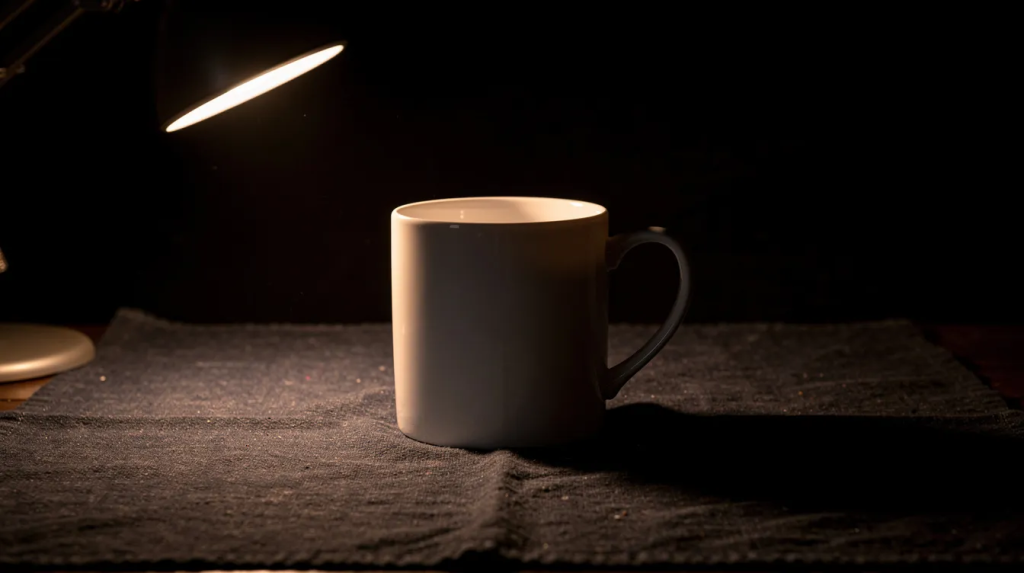
Set up a white mug on a dark cloth under a desk lamp. Look for five zones: the highlight where light hits directly, the mid tone, the core shadow on the turning form, the cast shadow on the cloth, and the reflected light bouncing back into the shadow side. Regular pencils teach students to control pressure for shading, so use hatching, cross-hatching, or controlled pencil pressure rather than heavy smudging. Draw a grayscale value scale from light to dark on the side of your paper, then apply those values to the mug. Students often press hard too early and lose their lightest values. I have them build shading in light layers and keep the paper white for the highlight. Once the mug feels comfortable, a more complex form like a skull rewards the same value and light observation with richer results.
For those of you who enjoy coloring with colored pencils, strong value skills make color work more realistic and luminous. Every concept here transfers directly.
How Do You Set Up a Home Art Room for Observational Drawing?
You do not need a dedicated studio. A small corner of a living room or bedroom works perfectly as your art room. Clear a table, set up an adjustable lamp with a cool or neutral bulb, and keep your tools within reach: a few graphite pencils (HB, 2B, 4B), an eraser, a sharpener, and a sketchbook. Arrange simple still lifes using everyday objects, fruit, jars, scissors, and a piece of folded fabric for a background.
Keep motivation high by leaving an in-progress drawing visible so it pulls you back. Schedule short daily sessions, even 15 minutes, and date every page to track your progress over weeks. The It’s Easy To Draw membership, Reddit group, and Discord space are full of adults sharing observational drawings and getting feedback. That sense of community makes the effort feel less solitary and more fun.
Next Steps: Deepening Your Practice and Finding More Posts
Steady observational drawing practice improves all other drawing skills, from figure drawing to imaginative work to colored pencil projects. Choose one exercise from this article to do today and one to repeat every day for a week. In my structured online courses, like The Fundamentals Of Drawing, we build these skills step by step with demonstrations, feedback, and downloadable practice sheets. Explore more posts and lessons on drawing fundamentals, shading, and colored pencil techniques within It’s Easy To Draw. For the bigger picture, read our guide to realism in drawing. It is never too late to begin. Every young artist was once a beginner, and so was every experienced one. Pick up your pencil, set something on the table, and draw what you actually see.
FAQ
What is drawing from observation? Drawing from observation simply means drawing a real subject you can see in front of you, translating what your eyes notice into marks on paper rather than relying on memory or imagination.
How do you practice drawing from observation as a beginner? Start with simple still life objects like a mug or a piece of fruit under one light source. Focus on basic shapes first, and keep sessions short, 15 to 20 minutes daily.
What is the difference between drawing from observation and drawing from a photo? Real life gives you true depth, accurate color, and natural light, while photos flatten perspective and distort lighting. Life drawing trains your eye more completely, though photos are a useful reference when a live subject is not available.
How long does it take to get good at drawing from observation? With regular short practice, most of my students see noticeable improvement in proportion and confidence within four to six weeks. Progress compounds, so the key ideas are consistency and patience, not marathon sessions.
What should I draw first when learning to draw from observation? Everyday objects work best: a mug, an apple, a pair of glasses, or a small group of kitchen items under one light source. These are forgiving subjects that sit still and let you compare your image to the real thing.
Do you need to be talented to draw what you see? No. Observational drawing is a trainable skill built on comparing shapes, angles, and values. Importantly, it is a process of observing and correcting, not a gift you either have or do not. With the right knowledge, tools, and practice, anyone can create accurate drawings from life.