
Why Learn How to Draw a Skull?
The human skull is one of the most rewarding and educational subjects you can draw. It’s the architecture underneath every face, every portrait, every character you’ll ever create. Whether you want to master realism or simply understand why a jaw sits where it does, this is where you start.
Here’s something fun: drawing for 45 minutes lowers cortisol levels significantly, and engaging in the process creates a flow state for relaxation. Creative activities can serve as physiological interventions for stress, so this isn’t just an art lesson, it’s genuinely good for you. As far back as the 1800s, Walter Smith advocated for mandatory drawing education because he understood its power. And author Freddie Levin later created the popular 1 2 3 Draw paperback books series proving that step-by-step guidance makes complex ideas accessible for people of all ages, from children and kids to adults.
This guide is a practical step drawing roadmap you can follow today with pencil and paper in about 45–60 minutes. We’ll walk through the Drawing Pyramid from our course The Fundamentals of Drawing: sketching, shaping, shading, then detail, applying each level directly to the skull.
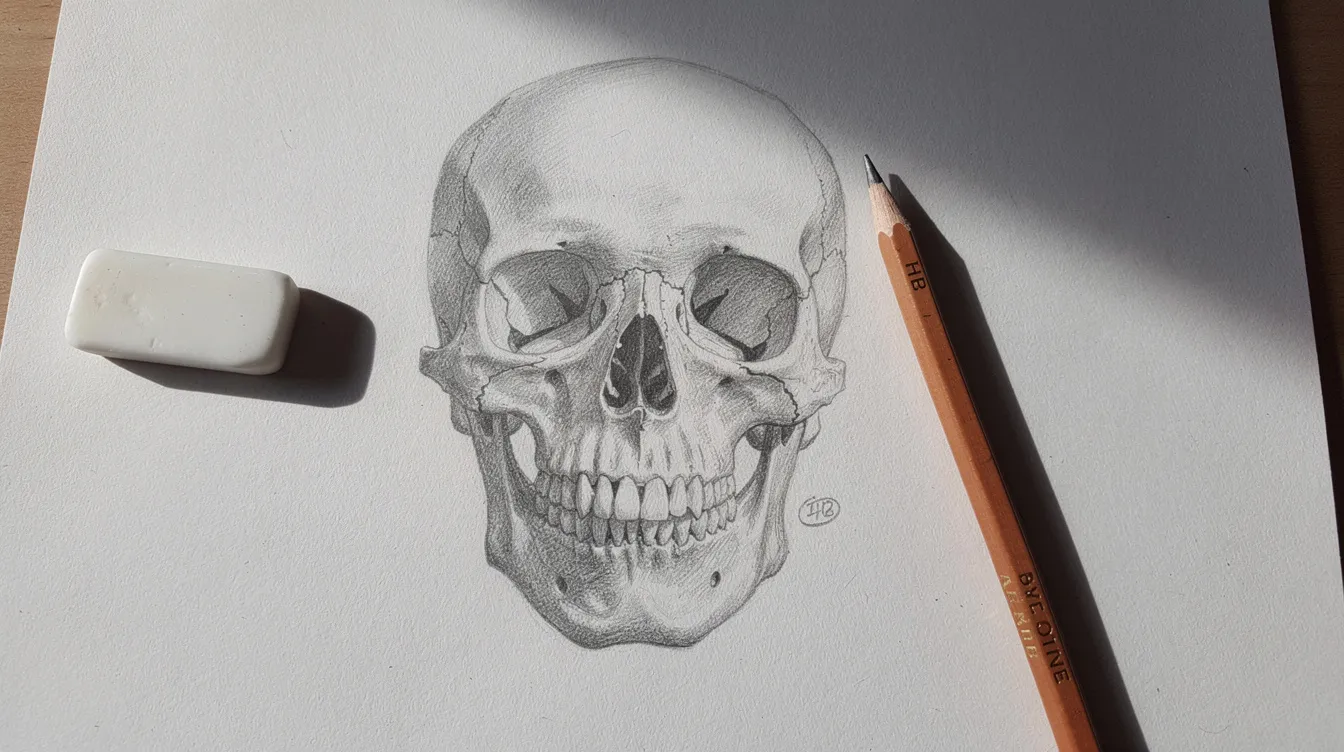
The Drawing Pyramid Applied to a Skull
The Drawing Pyramid is the backbone of how we teach at It’s Easy To Draw Academy. It removes the guesswork and gives you a clear way forward:
- Sketching – Loose basic shapes and gesture capturing the skull’s volume. This is the most important step we proceed with, because a strong sketch solves most problems before you ever pick up a darker pencil.
- Shaping – Refining those shapes into recognizable anatomical structures.
- Shading – Showing light, shadow, and three-dimensional form.
- Detail – Fine textures, sutures, and finishing accents.
Drawing becomes easier by following a process instead of aiming for perfection immediately. Structured drawing methods simplify complex tasks into manageable steps, and step-by-step drawing methods can lower anxiety and boost confidence. Structured drawing also reduces anxiety by providing predictability. You always know what stage you’re in, which helps overcome “blank page syndrome” effectively. This is the same thought behind every lesson in our Drawing for Complete Beginners guide.
Step 1 – Sketching the Skull with Basic Volumes and Symmetry
This is the longest step for a reason. It’s the foundation everything else stands on. Beginners improve fastest by building skills in observation and shapes, so let’s discover how to think volumetrically.
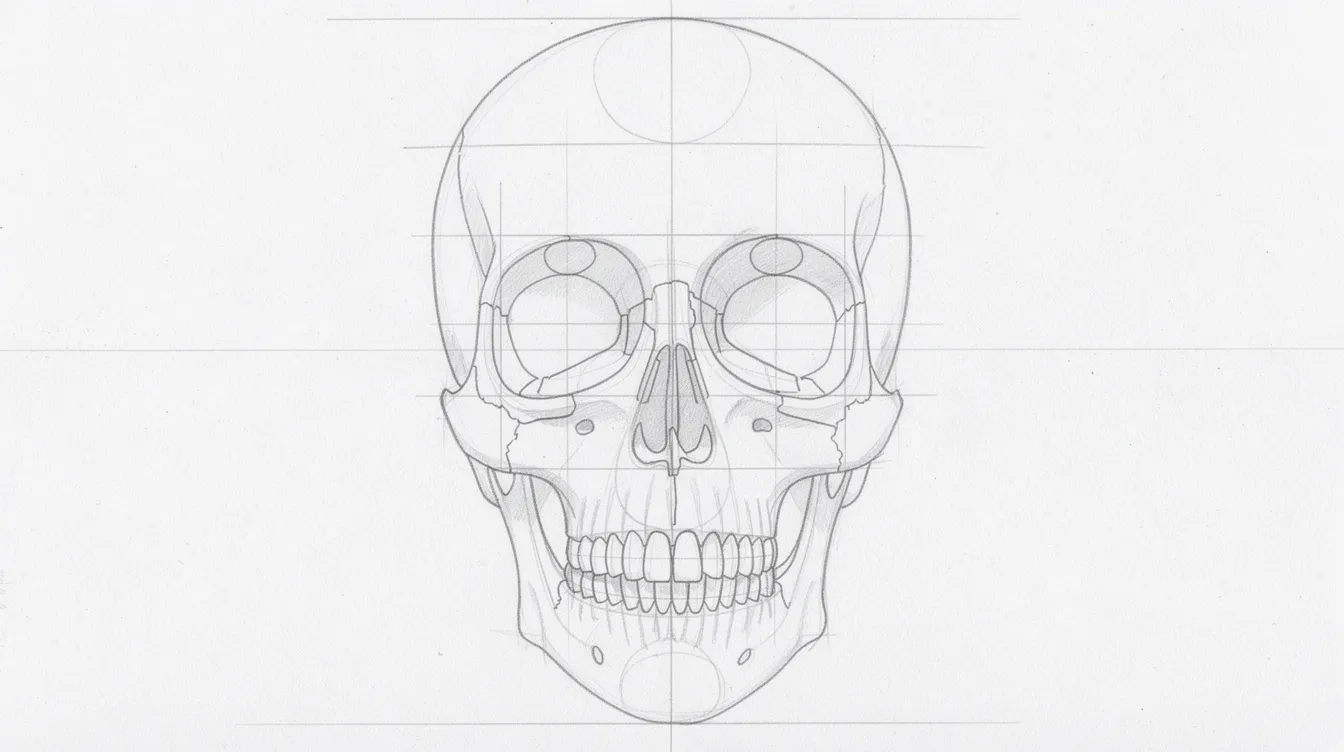
Set up your page. Use light construction lines (HB pencil) to ease erasing mistakes. Give yourself room-draw at least 15–20 cm tall. Start with a circle for the cranium. Complex objects can be simplified into basic geometric shapes, and the skull is no exception: a slightly flattened sphere for the braincase, a blocky wedge underneath for the jaw, and cube-like masses for the cheekbones.
Establish symmetry. Draw a vertical center line and a horizontal eye line across your circle. The eye sockets sit roughly at the mid-height of the total skull, and the width between outer cheekbones is approximately two-thirds of the skull’s height. Establish proportions and placement before refining details. This saves enormous time later.
Place landmarks loosely. Sketch eye sockets as rounded rectangles, the nasal opening as an inverted heart shape centered on your axis, and a shallow “U” for the dental arch along the jaw. The mouth area falls about one, quarter of the distance from nose base to chin.
Train your eyes to see shapes rather than labels to improve drawing accuracy. As Dr. Betty Edwards noted, people often draw symbols instead of reality. Incorporate negative space around the skull to spot proportion errors. Flip your sketch in a mirror or snap a photo to catch asymmetry early. Don’t miss this step. Fixing things now is far easier than correcting them under layers of shading.
Step 2 – Shaping: Turning Basic Shapes into a Recognizable Skull
Now we refine. Darken only the correct lines from your sketch. Erase or lighten everything else so your drawing stays clean. Always use references instead of relying solely on memory when learning new forms, a photograph of a real skull is ideal.
Carve into the eye sockets, showing their rim thickness and slightly irregular contour. Shape the zygomatic arches as planes that angle outward, then curve back toward the ear area, like a bird’s wing in miniature, with a kind of sweeping tail that disappears behind the cranium. Adjust the nasal cavity from a simple triangle to a more accurate inverted heart with a central nasal spine.
For the jaw, define the mandibular angle as a clear corner, then add the curving body that meets the chin. Keep both sides symmetrical around your center line. Block teeth in as one top row and one bottom row first, then lightly divide them with vertical lines. Remember, mistakes are part of the learning process in drawing. This stage is about review and correction, not perfection.
Step 3 – Shading: Light, Shadow, and the Volume of the Skull
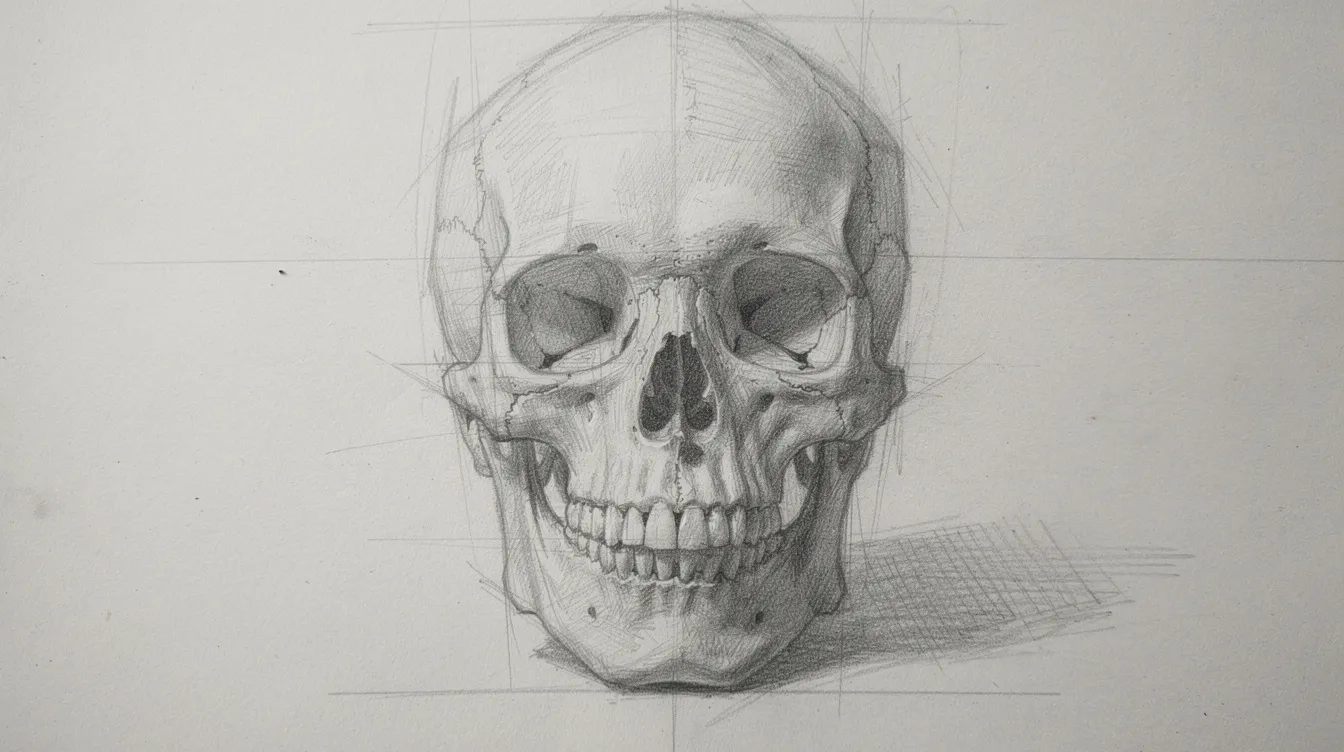
With strong sketching and shaping done, shading becomes logical. Pick a clear light direction (top-left works well) and mark a tiny arrow on your page. Adding shading and shadows can suggest depth in a drawing, turning flat lines into something that feels real.
Block in your darkest areas first: deep eye sockets, the nasal cavity interior, and the space between teeth. Then build mid-tones across the cranium and jaw using a 2B pencil with light pressure. Use strokes that follow the form, curving on rounded surfaces, planar on flat facets like the cheekbone ridge.
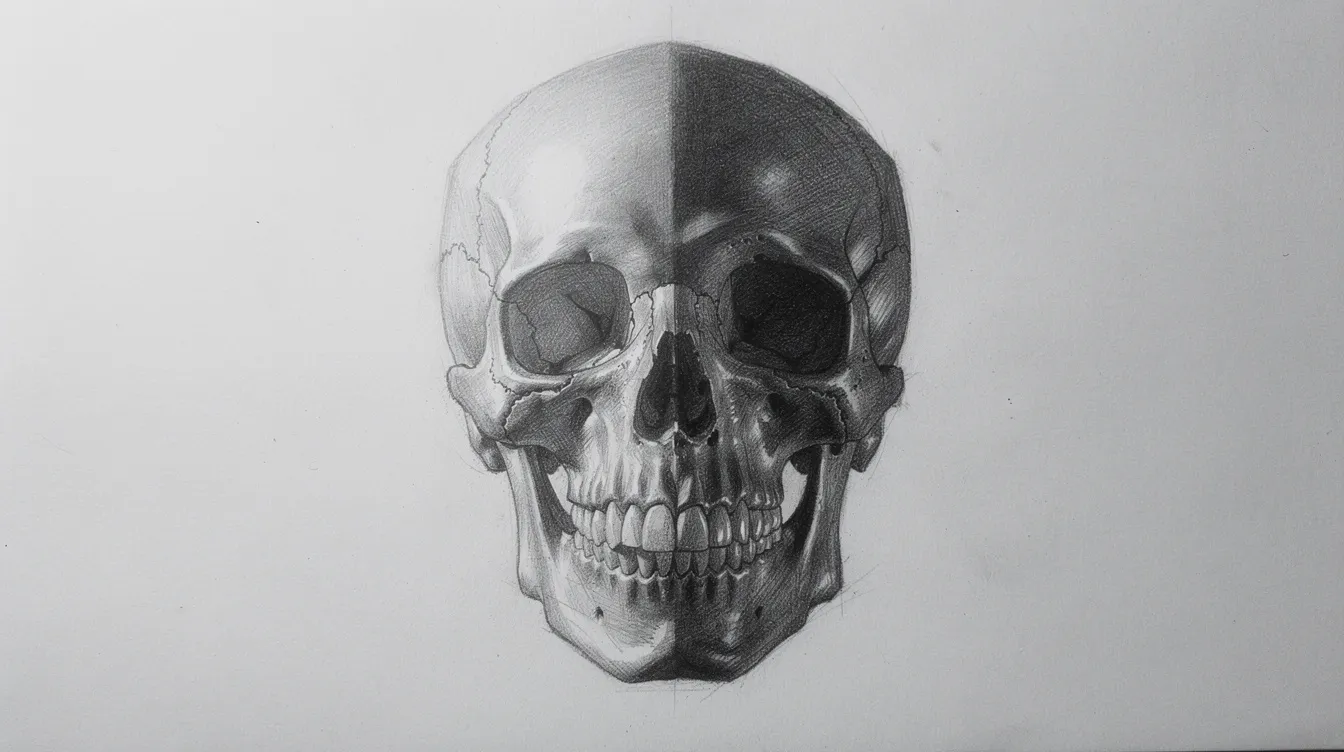
Watch for reflected light: a thin, lighter edge along shadow sides where light bounces back from the environment. This is what separates a good skull from a great one. For a deeper understanding of how realism in drawing works, explore our learning centerthere are lots of ideas and video lessons on the subject across different styles.
Step 4 – Details, Textures, and Finishing Touches
Details come at the end and should support the big forms, not compete with them. Here’s what to add:
- Sutures – Draw these as irregular, broken lines along the cranium. Keep them subtle; they’re texture, not structure.
- Teeth separations – Refine with darker spaces between teeth, but avoid cartoon-black gaps. Each tooth has a slightly different quantity of visible surface.
- Surface wear – Tiny notches and chips on bone edges suggest age and realism.
Sharpen important contours (orbital rims, cheekbone silhouette) and soften less critical edges so the viewer’s eye finds the focal areas naturally. Step back frequently. If the skull reads clearly from arm’s length, you’re done-stop before overworking.
Next Steps: From One Skull to Confident Anatomy Drawing
You just completed a repeatable process that applies to far more than skulls. The same volumetric method works for animals, a face, or any form you can imagine. Try the skull from a ¾ view or side view. Log your practice-the quantity of sessions matters more than any single drawing. Practice regularly to build control and confidence in drawing skills, and share your results with fellow students.
Drawing fosters connection across generations in social settings, so teach a friend or create alongside young artists in your life. It’s easy, it’s fun, and it makes a long-lasting difference in your creativity. Later, explore colored pencil techniques to add warm and cool bone tones. For structured drawing lessons across every subject, from drawing faces to best drawing exercises, join the It’s Easy To Draw Academy community. You have nothing to lose but that blank page staring back at you. Grab your pencil and learn something new today.