
Drawing for Complete Beginners: A Friendly Roadmap to Start Drawing Today
Start drawing today, even if you've never picked up a pencil. A friendly roadmap to your first sketches, with tools, mindset, and exercises.
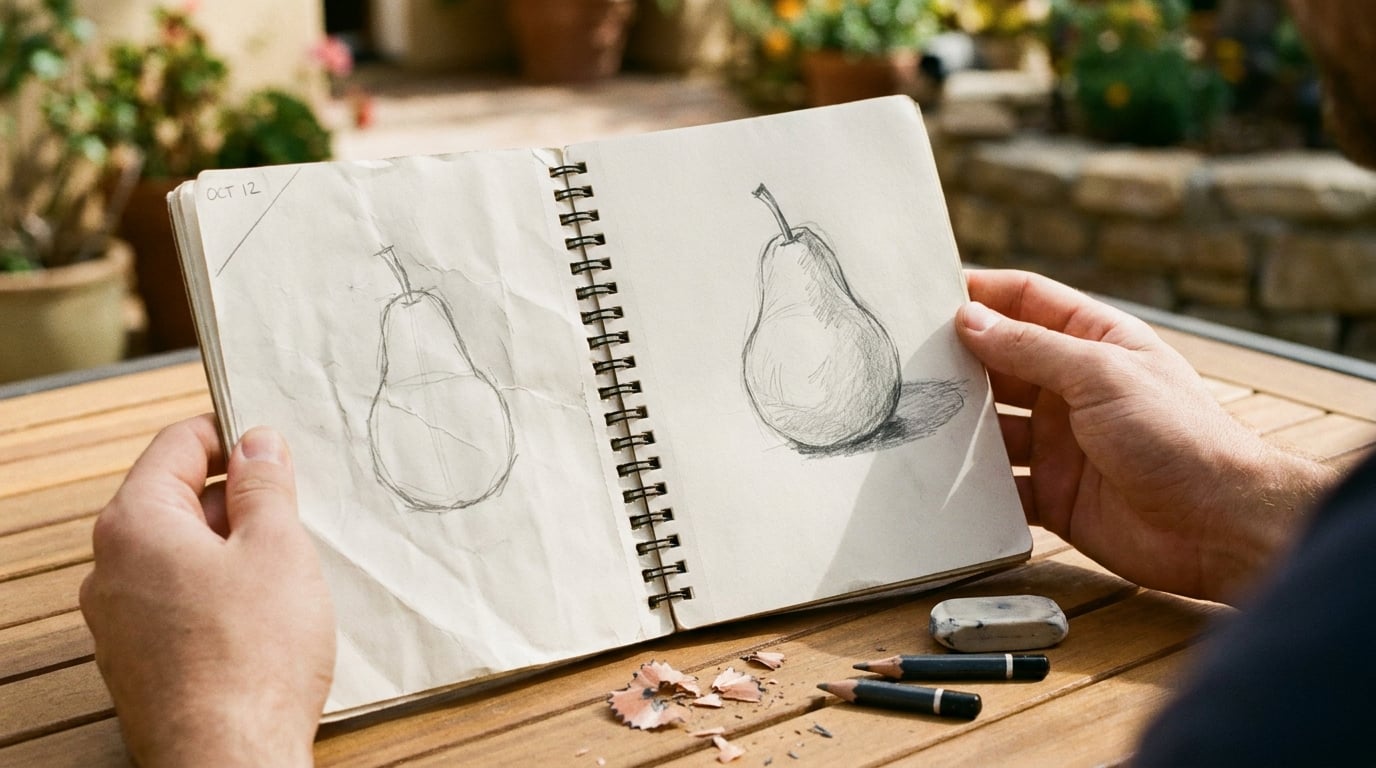
You found this page because something inside you wants to learn how to draw. Maybe you’ve told yourself all your life that you simply weren’t born with artistic talent, or perhaps you tried an art class once and felt discouraged. Either way, you’re exactly who this guide is written for.
Who This Beginner Drawing Guide Is For
This roadmap speaks directly to the complete beginner who believes drawing is some mystical gift reserved for others. Spoiler: it’s not. Drawing is a collection of basic skills that anyone can develop with the right approach. You don’t need fancy tools or an expensive course to start learning today.
Welcome to It’s Easy To Draw, an online art academy focused on step-by-step drawing fundamentals for adults. Our founder, artist Lisa Mitrokhin, has guided thousands of hobbyists from “I can’t even draw a stick figure” to confident sketchers who actually enjoy the process.
Here’s the promise: by the end of this page, you’ll know exactly how to start drawing today and have a clear idea of what to practice for the next 30 days. Let’s begin.
Drop the “No Artistic Talent” Myth
Picture someone in their 40s deciding to grab a pencil and sketch for the first time since grade school. They hesitate, thinking it’s “too late” or that they missed some critical window of creativity. This scene plays out constantly, and the belief behind it is simply false.
Drawing is a trainable skill set built from observation, hand-eye coordination, and shape recognition. Not a magical gift you either have or don’t. Consider the difference: an untrained person tries to copy a photo of a mug perfectly and feels crushed when it looks wrong. A trained beginner breaks that same mug into a cylinder plus an oval handle, sketches quick light lines, and refines from there. The second approach works because it relies on practiced basics rather than hoping for talent to appear.
Mistakes are part of the process and worth embracing. Shaky lines and uneven circles are normal at first. They’re evidence of learning, not failure.
Commit to a small daily practice window of 10 to 15 minutes before judging your abilities. That’s all it takes to begin rewiring how you see the world.
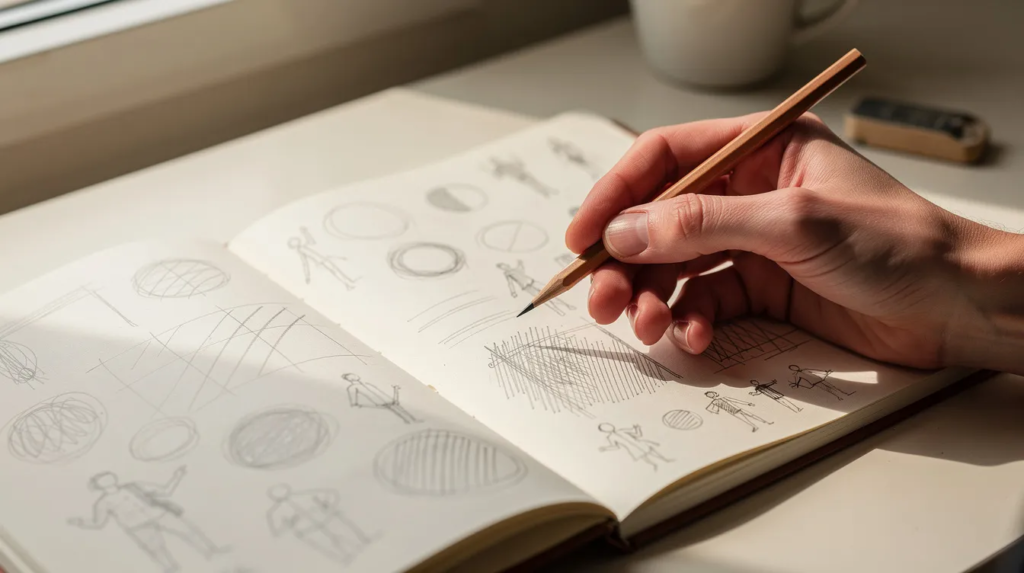
Your First Drawing Session: Start Drawing in 15 Minutes
Finish this article and then do what’s about to follow. Seriously. You’ll learn more from 15 minutes of action than an hour of theory.
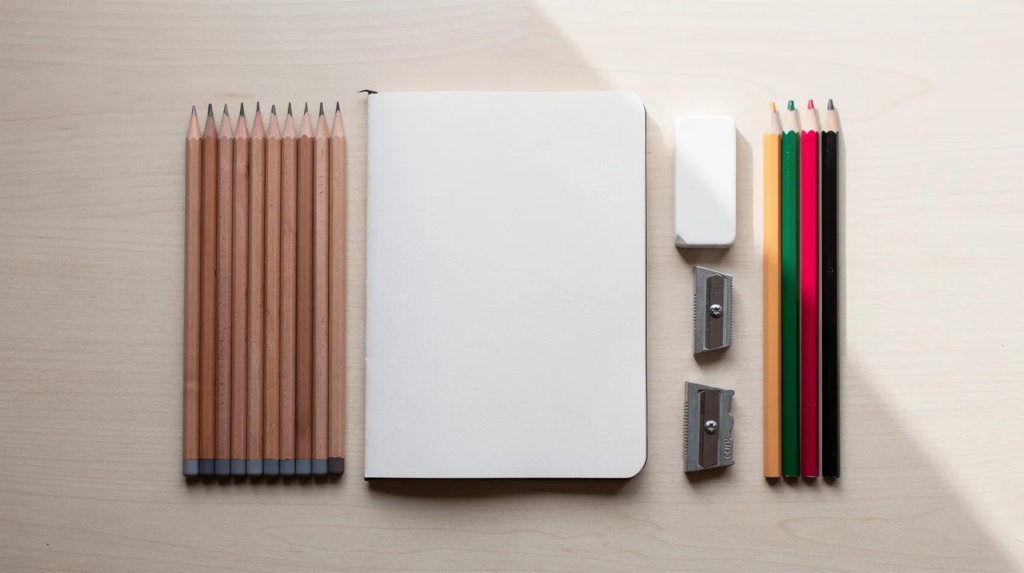
Gather these supplies:
- One HB pencil (balanced, good for everything)
- One soft pencil like 2B or 4B (for darker marks)
- A kneaded eraser (it can be molded to lift fine details without damaging the paper)
- Any sketch pad or printer paper
If you don’t have these, order them or run out to an art supply store. If you can’t do that right now, don’t let it hold you back. Grab what you have and get started. You can pick up the rest later. For a complete beginner toolkit including paper weight recommendations and brand suggestions, see the tools section in Foundation in Drawing.
Your 15-minute plan:
| Time | Activity |
|---|---|
| 0-5 min | Warm-up lines and curves |
| 5-10 min | Draw basic shapes (circles, rectangles, triangles) |
| 10-15 min | Sketch one real object (mug, apple, spoon) |
Use light lines at first, and press gently so corrections are easy. In the final two minutes, choose your best lines and darken them with more confident pressure. Take a phone photo of this page as your “Day 1” reference to compare with future drawings.
Warm-Up: Training Your Hand and Eye
Warming up before drawing loosens your arm and wrist so they can make smooth, controlled marks. Think of it like stretching before a run.
For your first session, try this simple routine:
- Draw 10 rows of horizontal lines across your page
- Draw 10 rows of vertical lines
- Fill half a page with overlapping circles and ellipses
- Practice curves of different sizes, using your whole arm rather than just your wrist
Draw quickly and loosely. Focus on movement, not accuracy. This builds confidence and prevents the stiffness that comes from trying to be perfect on every stroke.
For a complete eight-exercise routine that progressively builds line quality, ellipses, gesture, value, and more, see Best Drawing Exercises to Improve Your Skills.
Seeing the World as Basic Shapes
Here’s the core idea that changes everything: almost anything you want to draw can be reduced to basic shapes. Circles, ovals, boxes, cylinders, and triangles.
Real-world examples:
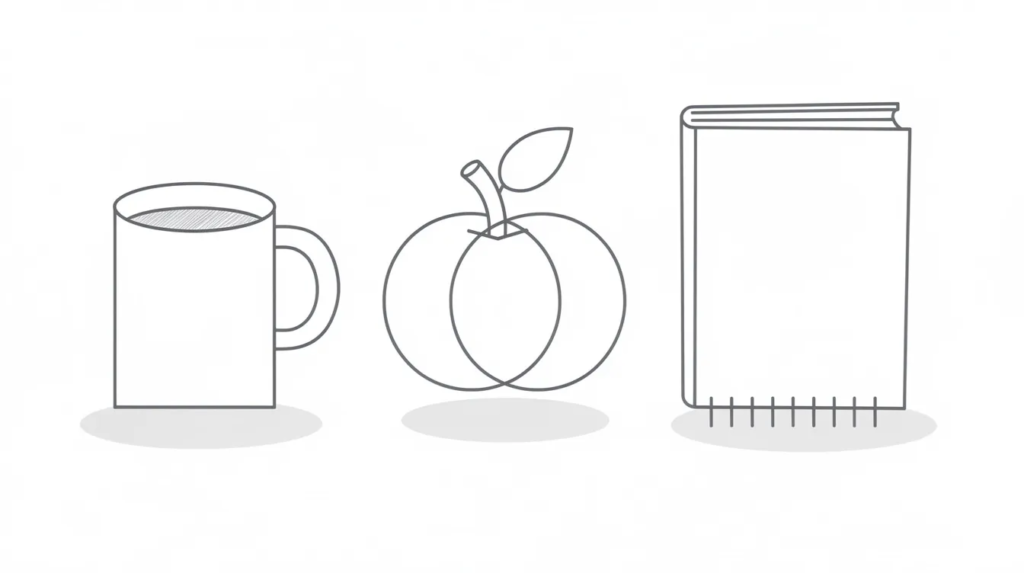
- Coffee mug = cylinder + oval rim + small rectangle handle
- Chair = boxes stacked and connected
- Cat’s head = circle + two triangle ears
- Apple = circle with a small stem
Sketch the shapes lightly first. This “underdrawing” phase uses very light pressure so you can refine and correct as you go.
Try this now: Walk around your home and quickly sketch 5 objects using only basic shapes. Spend just 2 to 3 minutes on each. Don’t worry about details. Just capture the round shapes, rectangles, and triangles you see.
From Loose Shapes to Solid Drawings
Once your basic shapes are down, the next step is refining edges, angles, and proportions. This is where a loose sketch becomes an actual drawing.
Start by checking angles. Compare the tilt of real objects to the tilt of your drawn lines. Is the handle of that mug pointing at the same angle as the one on your paper? Is the top edge of that book parallel to your drawn line? Adjust as needed.
Then transition from sketchy, light lines to clearer contour lines by choosing the “best” line and darkening it while erasing the extras.
Example walkthrough:
- Sketch a book as a simple rectangle
- Add a second rectangle slightly offset to show the spine
- Connect corners to create a 3D box with visible top and side planes
- Darken the final edges, erase your construction lines
Keep corrections gentle. When you fix one proportion, check the neighboring shapes. They may need slight adjustments too. This back-and-forth is completely normal.
Learning to See Light and Shadow (Basic Values for Beginners)
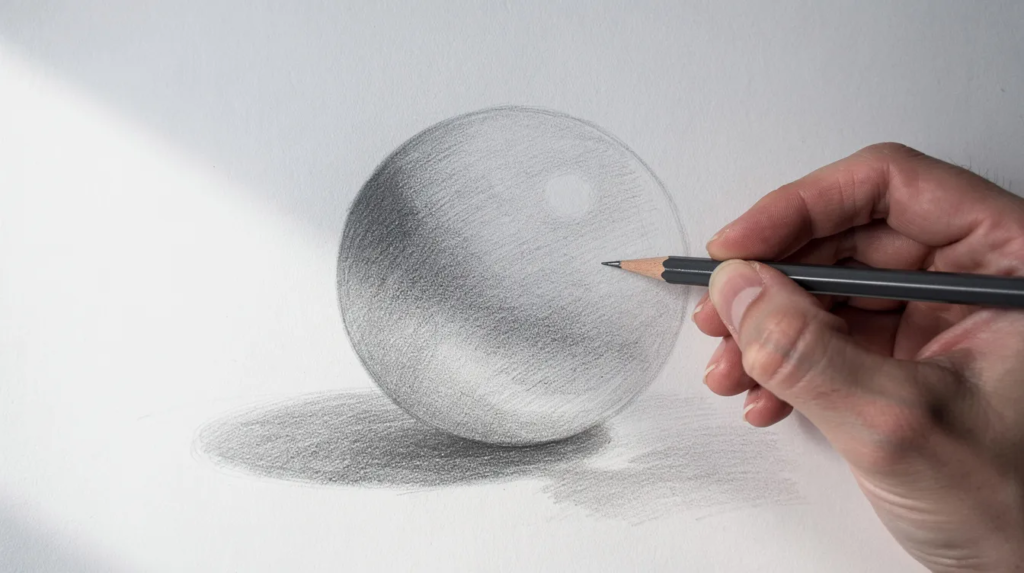
Values, the range from light to dark, matter more than details when creating realistic drawings. A well-shaded sphere looks three-dimensional even without perfect proportions, while flat line work often looks lifeless no matter how accurate.
Start with a basic 5-step value scale. Draw five boxes in a row on your page and shade them from the white of the paper through light gray, mid gray, dark gray, to almost black. This trains your eye to see distinct value differences and your hand to create them with pencil pressure.
Simple shading practice:
- Draw a circle (your future sphere)
- Pick a light source direction (imagine a lamp above-left)
- Leave the area closest to the light white
- Shade mid-tones in the center
- Add dark areas opposite the light source
- Include a cast shadow beneath the sphere
Reference photos of eggs or oranges work well for studying simple light and shadow patterns. For a deeper look at value as one of the six core fundamentals (alongside line, shape, proportion, form, and perspective), see Foundation in Drawing.
Using Reference Photos the Smart Way
Reference photos are images you study while drawing. They give you a still subject, consistent lighting, and as much time as you need.
Complete beginners should use large, high-contrast reference images to practice shapes, proportions, and values. Avoid overly complex scenes. Choose subjects with clear edges and simple backgrounds.
Before drawing any reference, ask yourself: “What basic shapes do I see here?” This keeps you learning rather than just copying.
Good beginner subjects:
- Single fruits on a plain background
- Simple houseplants
- Clear animal profiles (side view of a cat or dog)
- Everyday objects like cups, books, or shoes
It’s Easy To Draw provides curated reference packs and downloadable practice pages inside the academy, specifically chosen for beginners learning to break down what they see.
Practice Ideas: Simple Drawing Projects for Absolute Beginners
Think of this as a menu. Pick whatever sounds fun and fits your 10 to 20 minute window. Low pressure, high repetition.
Project ideas:
- Draw your morning mug every day for a week (watch it improve!)
- Sketch one houseplant from three different angles
- Fill a page with only spoons and forks as simple shapes
- Draw the same animal from five different reference photos
- Create a page of only round shapes: oranges, balls, doorknobs
Themed practice days:
| Day | Focus |
|---|---|
| Monday | Basic shapes day |
| Tuesday | Household objects day |
| Wednesday | Food sketch day |
| Thursday | Values and shading day |
| Friday | Free choice subject |
Once a month, create a dated “before and after” spread. Compare your current work to earlier pages. This visual proof of progress builds serious motivation to continue.
Building a Simple 30-Day Drawing Habit
The key to getting good at drawing is to practice these skills a lot over time, building muscle memory through repetition and learning from mistakes. Shorter, more frequent practice sessions are more effective than infrequent, longer ones.
A simple 30-day structure:
- Daily commitment: 10 to 15 minutes
- Monday to Wednesday: Warm-ups + basic shapes + light lines
- Thursday and Friday: Shading practice and value studies
- Weekend: One slightly longer sketch session (20 to 30 minutes)
Quick habit tips: keep your pencil and sketchbook visible near your breakfast table, set a recurring phone reminder, mark each completed day on a calendar so the streak becomes its own motivation, and join a community for accountability.
For the full mindset toolkit on actually enjoying daily practice (and beating the inner critic that talks you out of opening the sketchbook), see Drawing Is Fun: How To Enjoy Drawing More Every Day.
When (and How) to Learn More Advanced Concepts
Absolute beginners do not need perspective grids, anatomy lessons, or complex color theory on day one. Focus first on shapes, values, and building the habit.
When you’re ready to go deeper, the next step is the full breakdown of the six core fundamentals (line, shape, proportion, value, form, and basic perspective) in Foundation in Drawing. From there, the broader roadmap for ongoing improvement (including how to plan a year of consistent practice) lives in our pillar guide on how to get better at drawing.
Returning repeatedly to fundamentals is normal. Even advanced artists revisit basic shapes and line work regularly. The basics never stop being useful.
How It’s Easy To Draw Can Support Your Learning Journey
It’s Easy To Draw is an online art academy led by artist Lisa Mitrokhin, built specifically for adults who want structured guidance rather than endless tutorials with no clear path.
What we offer beginners:
- “The Fundamentals of Drawing” course covering shapes, values, and techniques
- Beginner-friendly colored pencil classes for when you’re ready to add color
- Free grayscale coloring pages perfect for practicing values
- Downloadable worksheets including value scale practice sheets and shape breakdowns
Our community includes supportive membership options, feedback opportunities on your work, and discussion spaces on the course platform, on Reddit’s r/ItsEasyToDraw, and on Discord.
Your next step is simple: join the community, download a free beginner resource, and complete your first drawing session today. Your drawing journey starts the moment you put pencil to paper, not when you feel “ready” or “talented.”
Today is a great place to start. And that first shaky page? It’s the most important one you’ll ever create. Every artist began exactly where you are now. Grab your pencil, experiment with some shapes, and have fun with the process. We hope to see you in the community soon.