
The Fastest Path to Art You’re Proud Of.
Expert instruction, live feedback from Lisa, and courses that are yours to keep. Everything you need to make art feel as easy as breathing.
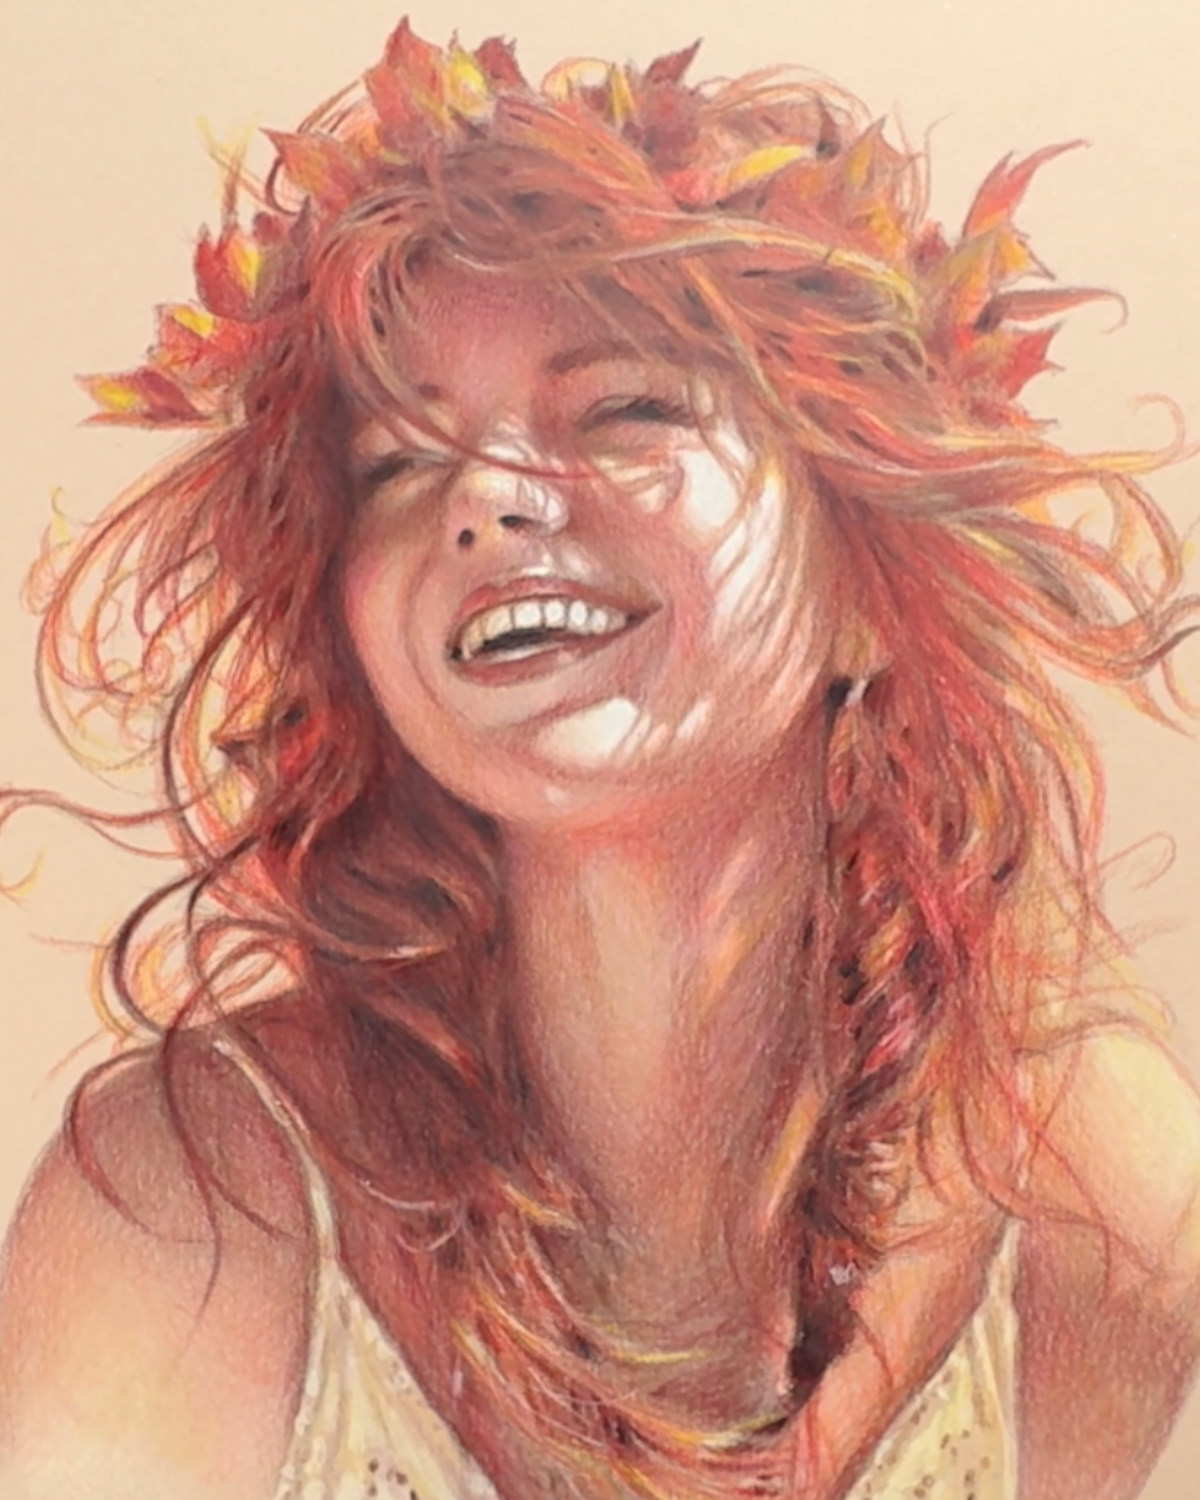
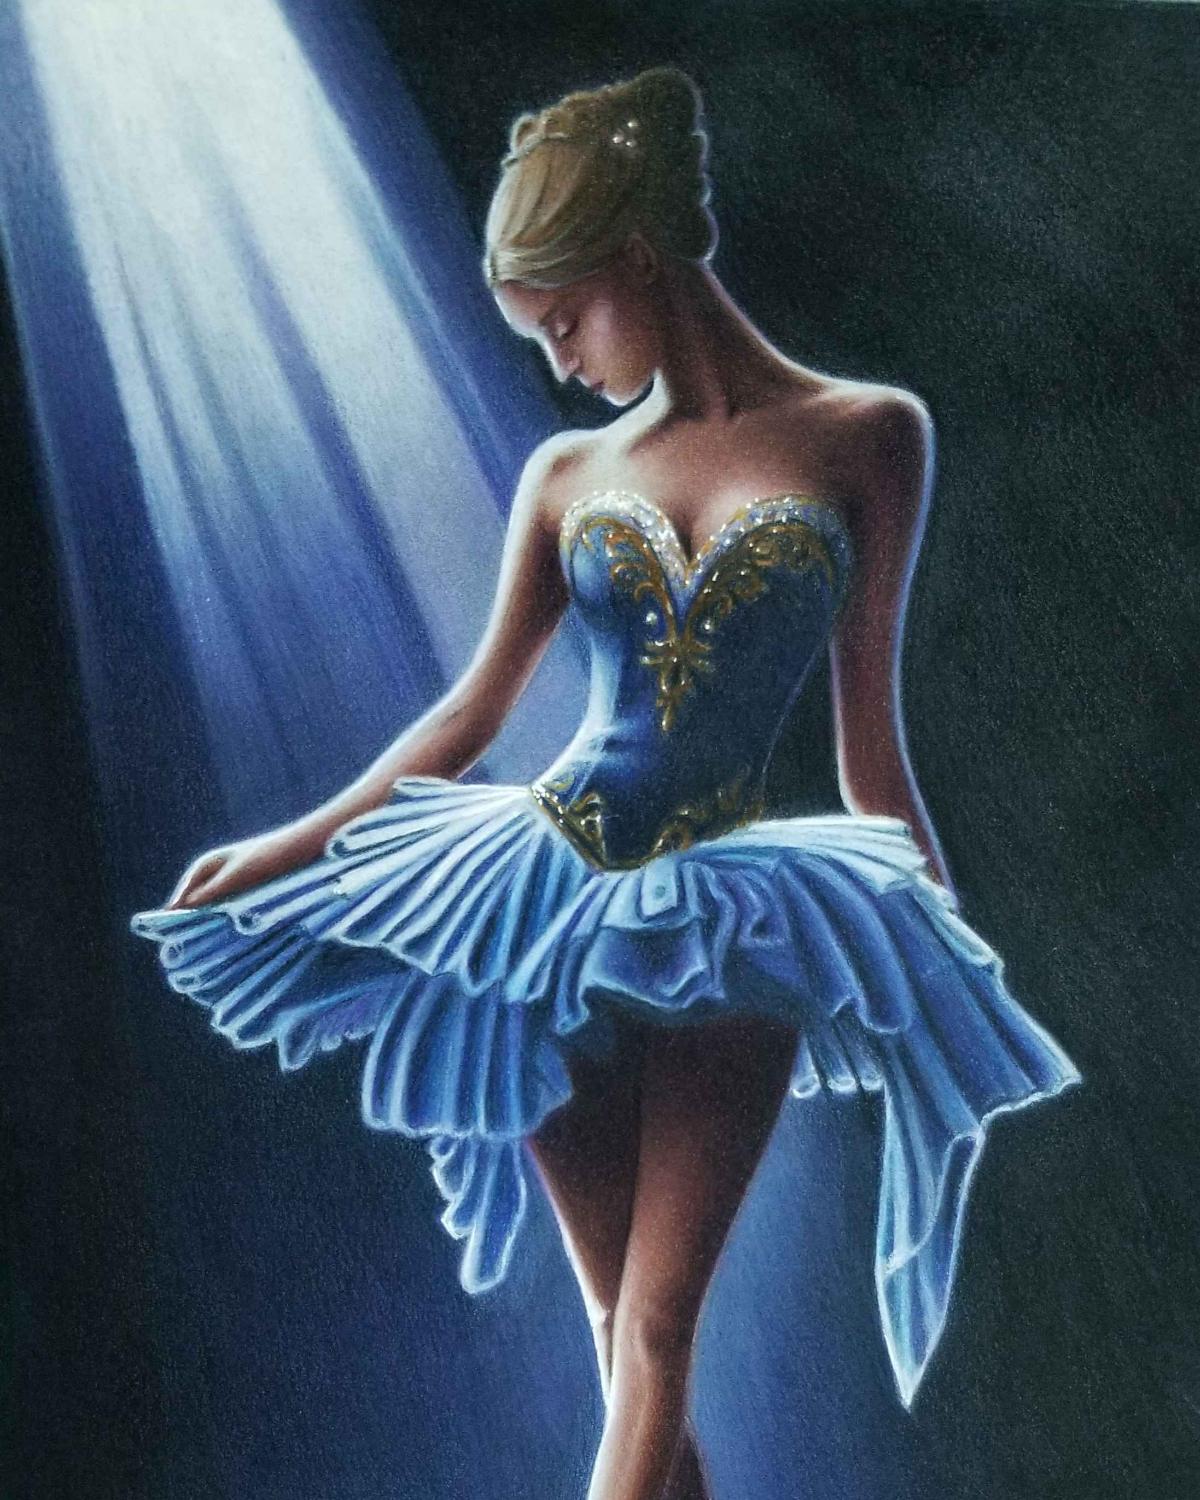
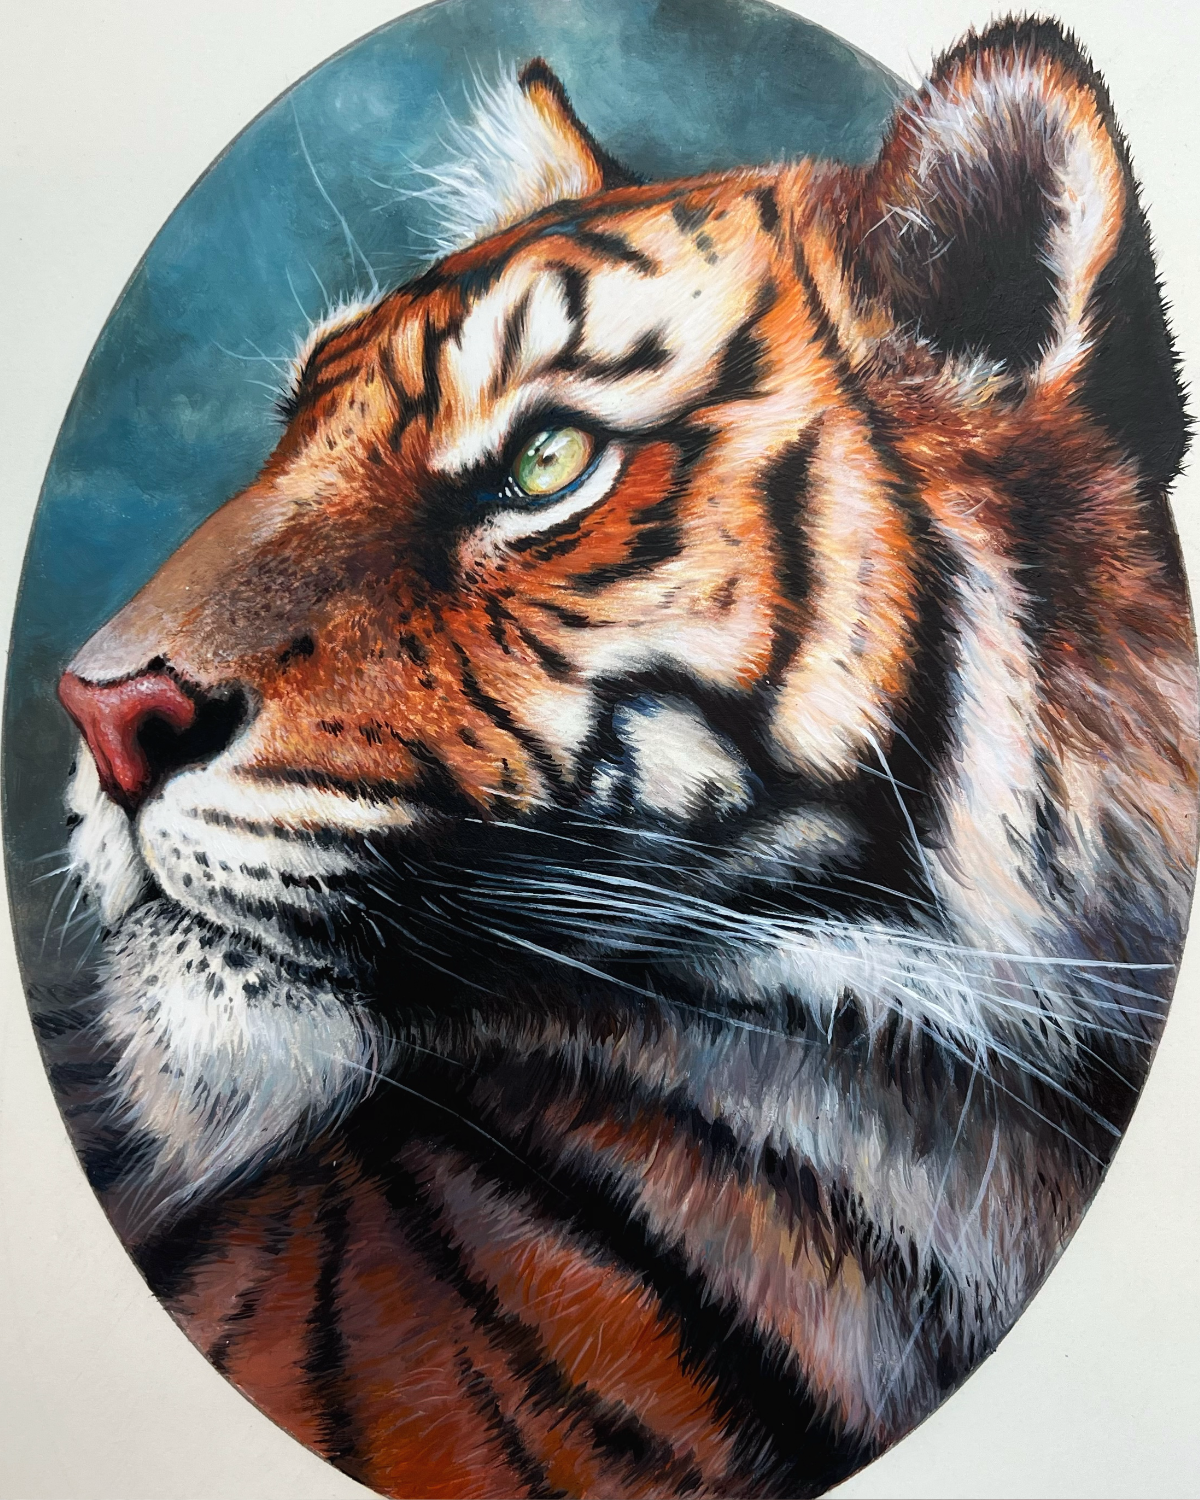
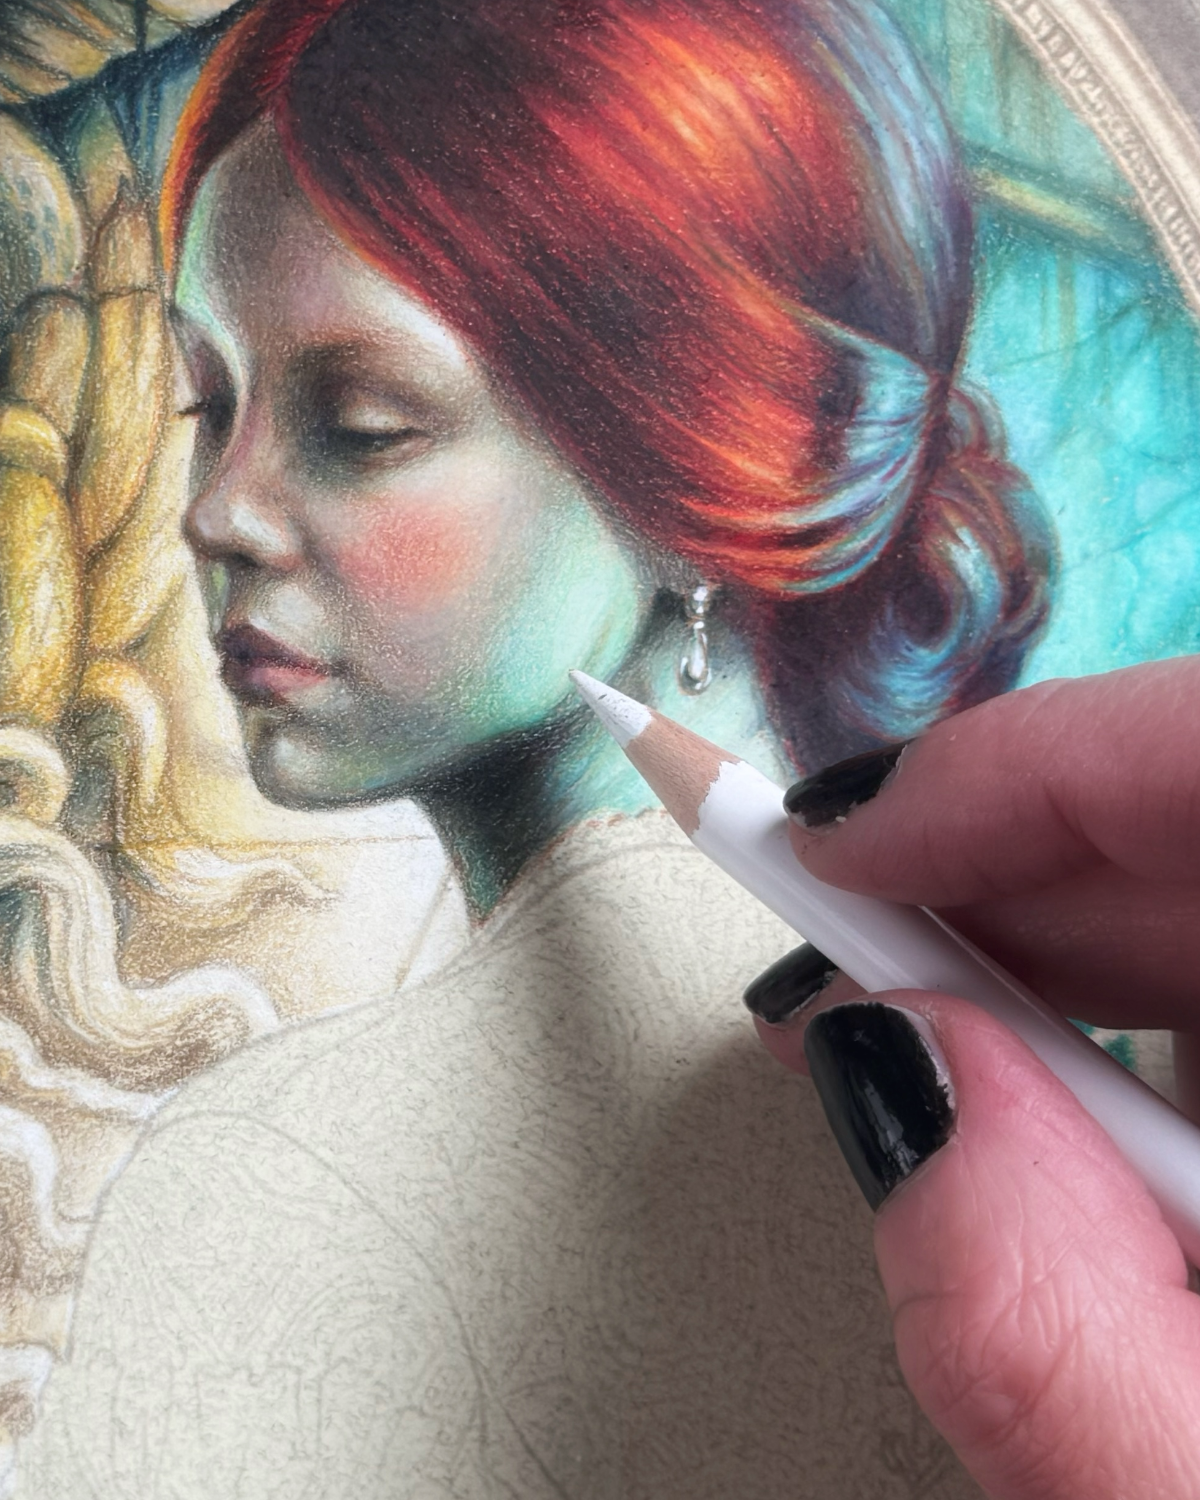
It’s easy. You just haven’t been shown yet.
Most art courses dump techniques on you and hope for the best. I teach differently: one skill at a time, each building on the last, with real feedback on your work. Not theory; practice. Not “watch me draw”; draw alongside me.
25+ courses, one cozy library.
Each course develops a specific skill, producing a real outcome and a noticeable difference in your work. Every course is yours to keep, and Artisans get each one at half price.
 Free
Free
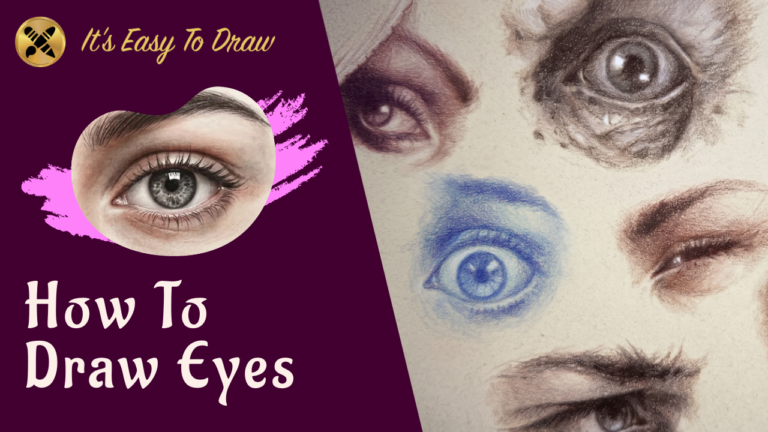
Learn the basic geometry that all artists use to draw eyes, and master the skill of freehand drawing various expressions and personalities.
 $197
$197
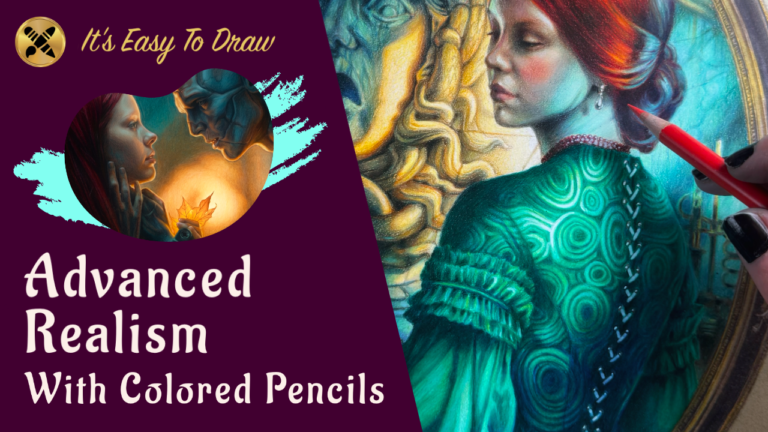
Go from technically correct to emotionally unforgettable.
 $197
$197
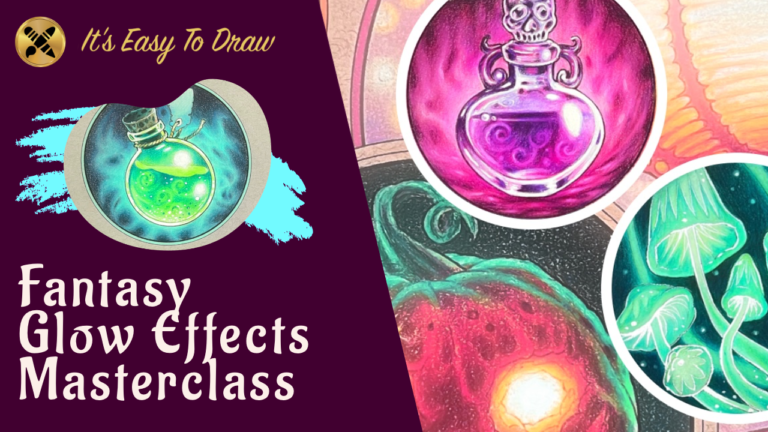
Master the colored pencil techniques that make light glow on paper.
 $197
$197
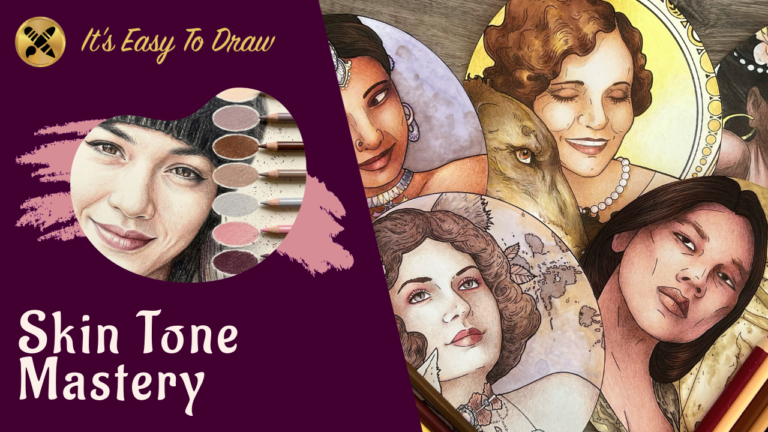
Five complete skin tone systems from first pencil to final detail.
 $197
$197
The foundation that every other drawing skill depends on.
 $197
$197
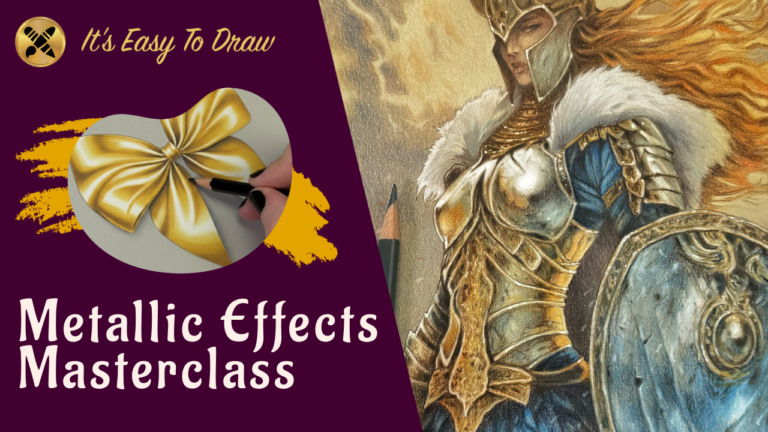
Gold, silver, copper, bronze, pewter, iron, rust. Every metal, every texture.
 $197
$197
The complete colored pencil foundation, from first stroke to finished project.
 $197
$197
From house cats to lions. Anatomy, fur, and realistic detail.
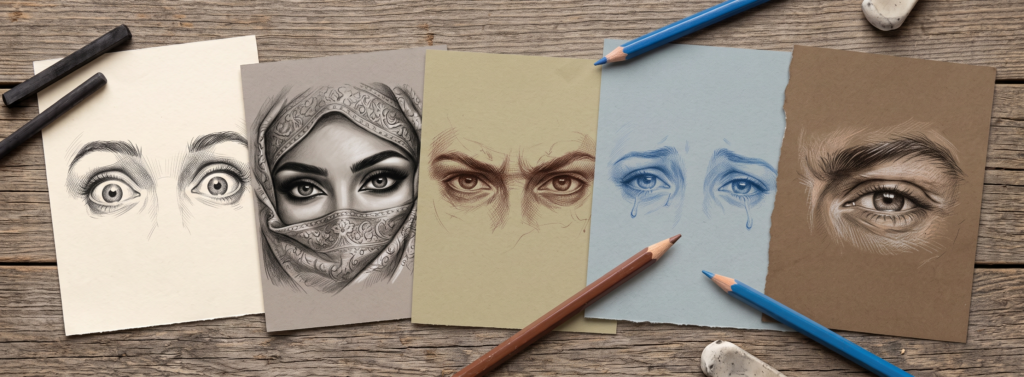
Learn the basic geometry that all artists use to draw eyes, and master the skill of freehand drawing various expressions and personalities.
After this course, you will...
- Learn easy universal eye geometry.
- Create nine different eye expressions.
- Practice on easy to follow guides.
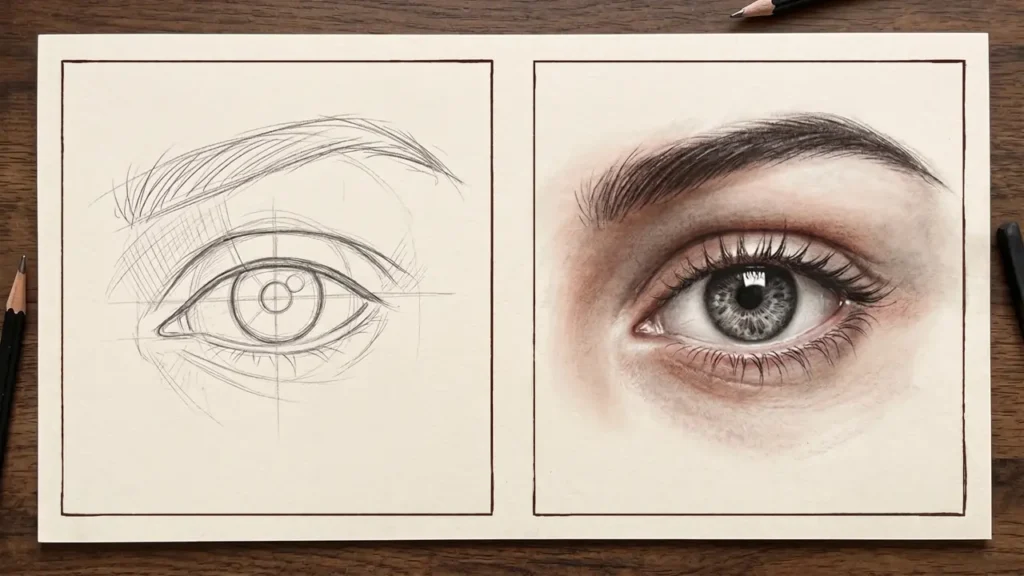
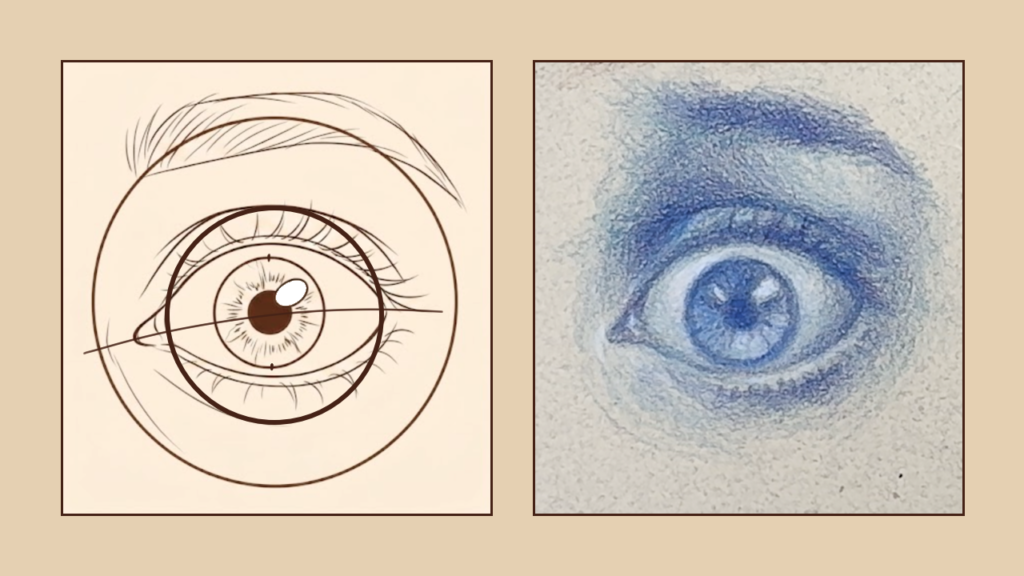
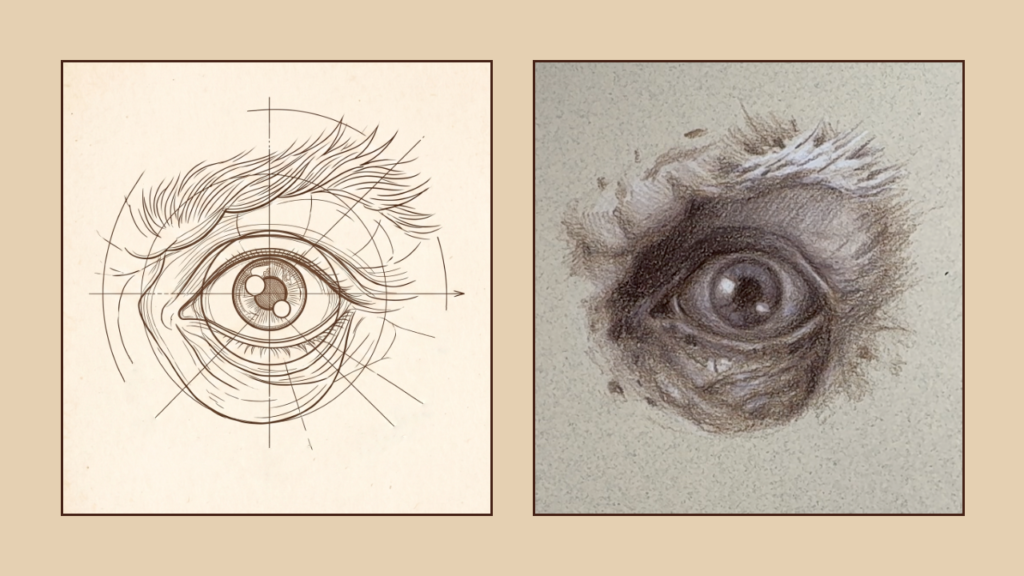
What's inside
- The Eye Geometry
- The Witch, An Intense Eye
- The Temptress, A Seductive Eye
- The Scaredy-Cat, A Terrified Eye
- The Sprite, A Squinting Eye
- The Skeptic, A Suspicious Eye
- The Bleeding Heart, A Crying Eye (Part 1)
- The Bleeding Heart, A Crying Eye (Part 2)
- The Philosopher, The Pensive Eye (Part 1)
- The Philosopher, The Pensive Eye (Part 2)
- The Monster, An Angry Eye
- The Zen Master, A Focused Eye
This course is free. Artisans get every other course for half price.
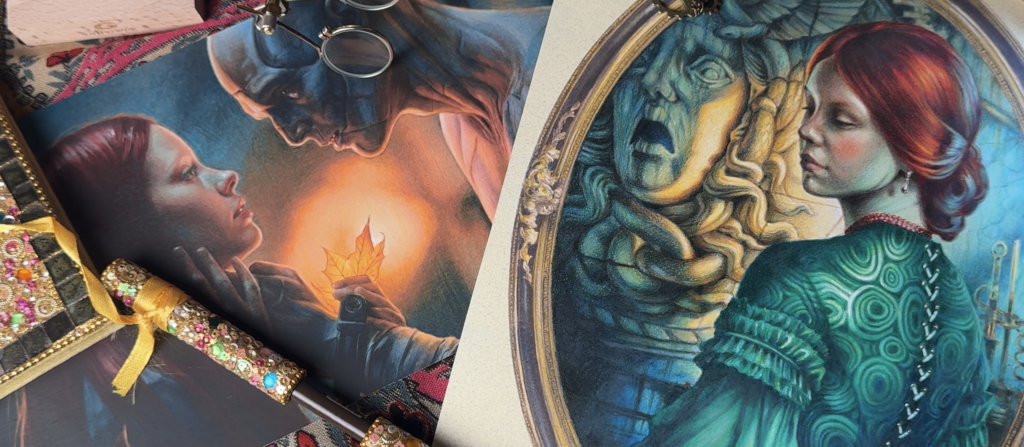
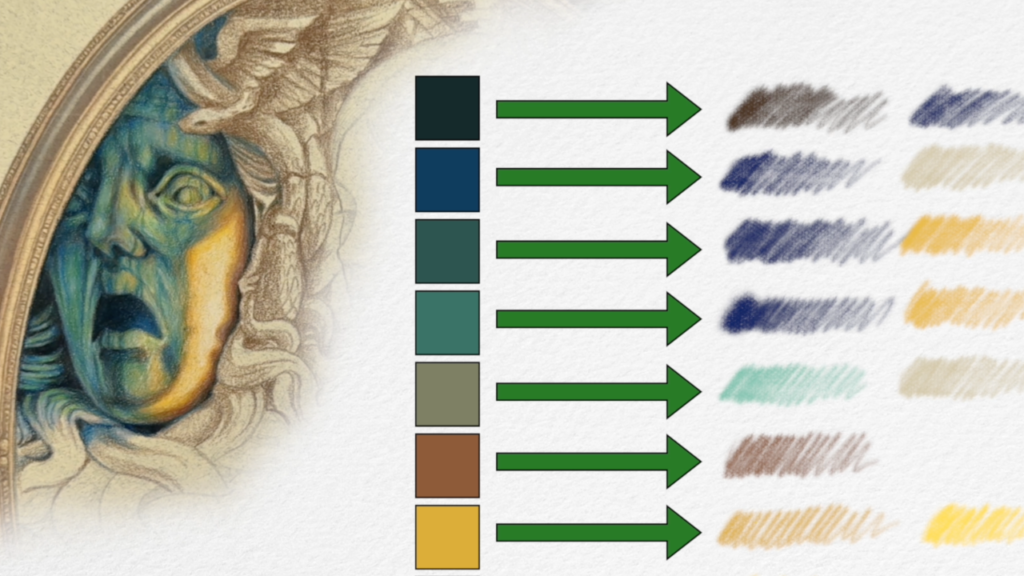
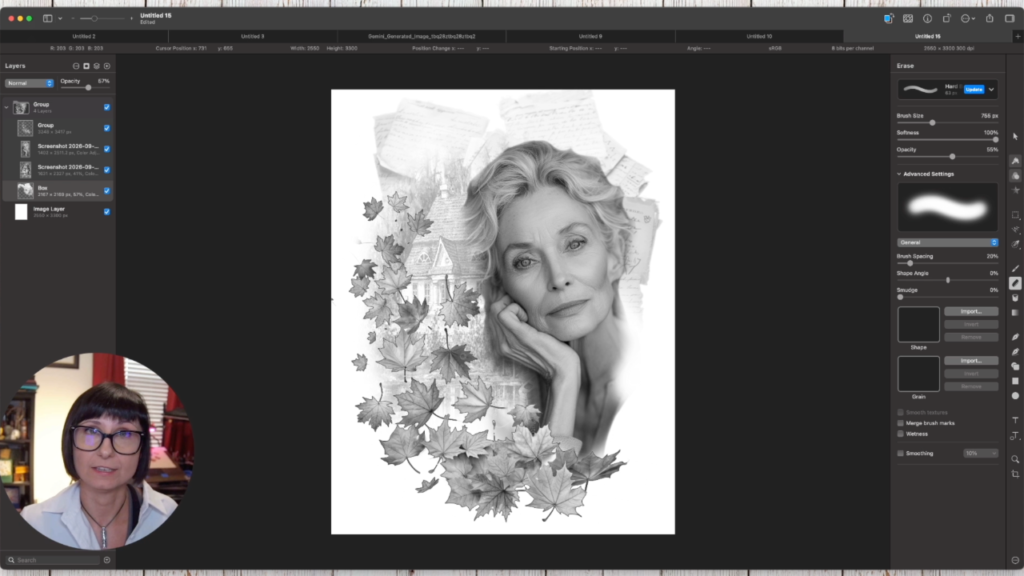
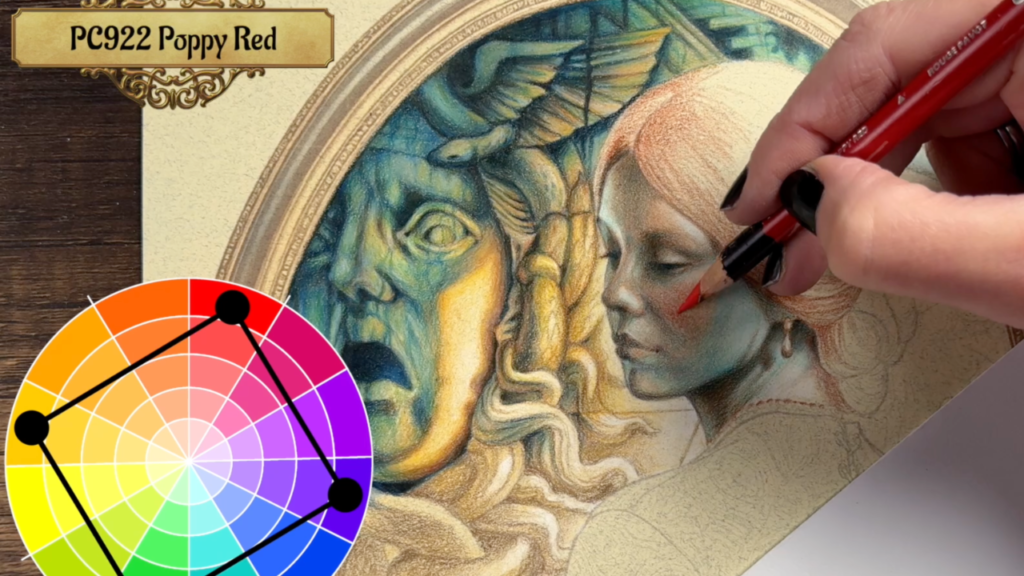
This course is the next step for anyone who already knows their way around colored pencils and wants to push into pro territory. In the lessons to come you’ll learn what I call fantasy realism: real characters, real settings, real elements, colored and lit in ways that bend reality toward something dreamlike. We’ll build one stunning, gallery-worthy project together from start to finish, a composition I designed and painted myself inspired by Guillermo del Toro’s Frankenstein, where every choice in color, light, and expression tells a story. You’ll master advanced layering and blending that makes color glow from inside the paper, mix brand new colors straight from your pencils, place light and shadow with total intention to carry emotion, and pull off the technique I’ve never taught anywhere before: building pale skin from red and blue without a single skin tone pencil. You’ll also learn to plan like an artist, designing ambitious compositions from scratch and choosing a color story to match the mood you’re chasing. By the end you’ll have a piece worthy of your wall and your feed, the advanced techniques real artists use every day and the skill to make a picture say something, as well as the skill to make your own compositions. Ready to tell a story nobody’s ever seen?
After this course, you will...
- Learn how to use color combos to set the mood
- Plan light sources to tell a story
- Master the value and technique of underpainting
- Create a beautiful skintone without a single skintone color
- Practice the technical aspects of blending and layering
- Learn how to construct your own compositions
What's inside
- The Plan
- Underpainting
- Cool Shadows
- Blending And Highlights
- Adding Direct Light
- Mixing Warm And Cool Colors
- Pro Blending
- Contrast vs Color
- Making New Hues
- Outlines And A Steady Hand
- Color Consistency ▶ Preview
- How Much Detail To Add
- Sneaky Light Source
- The Main Light Source
- Red Sepia Undertone
- Blue and Black
- Intricate Blending
- A Cool Light Source
- Creating New Colors
- Color matching game.
- Square Color Combo
- Facial Realism Hacks
- Adjusting For Likeness
- Devil's In The Details
- In And Out Of Focus
- Defused Blending
- Hair Color Priming
- Hair Light
- Deep Shadows
- The Brightest Invisible Color
- Red Infusion
- Layering Without Burnishing
- Maintaining Consistent Contrast
- Adding Shine
- Value vs Color Contrast
- Matching Background Colors
- Green-Blue Illusions
- Going Dark
- Keeping Track Of Light
- What We Hide In The Shadows
- Final Light Evaluation
- Design Priming And Artist Confession
- Working With Fabric Patterns
- Lighting vs Pattern
- Beauty Of Malachite
- Extra Details
- Different Fabrics
- Corset Lacing
- Final Details
- Research And Composition
- Telling A Story
- Creating A Mock-up
Artisans get this course for half price.
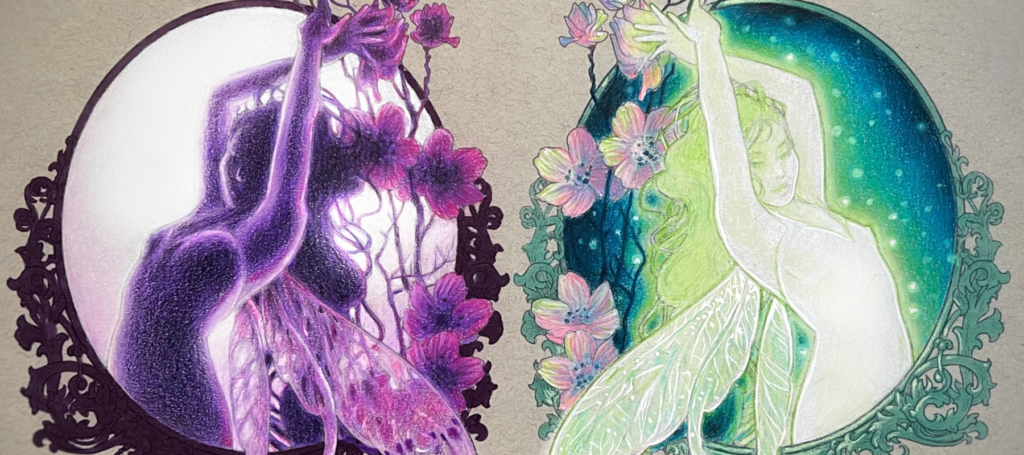
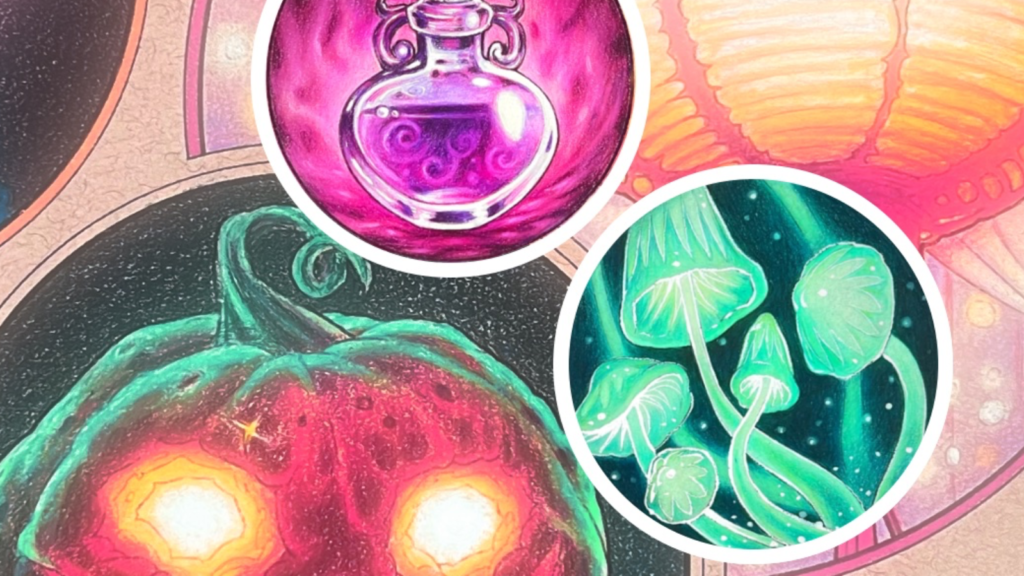
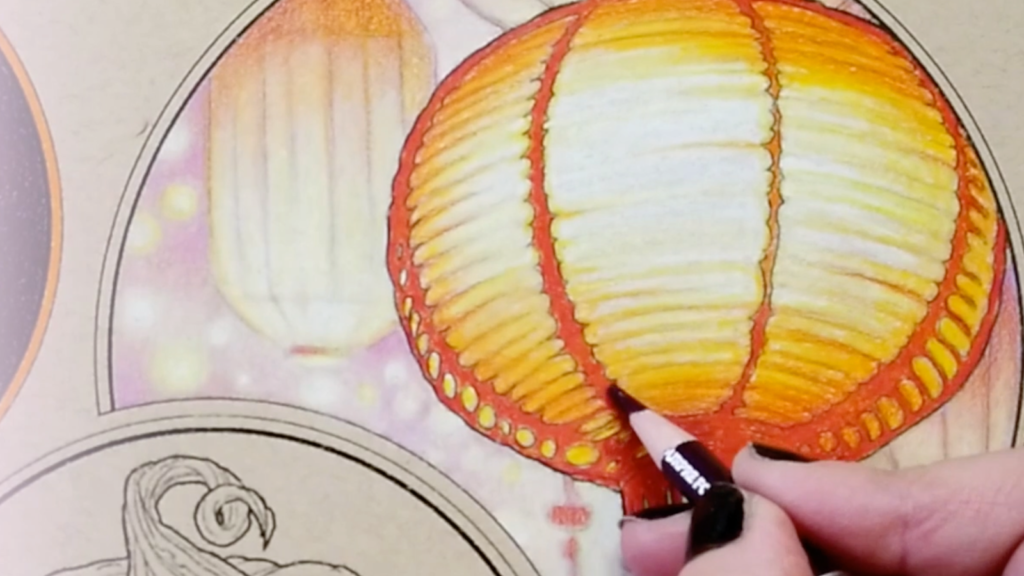
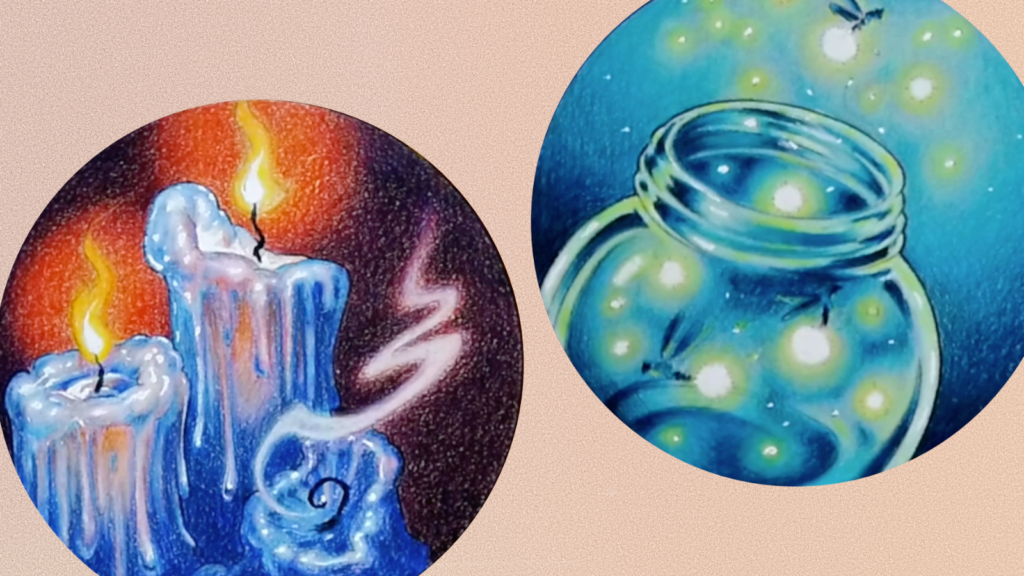
Glowing fireflies, luminous potions, flickering lanterns, radiant fairies. These fantasy glow effects look like magic on paper, and Lisa shows you exactly how to create them with colored pencils. You will master white primer techniques, dark background layering, and the color tricks that make light appear to radiate from within your drawings.
Four complete projects take you from bioluminescent creatures through glowing potions and candlelit lanterns to a fully rendered glowing fairy. Each builds on the last, adding new techniques for controlling light, contrast, and atmosphere.
After this course, you will...
- Create realistic bioluminescent glow effects with colored pencils
- Build rich dark backgrounds that make light pop
- Render glowing potions with smoke, text, and magical highlights
- Draw candlelight and lantern glow on warm and cool-toned paper
- Produce a complete glowing fairy illustration from sketch to finish
- Follow along on a 2-hour project of coloring a glowing poisoned apple
What's inside
- Magic Tricks
- Fireflies: Starting With White
- Fireflies: Layering Blues
- Fireflies: The Color Wheel Trick
- Fireflies: Adding Black And Yellow
- Fireflies: White Highlights
- Mushrooms: White Primer
- Mushrooms: Adding Green
- Mushrooms: Dark Background
- Mushrooms: Magic Green Glow
- Mushrooms: White Outlines
- Mushrooms: Extra Effects
- Jellyfish: What To Prime
- Jellyfish: Dark Background
- Jellyfish: Layering And Work
- Jellyfish: The White Pencil Effect
- Jellyfish: Adding Black
- Jellyfish: Magical Mystery Dots
- Bioluminescence Homework
- Green Potion: Free Hand Effects
- Green Potion: Dark Background
- Green Potion: Smoke
- Green Potion: White Primer
- Green Potion: The Green Experiment
- Green Potion: Adding Teal
- Green Potion: Non-Glowing Items
- Green Potion: White Highlights
- Blue Potion: Starting Strong
- Blue Potion: A New Color Twist
- Blue Potion: White Charcoal
- Blue Potion: Adding Blues
- Blue Potion: Consider The Mood
- Blue Potion: Lilac Shadows
- Blue Potion: Magical Mystery Dots
- Magenta Potion: Evil Glow
- Magenta Potion: Purple Magic
- Magenta Potion: Lots of White
- Magenta Potion: An Odd Choice
- Magenta Potion: Hooker's Green
- Magenta Potion: High Contrast
- Potions Homework
- Candles: Warm Toned Paper
- Candles: Background Colors
- Candles: Flame Stick
- Candles: No Flame Outlines
- Candles: Cool Tones
- Candles: Pink ▶ Preview
- Candles: The Glow Within
- Candles: Flame Centers
- Paper Lanterns: Soft Light
- Paper Lanterns: Pink Paper
- Paper Lanterns: Pastel Combo
- Paper Lanterns: Brighter Colors
- Paper Lanterns: The Main Lantern Primer
- Paper Lanterns: The Overpainted Effect
- Jack-O-Lantern: Starting Dark
- Jack-O-Lantern: A New Type Of Primer
- Jack-O-Lantern: Pumpkin Color
- Jack-O-Lantern: Glow From Within
- Jack-O-Lantern: Fire Light
- Jack-O-Lantern: Advanced Maneuvers
- Lanterns Homework
- Sketch Fairy: Paper And Primer
- Sketch Fairy: First Model
- Sketch Fairy: Blender
- Sketch Fairy: First Shadows
- Sketch Fairy: Black
- Sketch Fairy: Contrast And Overviews
- Glowing Fairy: White Primer
- Glowing Fairy: First Steps
- Glowing Fairy: Center Focus
- Glowing Fairy: Black, Pink, and Green
- Glowing Fairy: Going Darker
- Glowing Fairy: Pale Pencils
- Glowing Fairy: Finishing
- Fairies Homework
- White Primer
- Teal Base
- Green Glow
- Spooky Contrast
- Color Personality
- Keeping It Balanced
- Poison
- Sweet And Delicious
- 3D Effects
- Going Dark
- Managing Details
- Blending And Saturation
- Shadows And Texture
- Acrylic Marker Painting
- Alcohol Marker Painting
- Negative Space
- Framing Options
Artisans get this course for half price.
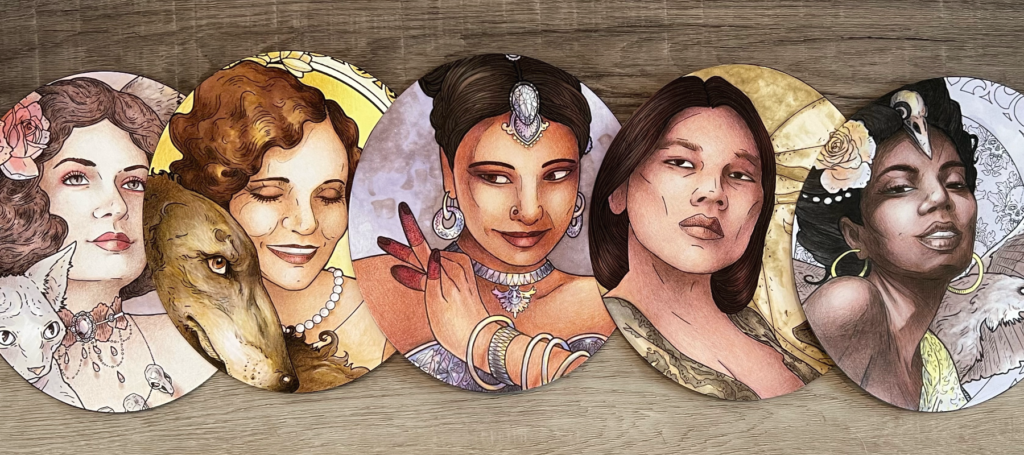
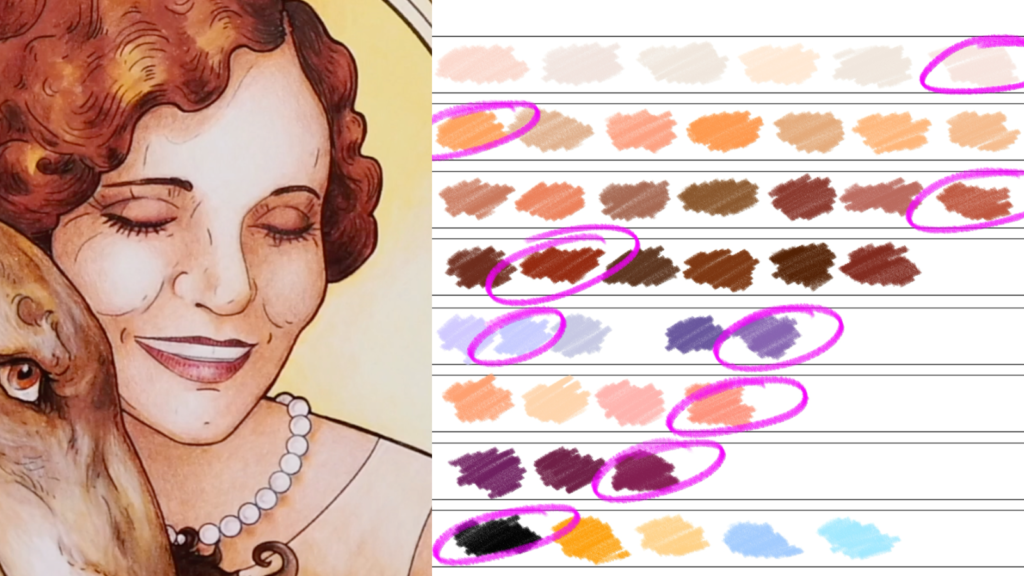
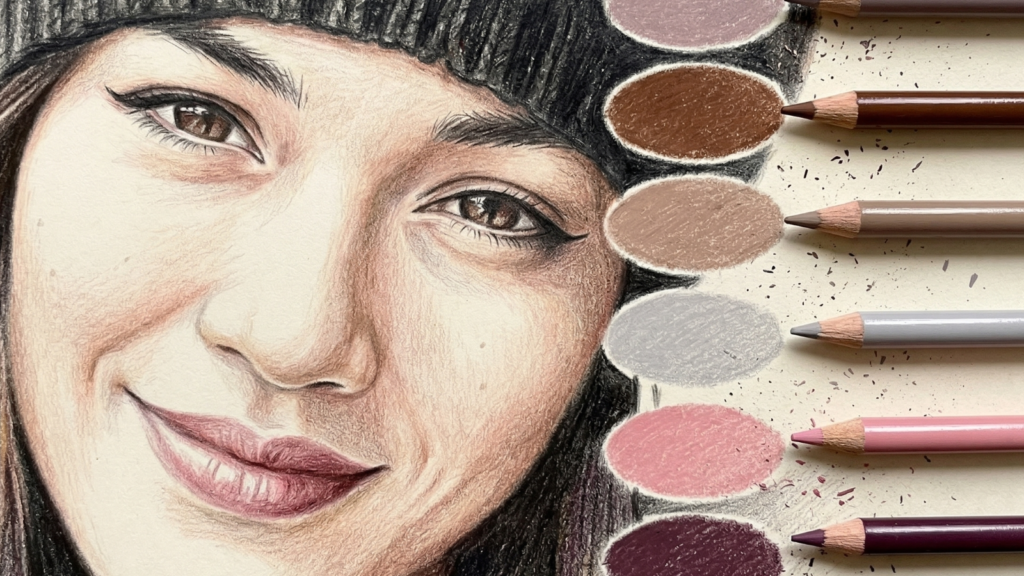
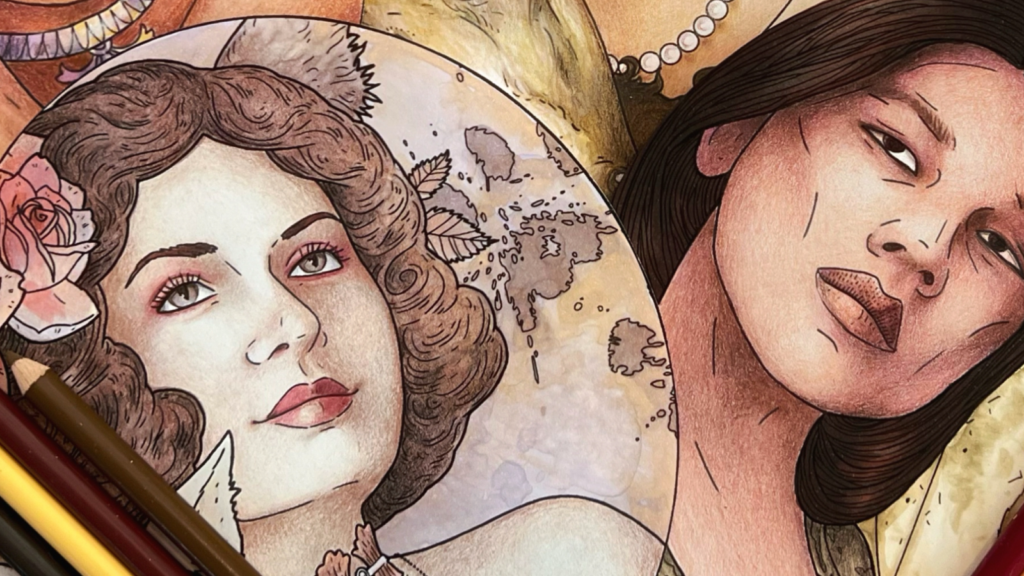
Five skin tones, five complete color systems. Lisa walks you through cream, peaches, caramel, toffee, and espresso from first pencil to final detail, teaching you how to identify undertones, layer pigments, and build realistic depth for every complexion. Each module includes its own color chart and homework.
You will learn which pencil brands and colors work best for each tone, how to handle shadows and makeup, and how to build your own reusable color palettes. The bonus ivory skin module adds a sixth tone for even more range.
After this course, you will...
- Identify and render five distinct skin tones with accurate undertones
- Build custom color palettes for any complexion
- Layer shadows, highlights, and makeup effects realistically
- Choose the right pencil brands and colors for each skin tone
- Create your own reusable color charts for future portrait work
What's inside
- Categorizing Skin Tones
- Picking Pencils For The Cream Skin Tone
- Coloring Technique And First Colors
- Brands Comparison
- First Dark Color
- Why So Many Colors
- Shadows And Makeup
- Final Colors
- Bringing It All Together
- Build Your Own Color Palette
- Cream Skin Tone Homework
- First Color
- Orange Undertone
- Building Up Brown Pigments
- Purple Shadows
- More Purple
- Color Charts
- What About Makeup? ▶ Preview
- Finalizing The Coloring
- Peaches Color Charts And Homework
- Pale Rose Undertone
- The Most Important Layer
- Ogres Have Layers
- Fine Details
- Strong Purple
- Yellow, White, And Black
- Final Details And Homework
- Color Matching And Gradients
- Color Matching Game
- Background Color
- Toffee Primer Color
- Light Brown
- Deep Purple
- A Natural Look
- Going Dark
- Blender Option
- Final Details And Homework
- Espresso Undertone
- A Bold Color Choice
- Strong Brown
- A Touch Of Red
- Building Up Shades
- Two Kinds Of Blenders
- Final Homework
- All Skin Tones Together
- Ivory Skin (9 lessons)
Artisans get this course for half price.
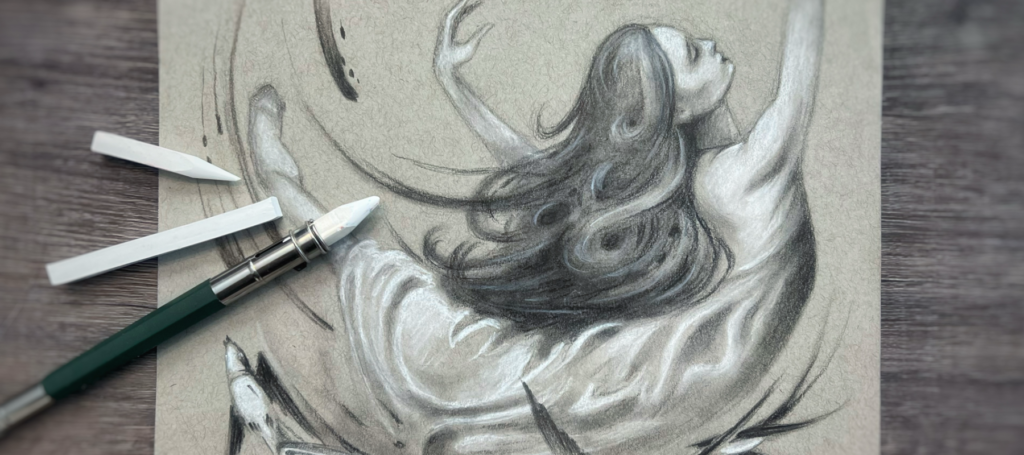
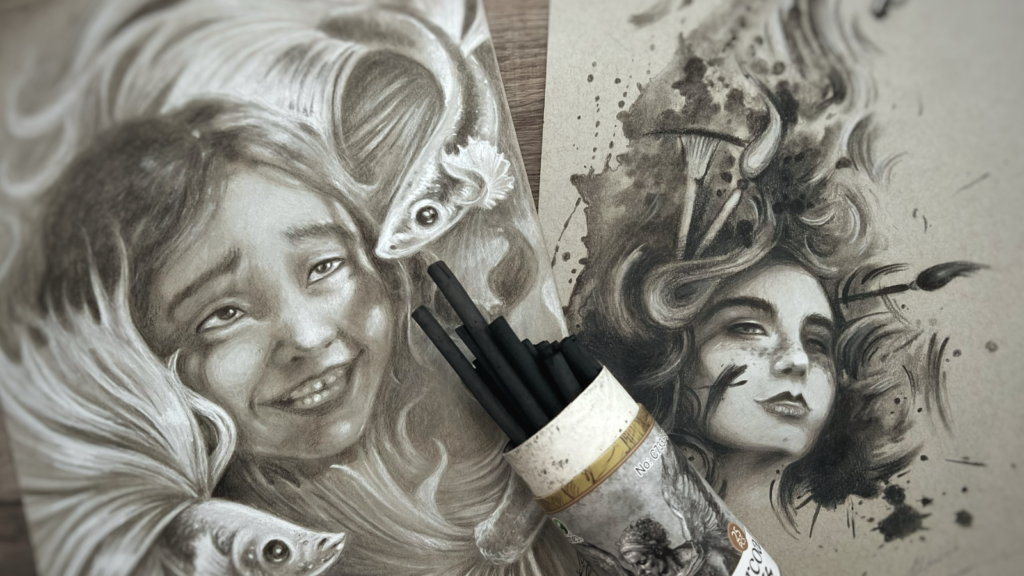
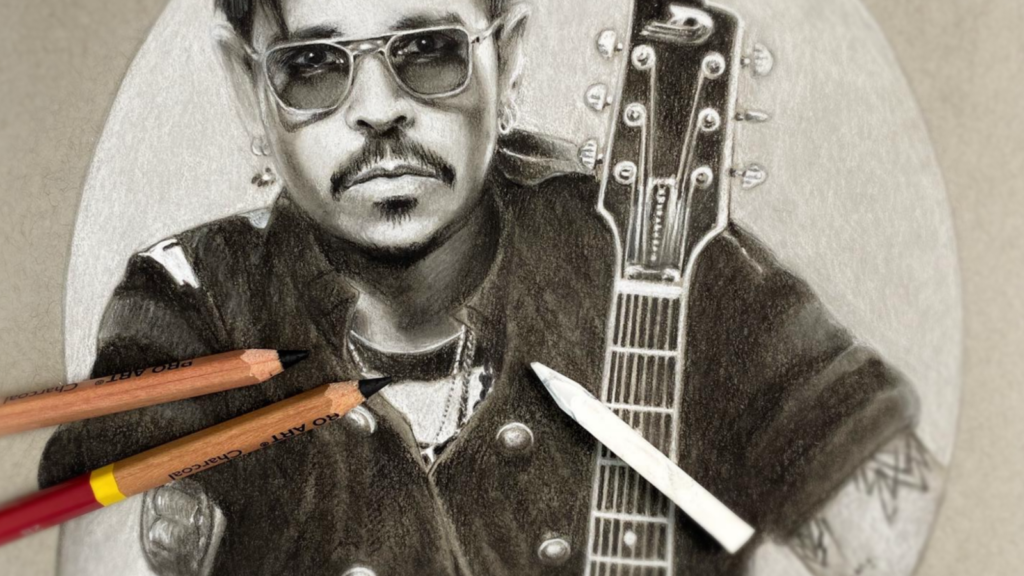
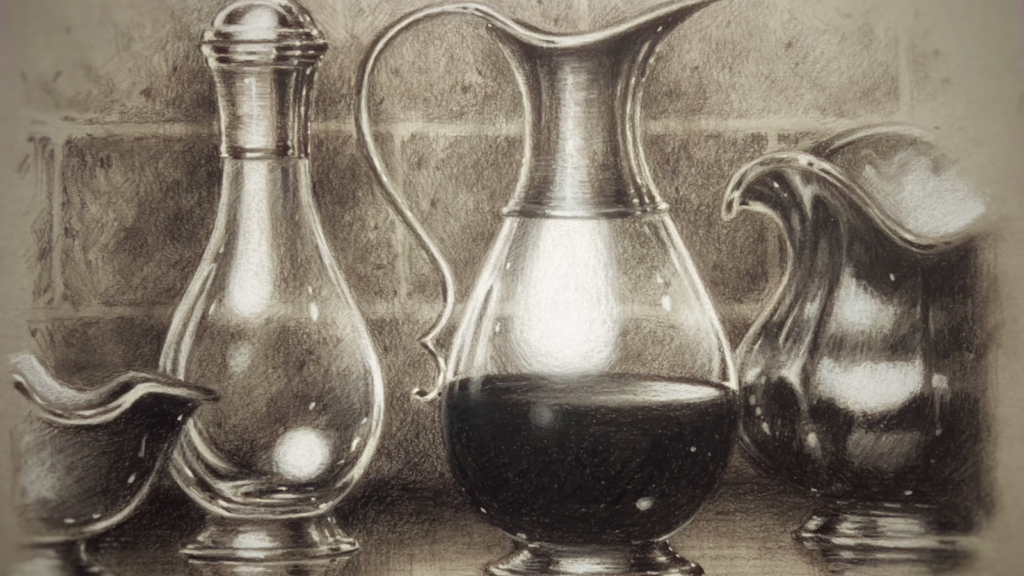
Everything starts here. This course builds the foundation that every other drawing skill depends on. Lisa covers tools, freehand technique, basic shapes, the grid method, freehand drawing from reference, and creating original art from collage. Each module builds on the last, and every lesson has a hands-on exercise.
You will go from understanding your tools to producing original compositions with consistent lighting and shading. The bonus content includes a 13-part labyrinth ballroom drawing and a 9-part Jimi Hendrix charcoal portrait.
After this course, you will...
- Choose and use the right drawing tools, paper, and lighting setup
- Sketch freehand with loose, confident strokes
- Draw basic and 3D shapes with accurate symmetry and shading
- Transfer any reference photo to paper using the grid method
- Create original compositions from collage with consistent lighting
What's inside
- Understanding The Graphite Grading Scale
- The Many Types Of Charcoal
- Using A Colored Pencil To Sketch
- The Right Paper For Drawing
- Your Perfect Drawing Surface
- Personal Space And Time
- Pick Your Tools
- The Ideal Lighting For Drawing
- The Drawing Pyramid
- How To Loosen Your Hand
- Why Sketching Is So Important
- How Is Drawing Different From Sketching
- What Does Shading Accomplish
- How Much Detail Is Needed
- Practice Exercises
- Lines And Circles Practice
- Sketching And Symmetry
- Sketching 3D Shapes
- How Light Affects Shapes
- Get Your Hands Dirty
- How To "Sculpt" With Charcoal
- Practice Exercises
- Symmetry Exercises
- The Grid Method Mechanics
- Make A Grid On A Photo
- Copy The Grid To A New Page
- Block By Block Outline
- Hiding Or Removing The Grid Lines
- A Smooth Gradient Transition Technique
- Edge To Edge Shading
- Final Details And Cleanup
- Grid Drawing Assignment
- How To Use A Reference Image
- Freehand Sketching With Charcoal
- Control Your Style With Shading Decisions
- When It Is OK To Have Sharp Edges
- Tips To Control The Amount Of Detail ▶ Preview
- Photo vs Drawing Assessment
- Freehand Drawing Assignment
- Drawing From A Reference
- How To Use A Collage To Create Original Art
- Tell A Story With Your Art
- Do Visual Research
- Scale And Arrange Elements
- Proper Composition Elements
- How To Manage Consistent Lighting
- Collage Assignment
- Labyrinth Ballroom (13 lessons)
- Jimi Hendrix in Charcoal (9 lessons)
Artisans get this course for half price.
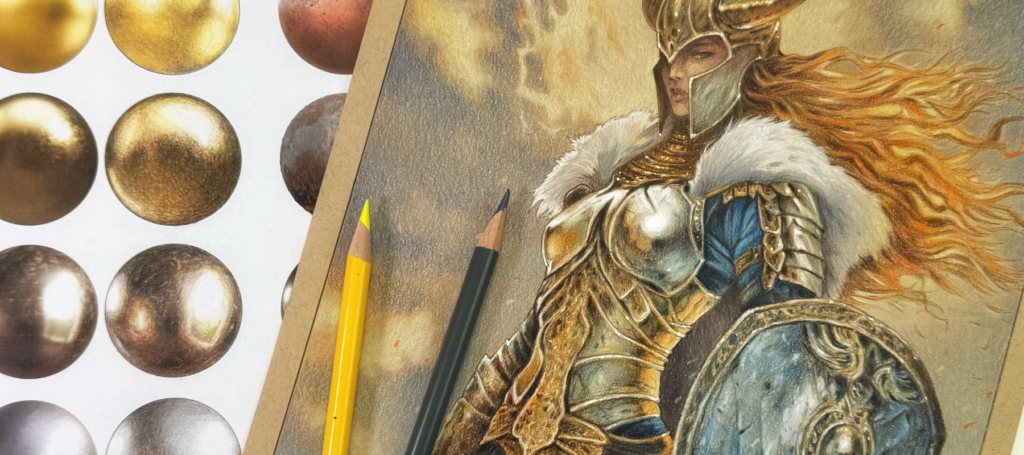
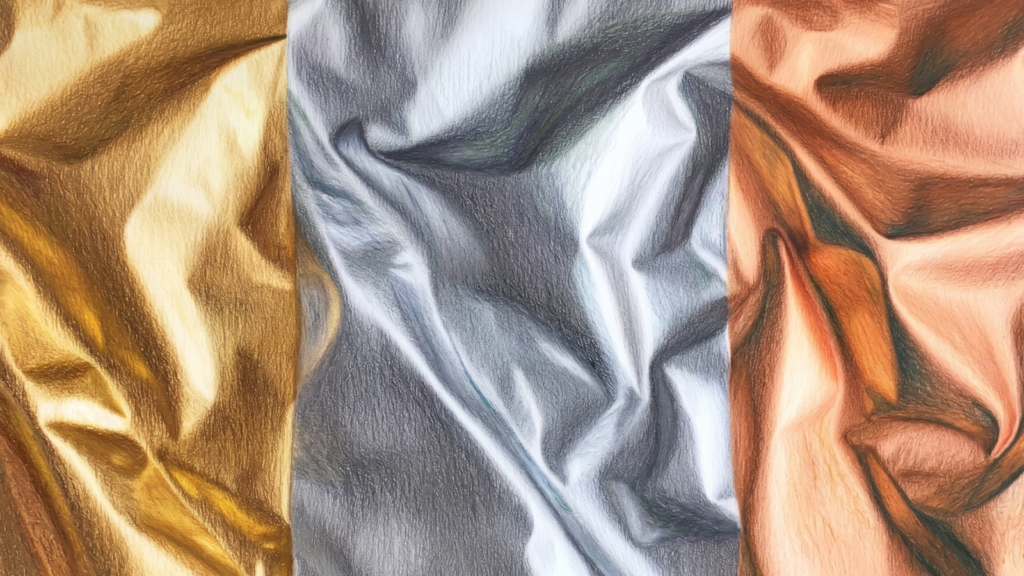
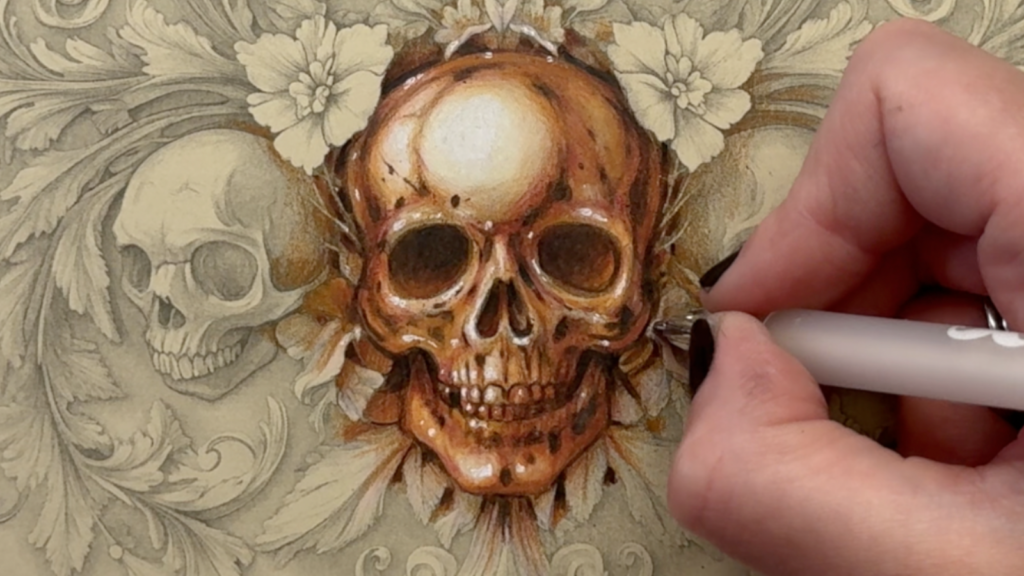
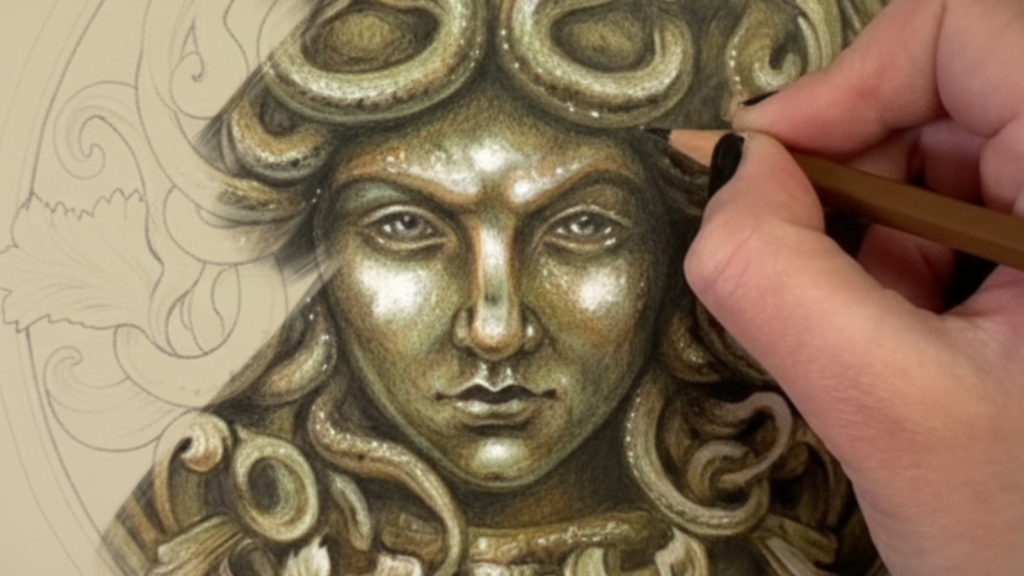
Gold, silver, copper, bronze, pewter, iron, rust. Each metal has a distinct color signature and texture, and Lisa teaches you how to replicate all of them with colored pencils. This course goes deep, covering not just the colors of metal but the textures that make them convincing: smooth, scratched, tarnished, riveted, and rusted.
You will progress from mastering individual metallic colors through texture studies to rendering complete metallic objects like a silver apple, gold ribbon, and bronze medallion. Every module includes homework and practice assignments.
After this course, you will...
- Reproduce the distinct color signatures of gold, silver, copper, bronze, pewter, and iron
- Render five different metal textures: smooth, scratched, tarnished, riveted, and rusted
- Shade 3D metallic objects with realistic highlights and contrast
- Combine warm and cool tones to create convincing metallic surfaces
- Complete a full bronze medallion rendering with patina effects
What's inside
- The Different Metal Colors
- Smooth Gold
- Shiny Yellow Alloy
- The Grey Area
- Satin Silver
- Textured Copper
- Rust Effects
- Dark Pewter
- Wrought Iron
- Shiny And Smooth
- Heavily Scratched
- Textured And Tarnished
- Rivets And Rust
- Rust On Paint
- Silver Apple
- Shape Shading
- Cool And Warm
- High Contrast ▶ Preview
- Final Details
- Gold Ribbon
- Initial Shaping
- 3D Definition
- Lighter Than Paper
- Sharp Detail
- Paper Color And Primer
- First Green
- Consistent Shading
- Shading With Sepia
- Adding Reddish Brown
- Adding Aqua
- Metallic Pencils
- How Much Shine To Add?
- Copper Relief Primer
- Shaping The Object
- That Copper Red
- Contrast And Depth
- Contrast And Shine
- Starting With The Background
- Background Story
- Atmospheric Shading
- Background Detail
- Helmet Priming And Underpainting
- Helmet Color And Reflections
- Face - Start To Finish
- Adding Black
- Fur Effects
- Two-Tone Metals
- Underarmor
- White Fur
- Red Hair
- Breast Plate Primer
- Breast Plate Underpainting
- Colors And Reflections
- More Blue Detail
- Sharp Detail
- The Arm That Holds The Sword
- Sword And Leather
- Atmospheric Distortion
- Motion Blur
- Ash And Snow
- Shield Primer
- Shield Underpainting
- Two Kinds Of Blue
- Black And White Detail
- White Gel Pen Detail
Artisans get this course for half price.
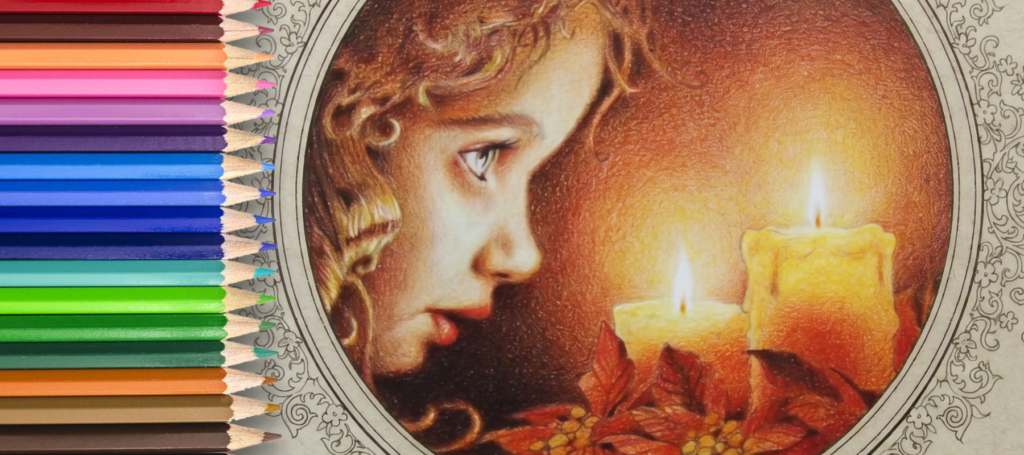
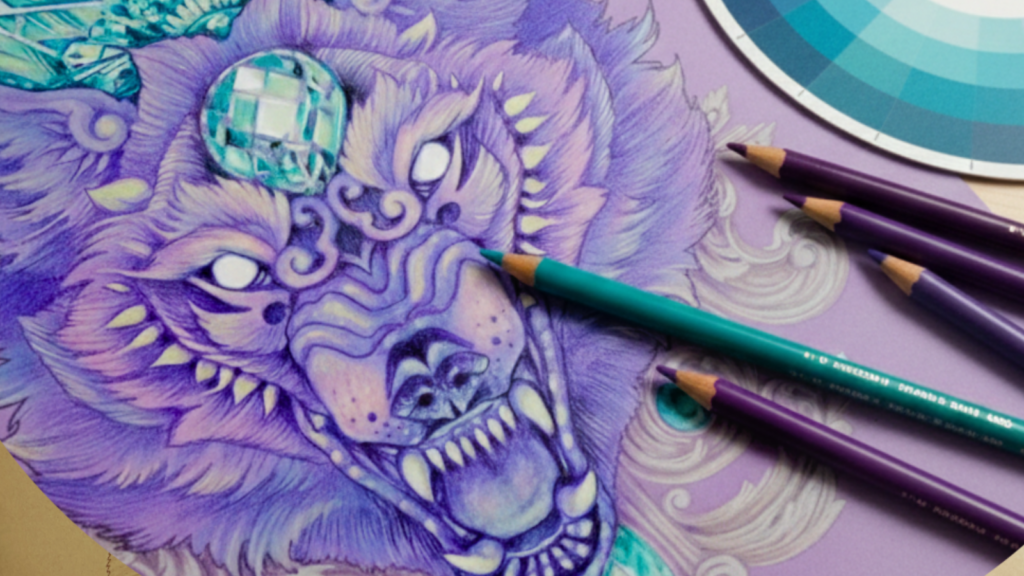
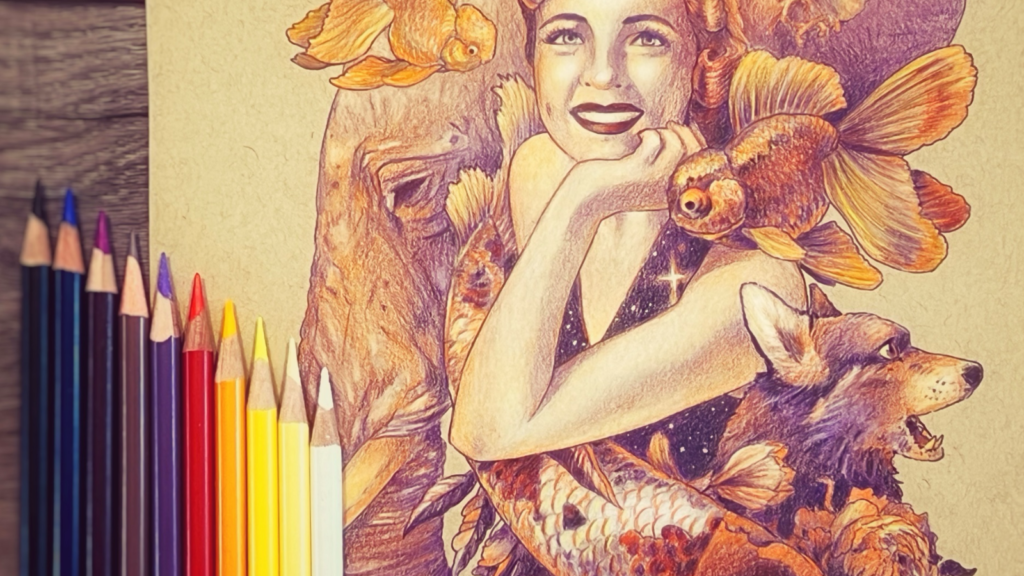
This is the complete colored pencil foundation course. Lisa covers everything from calibrating your pencils and understanding color terms to advanced shading techniques, color combos, mood, light and shadow, and a guided final project. If you are picking up colored pencils for the first time or want to fill in the gaps in your self-taught technique, this is where to start.
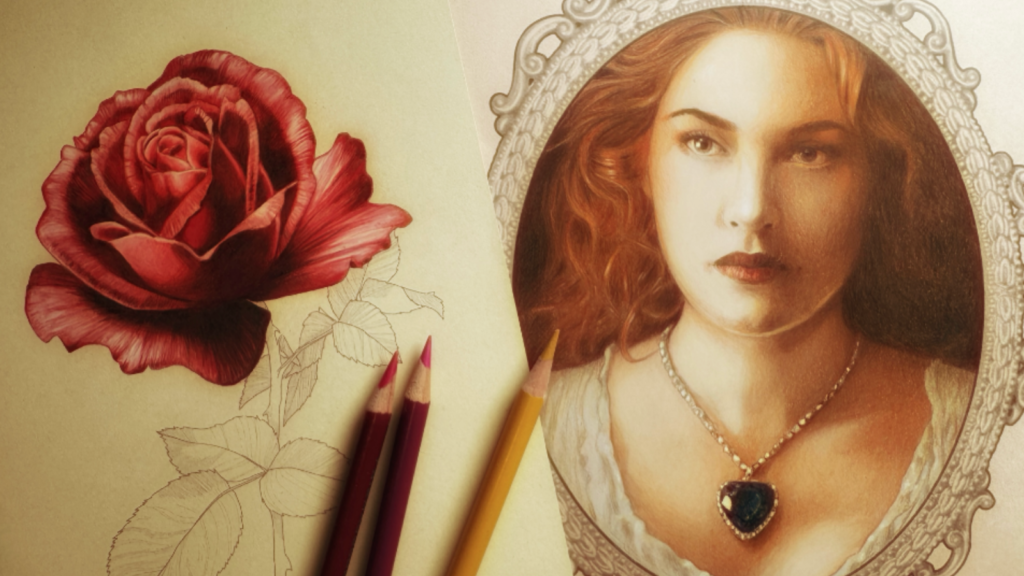
Each module includes practice pages and exercises. The final project brings everything together with a complete turtle rendering from light source setup to finished piece. Bonus content includes a 12-part Heart of the Ocean portrait and an 11-part realistic red rose.
After this course, you will...
- Calibrate your pencils and understand color terminology
- Master multiple shading techniques including gradients and 3D effects
- Build effective color combos using color wheel relationships
- Control mood and atmosphere through color and lighting choices
- Render realistic light and shadow on any subject
- Complete a full colored pencil project from start to finish
What's inside
- Colored Pencils As A Medium
- Choosing The Right Pencils
- Important Color Terms ▶ Preview
- Colored Pencil Calibration
- Pencil Calibration Games
- The Grey Scale Calibration
- Grey Scale Calibration Continued
- Tint And Shade Calibration
- Cool And Matching Colors
- Practice Pages
- Shading Types
- Paper As A Tool
- Ways To Hold A Pencil
- Shading Styles
- Single Color Gradients
- Multi Color Gradients
- Contrast In Gradients
- Gradient Transitions With Black
- Intro To 3D Effects
- Practice Pages
- Color Wheel Combos
- Complementary Color Combo
- Analogous Color Combo
- Split-Complementary Color Combo
- Triadic Color Combo
- Rectangle Cross Combo
- Color Combo Variations
- Shades, Tints, And Tones In Combos
- Make Your Own Palette
- Practice Pages
- How Color And Light Affect Mood
- Warm And Cool Colors
- The Romantic Mood
- The Melancholy Mood
- The Nostalgic Mood
- The Joyful Mood
- Step By Step Preparation
- Practice Pages
- The Basics Of Light Sources
- How Light Position Affects Mood
- Light Samples On Spheres
- Overhead Lighting
- Under Chin Lighting
- Shades Versus Shadows
- Atmospheric Perspective
- The Rembrandt Shadow
- Practice Pages
- Pick Your Tools
- Set The Light Source
- Establish Shadows
- Add The First Golden Color
- Add The Second Golden Color
- Search For Different Gradients
- Add A Cool Highlight
- Enhance Shading
- Add Final Details
- Final Project Review
- Heart Of The Ocean portrait (12 lessons)
- Realistic Red Rose (11 lessons)
Artisans get this course for half price.
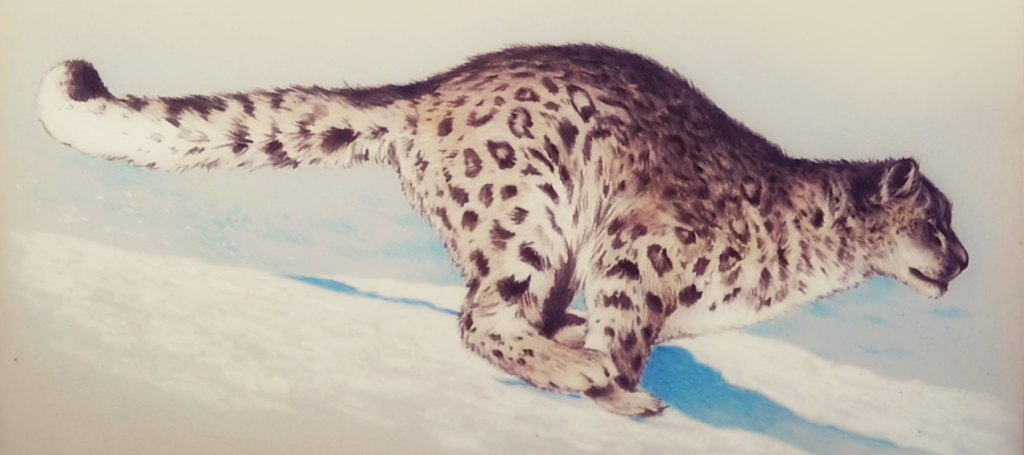
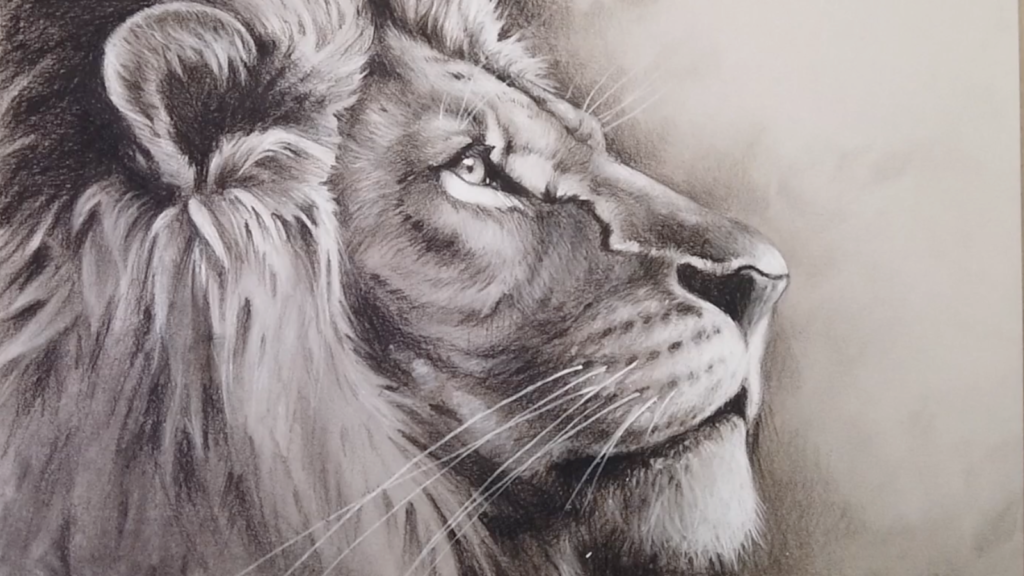
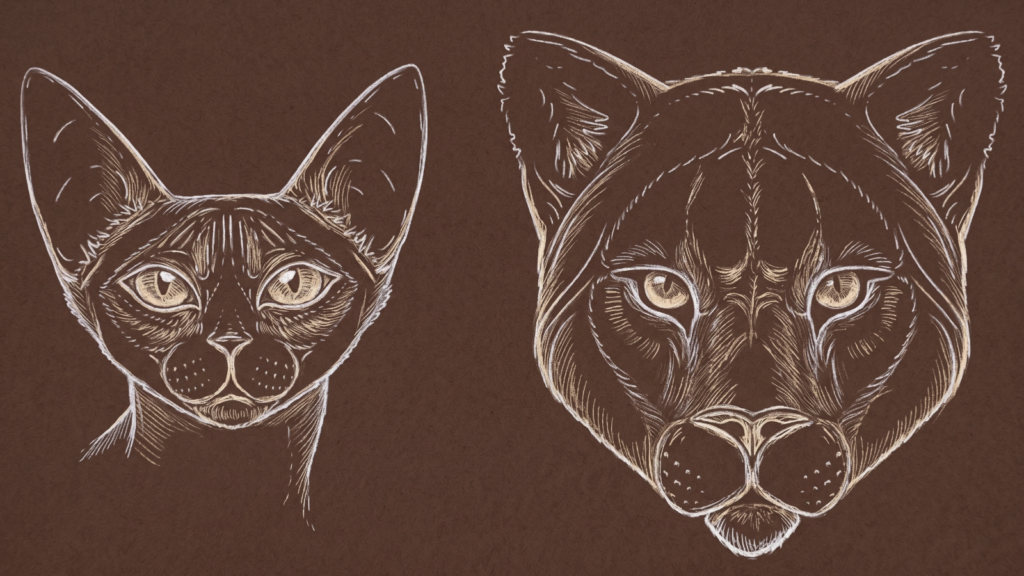
From house cats to lions, this course covers everything you need to draw realistic felines. Lisa starts with anatomy and movement, teaching you to sketch cats in graphite, charcoal, and colored pencils. You will learn facial geometry for both domestic and wild cats, then move into rendering different fur types before tackling big cats like ocelots, snow leopards, and lions.
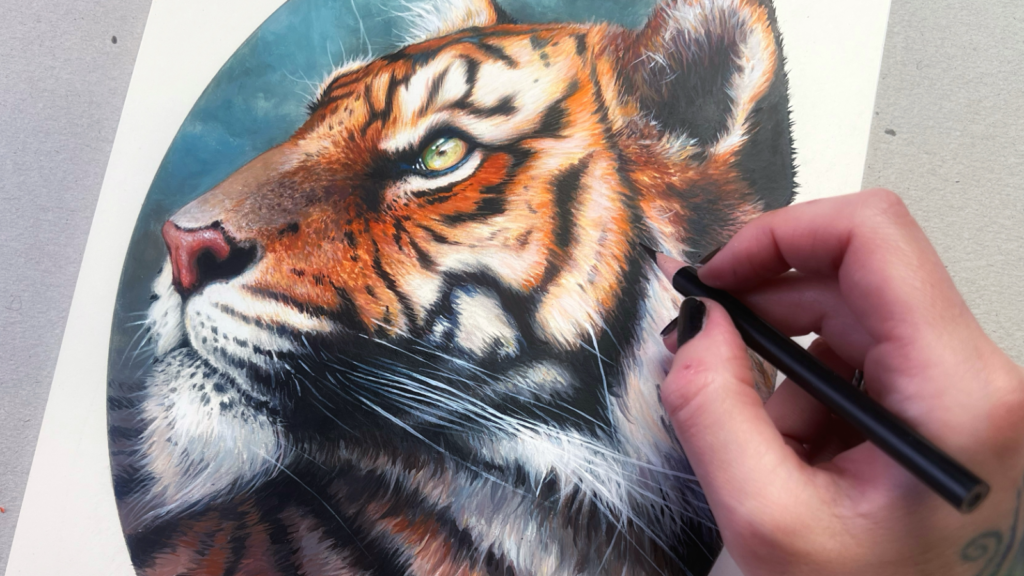
The final project brings it all together with a hyper-realistic tiger rendered in mixed media. Each module includes homework, guided practice, and drawing assignments.
After this course, you will...
- Sketch cat anatomy and movement in graphite, charcoal, and colored pencil
- Draw accurate facial geometry for domestic and wild cats
- Render multiple fur types including fluffy, tiger, leopard, and lion
- Draw big cats (ocelot, snow leopard, lion) with realistic detail
- Complete a hyper-realistic tiger portrait in mixed media
What's inside
- Sketching With Graphite
- Sketching With Charcoal
- Sketching With Colored Pencils
- Guided Sketching
- Feline Skeletal Structure
- Cats In Motion
- Different Head Tilts
- Homework: Chapter 1
- House Cat Quick Draw ▶ Preview
- House Cat Quick Draw (Continued)
- Wild Cat Quick Draw
- Wild Cat Quick Draw (Continued)
- Frontal Views Comparison
- House Cat Profile
- Wild Cat Profile
- Homework: Chapter 2
- Domestic vs Wild Cat Face Study
- Fluffy Kitten: Charcoal Sketch
- Fluffy Kitten: Textured Shading
- Fluffy Kitten: Fluff Illusions
- Tiger Fur
- Leopard And Jaguar Fur
- Lion Fur
- Snow Leopard Fur
- Fur Types Overview
- Homework: Chapter 3
- Ocelot: Lilac Base
- Ocelot: White Highlights
- Ocelot: Brown Fur
- Ocelot: Black Detail
- Snow Leopard: White Charcoal Base
- Snow Leopard: Blue Shadows
- Snow Leopard: Brown Spots
- Snow Leopard: Beige Fur
- Snow Leopard: Black Detail
- Lion: Working With Light And Shadow
- Lion: Controlling The Level Of Detail
- Lion: Knowing When It Is Done
- Tiger: Underpainting For Orange Fur
- Tiger: Background
- Tiger: Hyper Realistic Detail
- Tiger: Underpainting For White Fur
- Tiger: Mixing Media
- Tiger: Final Detail
- Lion Statue // Building Basic Shapes
- Lion Statue // Defining Detail
- Lion Statue // Shading With Value Scale
Artisans get this course for half price.
The friend who finally makes it click.
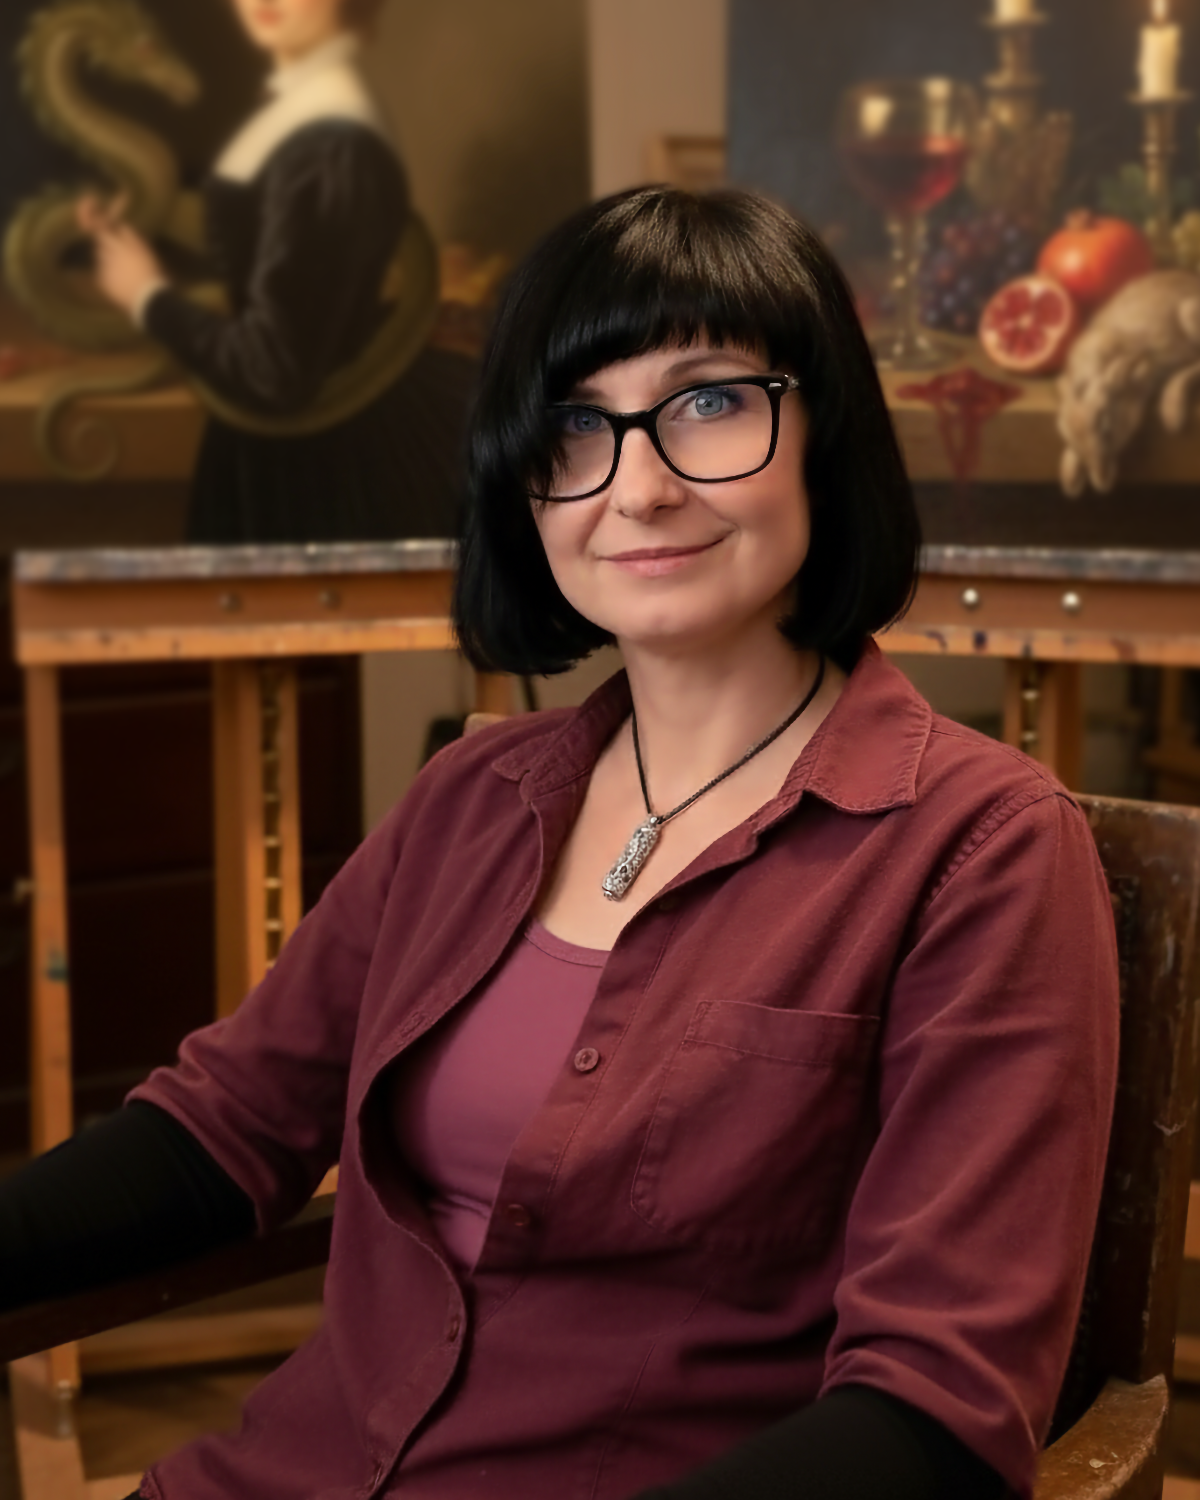
I’ve been drawing since I was three years old. I have a master’s degree in fine art and years of teaching experience in real classrooms, online, in groups, and one-on-one. Between Udemy, Skillshare, and my YouTube channel I’ve helped more than ten thousand artists pick up their pencils and start creating, and the Academy is where I go deeper: structured courses, live sessions, and real feedback on your work.
I built this academy to combine everything I’ve learned into courses that are easy to follow and get you to results fast. I won’t hand you a 40-hour lecture series or tell you that a single program track will take you four years to complete. I’ll show you the one thing to focus on, watch you try it, and tell you what to adjust. Then we’ll move on to the next thing. I teach the way that the artist brain learns, and that’s why it works.
See the difference.
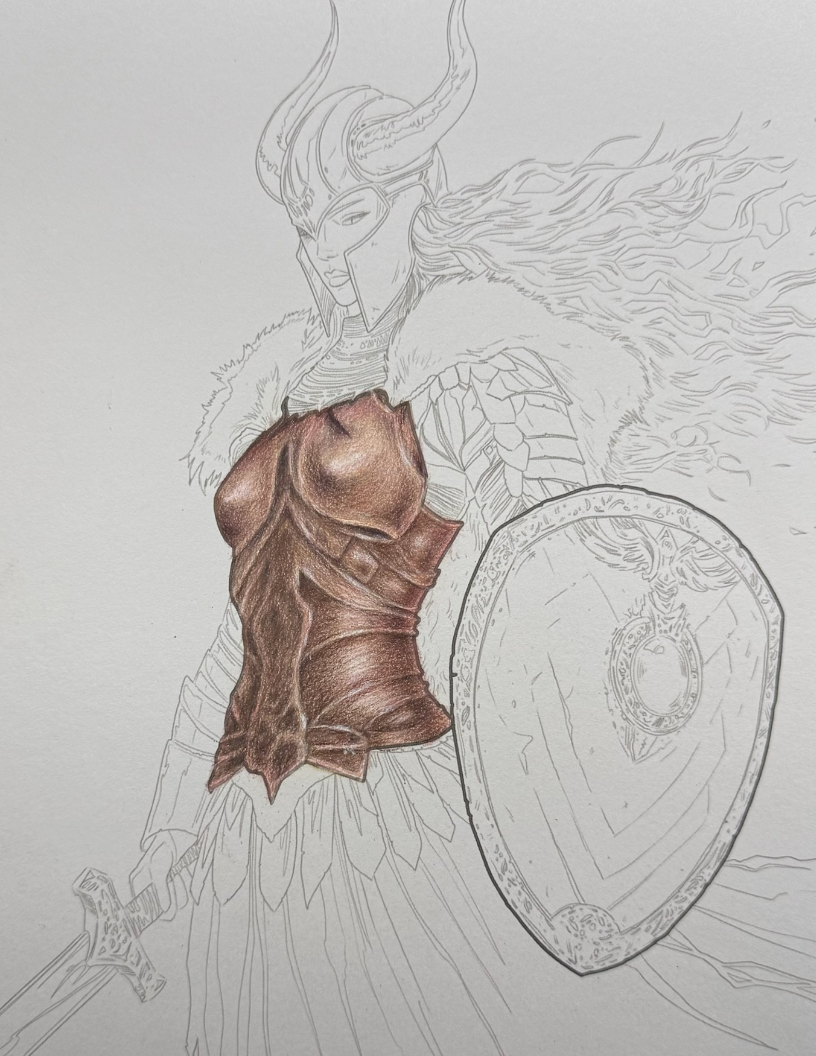
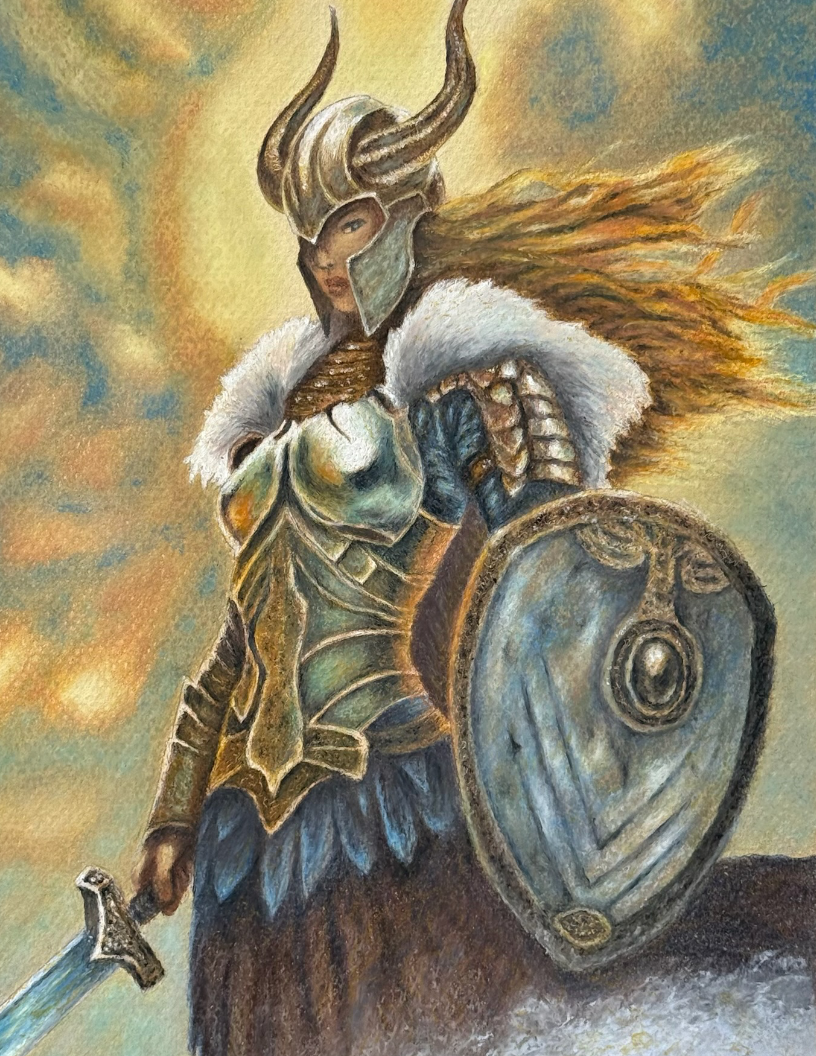
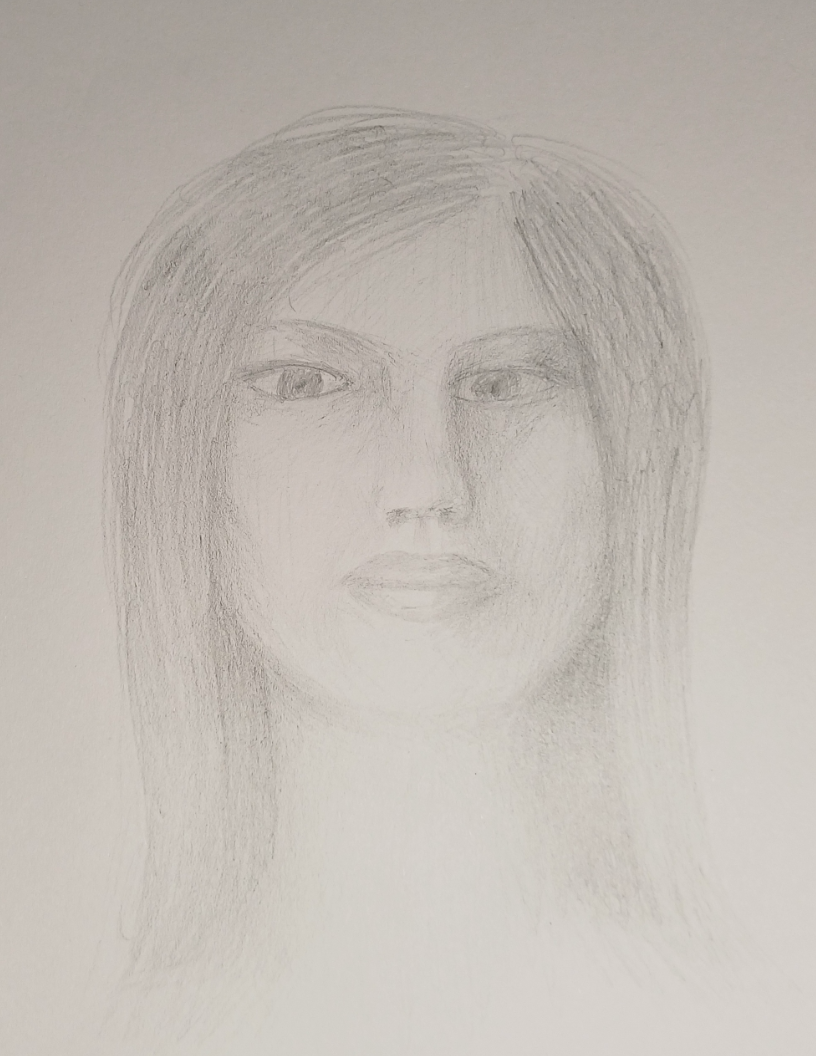
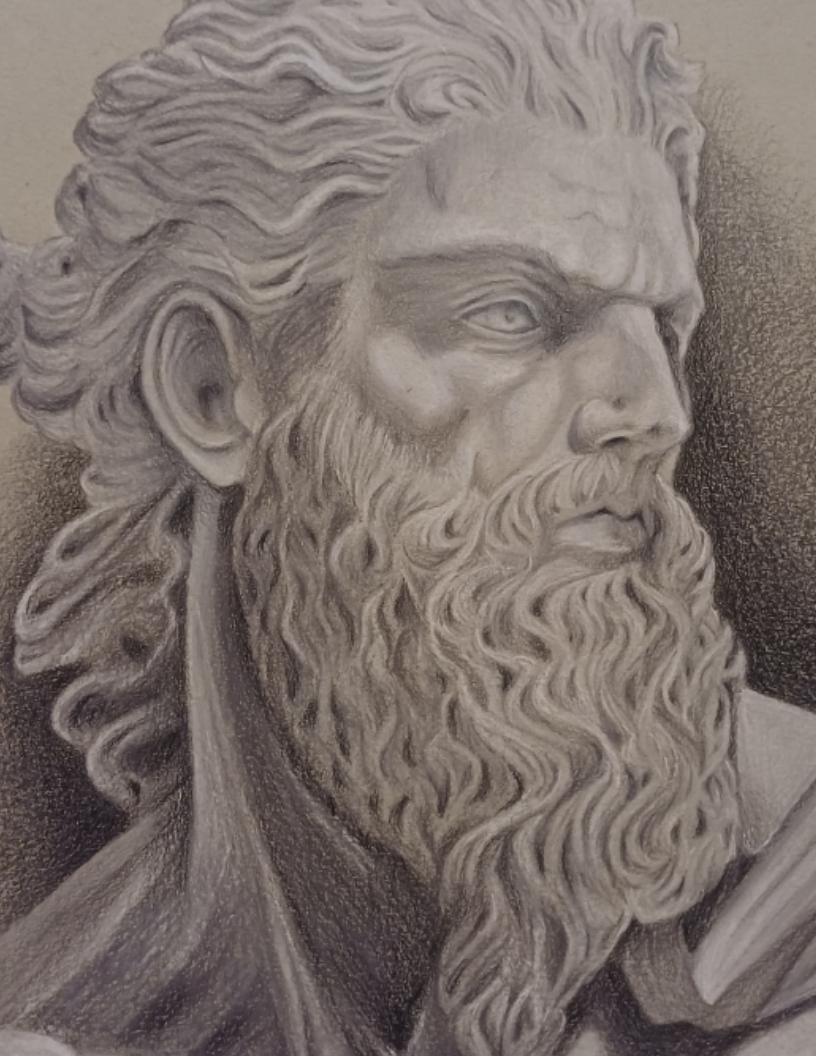
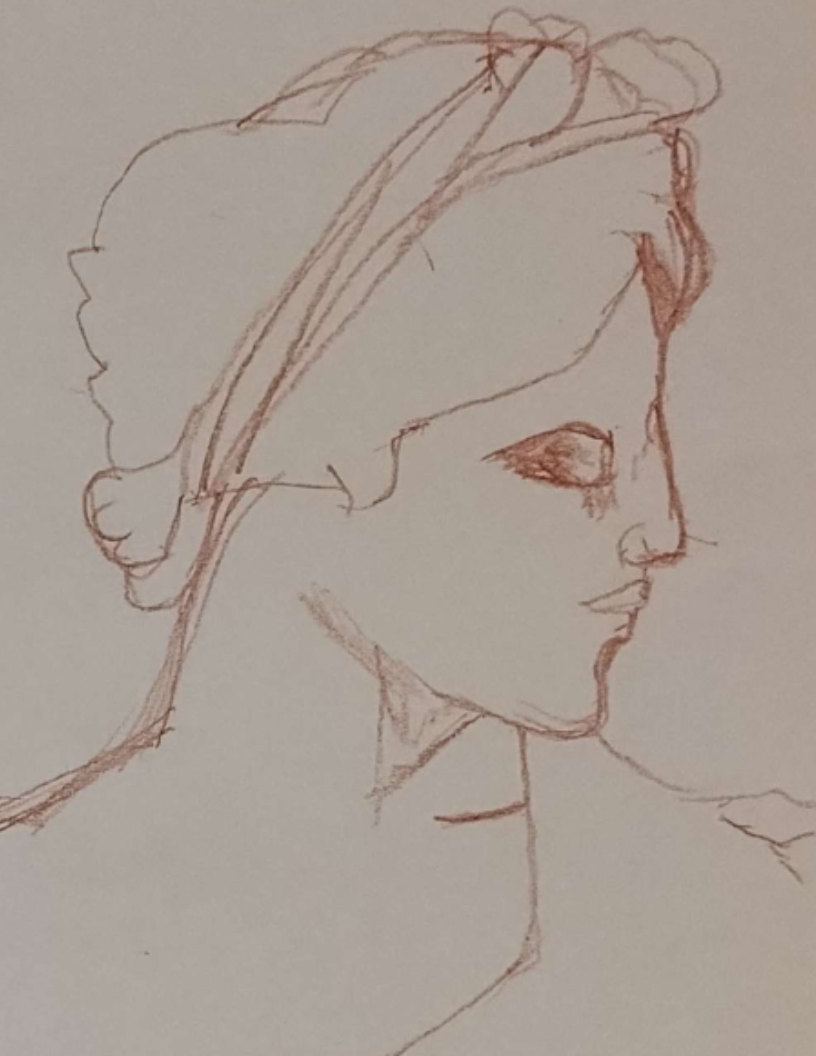
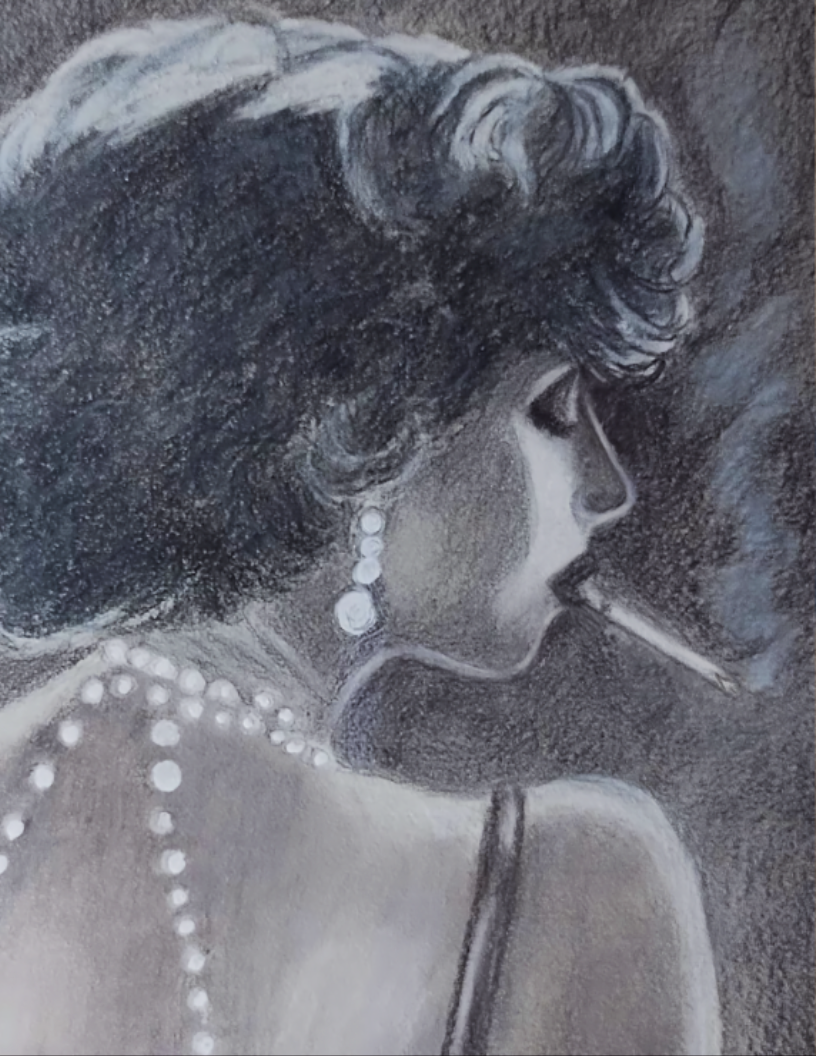
We have every student draw or color the capstone piece when they start a course. When they finish, they do it again. The difference speaks for itself.
Learn from Lisa, live every month.
A membership for artists who want real teaching, real feedback, and a community of people learning alongside you.
Becoming an Artisan changes what you do in the studio. A live class with Lisa each month, her eyes on your work, and a private community of makers who take their craft as seriously as you do.
Courses
- Half price on every course, yours to keep
Buy any course Lisa has made for half the public price. It stays in your library even if you leave the Academy. - Build new courses with Lisa
Join each new course while Lisa builds it live, at 75% off, and keep the finished course.
Live with Lisa
- Monthly live teaching session with Lisa ($247/mo value)($2,964/yr value)
Lisa teaches a focused technique or subject step-by-step each month. Walk away with a skill you can put to work in your next piece. - Monthly live coaching session with Lisa ($247/mo value)($2,964/yr value)
Bring whatever you’re working on. Lisa looks at your actual piece, in real time, and tells you what’s working, what’s holding it back, and exactly what to do next. It’s the kind of direction no tutorial or video can give you, and the single fastest way to actually improve.
Resources
- Reference photo library ($147/mo value)($1,764/yr value)
Skip the hours searching for the right reference; every photo is pre-tested for the tonal range colored pencil needs - Lisa’s Palette Vault, updated monthly ($127/mo value)($1,524/yr value)
Stop guessing which colors work together. Every palette is tested by Lisa on real projects, with exact pencil numbers for popular brands. New palettes added every month so your options keep growing. - 300+ coloring pages from Lisa’s books ($500+ value)
High-quality PDFs from Lisa’s entire published coloring book catalog, ready to print and use - 50+ coloring pages from Lisa’s videos ($750+ value)
Direct download access to every coloring page featured in Lisa’s YouTube videos - Exclusive coloring pages each month ($60+/mo value)($720+/yr value)
Original coloring pages drawn by Lisa just for Artisans, not available anywhere else (typically one per week) - 25+ full-length uncut videos ($750+ value)
Watch Lisa’s complete drawing and coloring sessions, hours of uncut footage so you can follow every decision and technique in real time - Downloadable course checklists ($95 value)
A growing library of printable guides on everything from organizing your supplies to building better creative habits - Growing reference library
Every live class, palette, reference pack, and coloring page stays in your library and grows each month, yours to revisit for as long as you’re a member
Community
- Private member community ($47/mo value)($564/yr value)
A private circle of Artisans working through the same challenges as you, with Lisa active and weighing in - Your work, Lisa’s Pick of the Month
Each month Lisa selects one Artisan’s piece for a public breakdown. Only Artisans are eligible, and your piece could be next. - Student gallery features
Your best work may be showcased on our website for the world to see
Everything in The Academy, plus Lisa as your personal instructor. Limited to five students at a time.
Personal teaching
- Up to four private lessons each month
Work one-on-one with Lisa on exactly what you need, scheduled around your life - Custom learning program
Stop wondering what to practice next; Lisa builds a plan matched to your goals and adjusts it as you grow - Priority message attention from Lisa
Lisa is active and available to help all members, but private students get priority attention
Growth track
- Detailed progress tracking
Lisa monitors your development and shifts the plan so you’re always working on what matters most - Portfolio development
Build a cohesive body of work with Lisa’s direction, whether for personal pride or professional goals - Personalized supply recommendations
Stop wasting money on the wrong materials; Lisa tells you exactly what to use for your style
We’re here to help you decide.
Hang out in the free Discord community first.
Not ready to commit? Join the free Discord community, watch Lisa on YouTube, and see if her teaching style clicks. When you’re ready, the Academy is here.
Join the Free Discord Community