
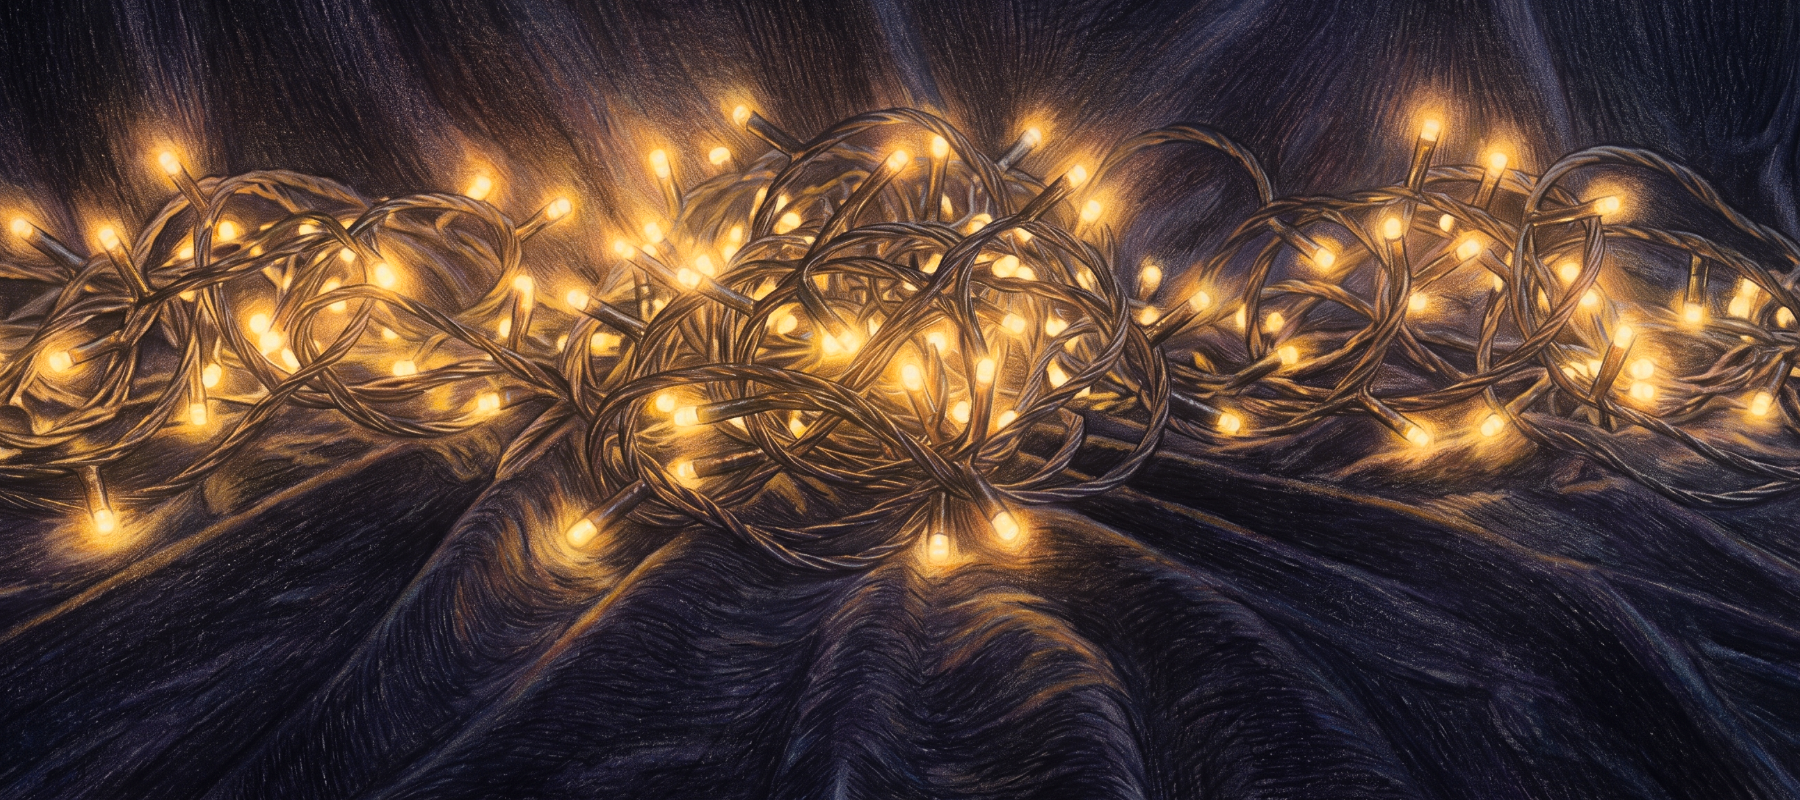
Twinkle lights, bokeh, and neon glow. Three ways to make light on paper.
About this course
Three different light effects, three complete projects. Lisa teaches you how to create the illusion of glowing light on paper using colored pencils, starting with delicate twinkle lights, moving through soft bokeh backgrounds, and finishing with vibrant neon glow. Each project builds on specific layering and blending techniques that make light appear to radiate from within your drawing.
You will learn why toned paper matters, how to use white charcoal as a foundation layer, and the color sequencing that creates convincing glow effects at any intensity.
This course teaches you how to create the illusion of glowing light on paper through three complete projects: twinkle lights, soft bokeh backgrounds and vibrant neon glow. Each project builds on specific layering and blending techniques that make light appear to radiate from within your drawing. Along the way you learn why toned paper matters, how to use white charcoal as a foundation layer, and the color sequencing that creates convincing glow at any intensity. There are 37 video lessons in all, and I teach every step.
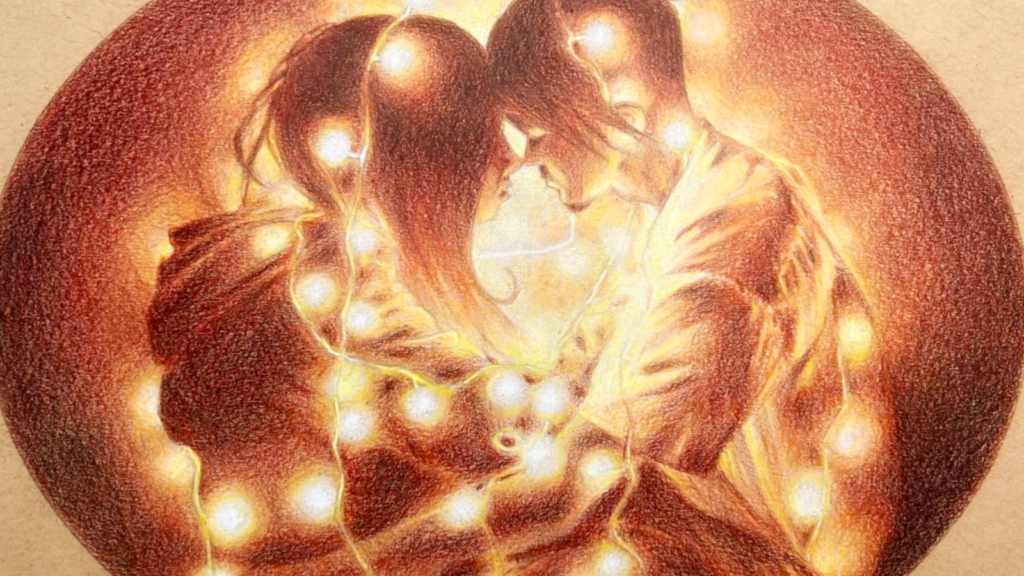
We start with twinkle lights. I show you the end goal and the glow effect structure first, so you know what the layers are working toward. Then I explain why we use toned paper and share the Q-tip trick. From there you build the effect in order: smooth shading for the first color, completing that layer, then the second color and its layer, the glow light, and finally adding black. The module ends with a homework lesson so you can try it yourself.
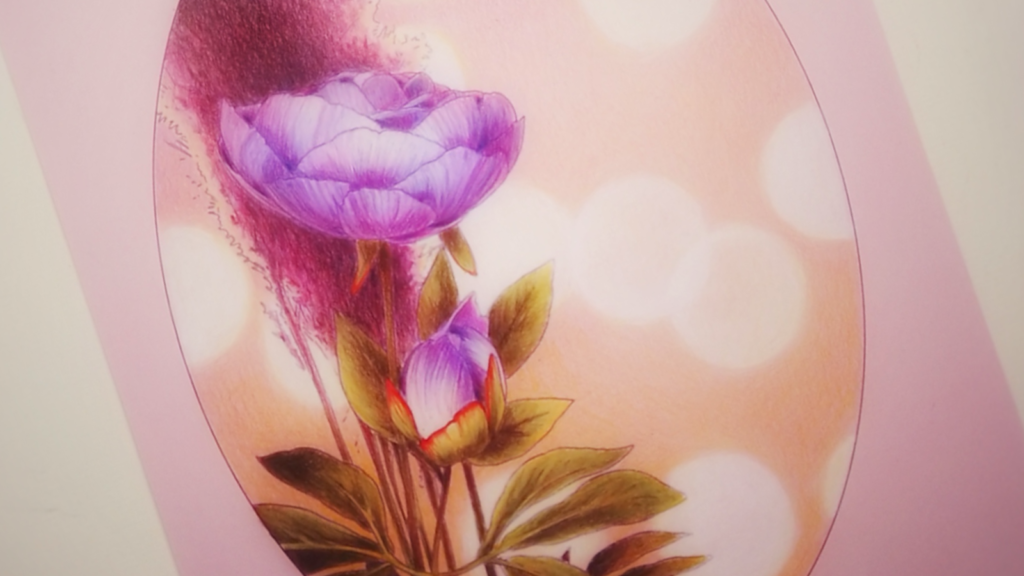
The Bokeh Effect begins with what bokeh is, then looks at paper and color type. You lay down white charcoal, then work through the first color layer, the second color layer and the glow color. Next come shadows and a lesson called Black Without Black. Once the background is built, you color the main subject, with lessons on adding a touch of cool and adding green, and you finish with The Cherry On Top and a bokeh homework lesson.
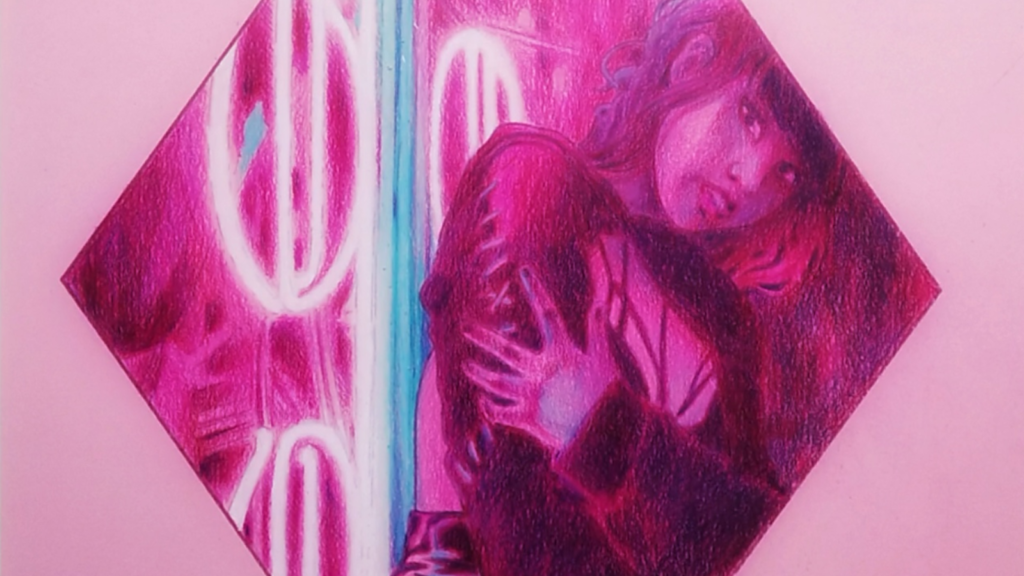
Neon Glow comes last. You learn what makes the neon effect and draw the neon bulbs, then work on a lesson titled The Most Important Layer. After that you color everything, blend smoothly, go darker and build up contrast, add black, and bring in a second neon color. A homework lesson closes the project. By the end you have worked through three different ways of making light on paper, each with its own homework to practice on.
What you'll learn
- Draw twinkle lights by building color layers, a glow light and black in the right order
- Create a soft bokeh background over a white charcoal foundation
- Color a main subject in front of a bokeh glow
- Build neon glow with smooth blending, darker values and stronger contrast
- Use toned paper as the base for your light effects
- Apply color sequencing that makes convincing glow at any intensity
Inside the course
- The End Goal
- The Glow Effect Structure
- Why We Use Toned Paper
- The Q-Tip Trick
- The First Color
- Smooth Shading
- Complete The First Color Layer
- The Second Color
- Complete The Second Color Layer
- The Glow Light
- Adding Black
- Twinkle Lights Homework
- What Is Bokeh
- Paper And Color Type
- White Charcoal Work
- The First Color Layer
- The Second Color Layer
- The Glow Color
- Adding Shadows
- Black Without Black
- The Main Subject Coloring
- A Touch Of Cool
- Adding Green
- The Cherry On Top
- Bokeh Homework
- What Makes The Neon Effect
- The Neon Bulbs
- The Most Important Layer
- Color Everything
- Smooth Blending
- Going Darker
- Building Up Contrast
- Adding Black
- The Second Neon Color
- Neon Glow Homework
Who it's for
- Intermediate colored pencil artists ready for complete projects built on layering and blending
- Artists who want the light in their drawings to look like it glows
- Anyone curious about toned paper and white charcoal as a foundation layer
- Artists who want to draw twinkle lights, bokeh backgrounds or neon
- Not aimed at people who have never picked up a colored pencil
Your instructor
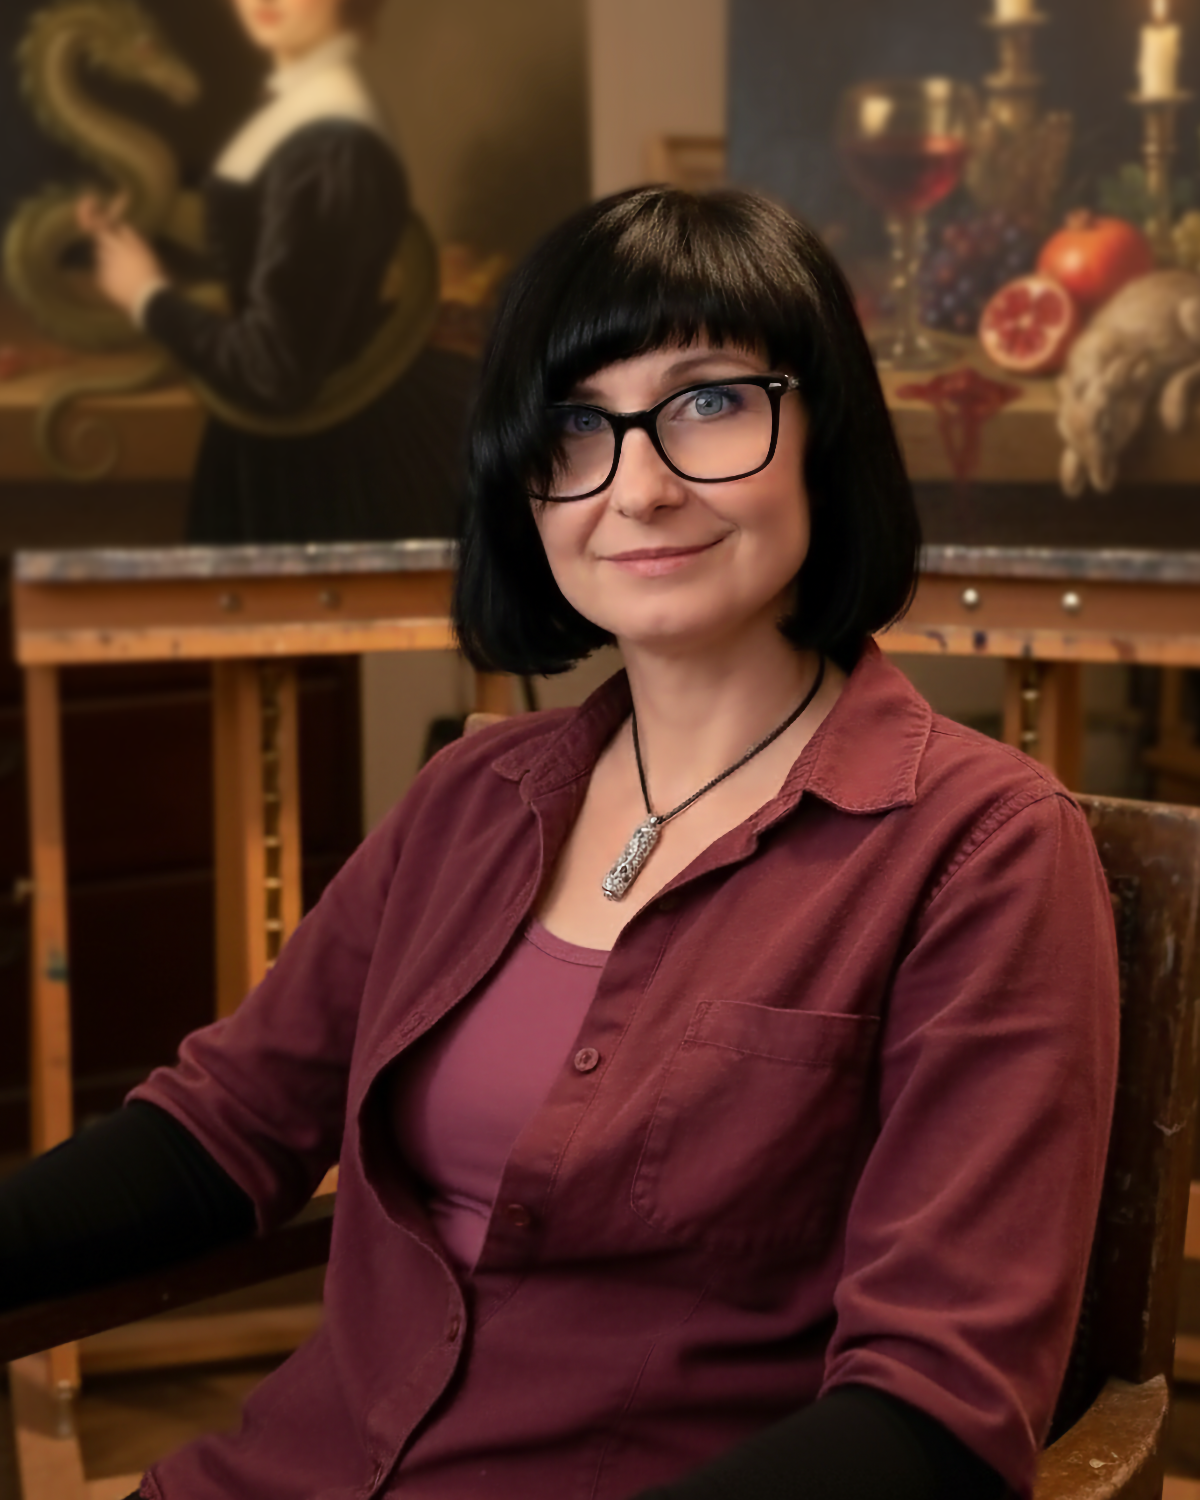
I'm Lisa Mitrokhin. I've been drawing since I was three years old, I have a master's degree in fine art, and I've taught in real classrooms, online, in groups, and one-on-one. I teach the way the artist brain learns: I show you the one thing to focus on, you try it, and then we move on to the next thing.
Questions about Light Illusions With Colored Pencils
Which light effects do I learn, and in what order?
Three, one per module. You start with twinkle lights, move to the bokeh effect, and finish with neon glow. Each is a complete project that builds on layering and blending techniques.
Why does the course use toned paper?
Glow depends on contrast. On white paper there is nothing for a light to shine against, so it tends to look flat. Toned paper gives you a middle value to start from, so the light areas read as bright and the darks read as deep. I cover this in Why We Use Toned Paper and come back to paper choice in the bokeh module.
Where does white charcoal come in?
White charcoal is the foundation layer for the bokeh project, in the lesson White Charcoal Work. It comes before you add the first and second color layers and the glow color.
What is the Black Without Black lesson about?
In the bokeh project, flat black pencil can deaden the soft, glowing background. In Black Without Black I show you how to build very dark values from layered colors instead, so the shadows stay rich and keep some of the warmth or coolness of the light around them.
How long is Light Illusions With Colored Pencils?
37 video lessons, about 3h 19m of teaching in total, across 3 modules. It's a intermediate course.
Can I buy just this course?
Yes. Every course is sold on its own and is yours to keep. If you want more than one, Artisans get a big discount on every course, live coaching with me, and a community of artists to draw with. See everything Artisans get →
Do I need expensive supplies?
No. I teach with commonly available brands. Artisans also get the Palette Vault, with brand and color number references so you can follow along with the pencils you already have.
Where do I watch the lessons?
On the academy at academy.itseasytodraw.com, from any web browser on any device.
Artisans get this course for half price.
Keep going
 $197
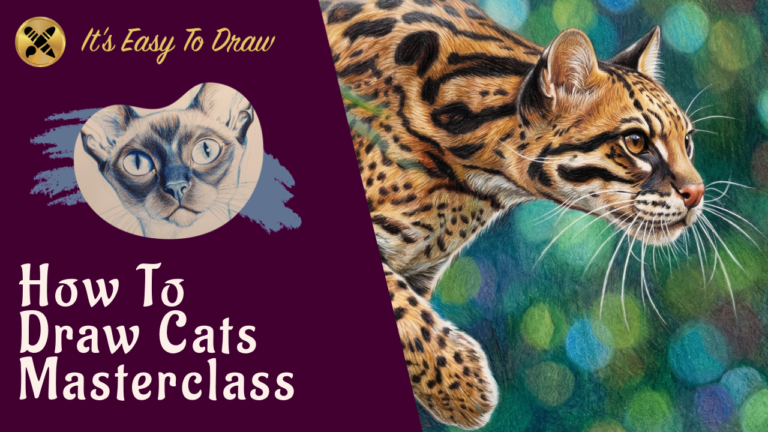
From house cats to lions. Anatomy, fur, and realistic detail.
 $157
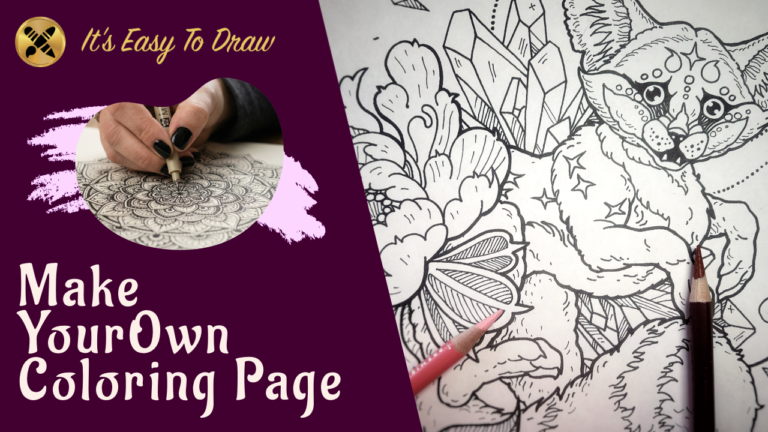
From first sketch to a finished coloring page ready for print or Etsy.
 $97
Achieve the watercolor look using only colored pencils. No water needed.