Choosing the right pencil to draw with can feel overwhelming when you’re staring at a wall of options. Graphite, charcoal, colored, mechanical-where do you even start? This guide cuts through the noise. Whether you’re picking up your first sketchbook or upgrading your studio setup, here’s everything you need to know about drawing pencils, how they work, and how to get the most out of them.
Quick Start: The Best Pencil to Draw With Right Now
If you just want to know what to buy today and start drawing tonight, here’s your answer.
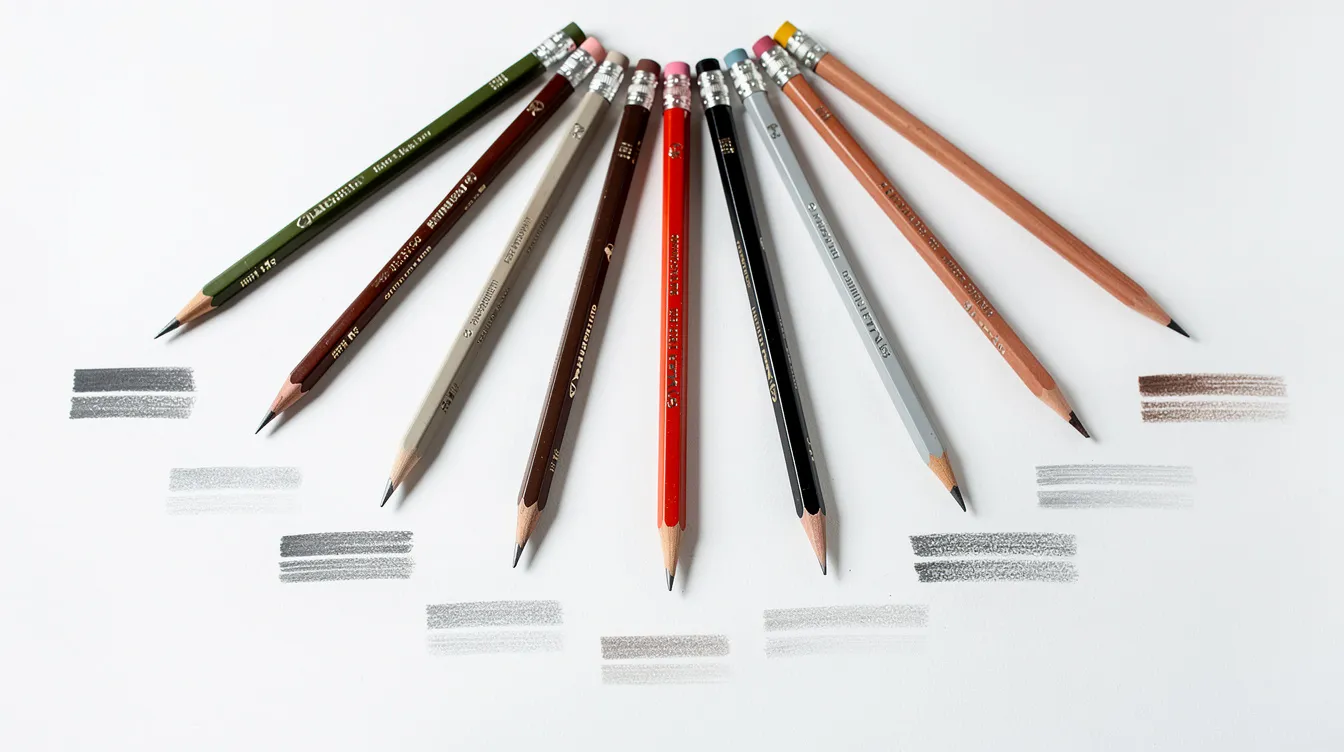
- 4 graphite drawing pencils: HB, 2B, 4B, and 6B. For beginners, a small set of H, HB, 2B, and 4B pencils is often sufficient to cover most needs. HB handles construction lines, 2B and 4B cover general shading, and 6B delivers your deepest darks.
- Reliable brands: Grab Staedtler Mars Lumograph or Faber-Castell 9000 pencils. Both are widely available at any art shop, consistent grade-to-grade, and trusted by beginners and professionals alike.
- 1 kneaded eraser + 1 vinyl eraser for corrections and highlights.
- 1 basic sharpener (metal, single-hole is fine).
- 1 sketchbook: A4, 180–200 gsm, with slight tooth.
- 1 charcoal pencil (2B) for experimenting with rich, matte darks.
- 1 set of colored pencils (12 colors) for simple color sketches.
That’s it. That’s your starter drawing kit. Now let’s dig into why these choices work.
Understanding Drawing Pencils: From Graphite to Charcoal
A drawing pencil isn’t just a regular pencil you’d use to scribble a grocery list. Regular pencils like the standard #2/HB are designed for writing-uniform, middle-of-the-road marks. Artists pencils, on the other hand, are engineered with controlled hardness, stronger cores, and better materials for serious fine art drawing. You should choose artist-grade pencils for better quality and performance across the board.
Graphite pencils are the backbone of most drawing. They’re smooth, precise, easy to erase, and come in a wide tonal range from whisper-light to deep dark. Think urban sketching, portraits, technical drawing-graphite handles it all.
Charcoal pencils are compressed charcoal in a wood casing, built for dramatic, expressive work. They create extremely dark, velvety marks that graphite simply can’t match. Perfect for moody portraits and life drawing sessions.
Colored pencils use wax or oil binders with pigment instead of graphite. They’re essential for botanical illustration, selective color accents over graphite drawings, or full standalone color studies, and you can deepen your skills through structured colored pencil courses.
In practice, many artists build a drawing kit that mixes all three types-graphite for structure, charcoal for atmosphere, colored pencils for life-plus erasers, blenders, and the right paper to tie everything together. We’ll break each of those down in the sections ahead.
Graphite Pencil Grades Demystified (HB to 9B and 9H)
Every pencil grade tells you something specific about how dark, how soft, and how precise your marks will be. Understanding this scale is the single biggest unlock for controlling value range and line quality in graphite drawing.
Graphite pencils are categorized by a grading scale of H for hard and B for black (soft). The HB grade sits right in the middle of the scale, and F occupies a niche spot between H and HB. Pencil grades range from 9B (the softest, darkest) to 9H (the hardest, lightest), though some premium lines extend further.
Here’s the science: pencils are graded based on the ratio of graphite to clay. More clay means more filler, producing harder pencils that create lighter, sharper lines with less smudging. More graphite means soft pencils that lay down dark, rich marks ideal for smooth gradients. Softer pencils (B grades) produce dark and soft marks good for shading and creating depth, while H grades are best for light sketching and intricate details.
A practical starter set looks like this: buy grades 4H, 2H, HB, 2B, 4B, and 6B of the same brand. Use 4H for faint construction guides, 2H–HB for general line work, 2B for midtone shading, 4B for hair and textures, and 6B for your deepest shadows.
One critical caveat: there is no industry standard for pencil grading consistency. A 2B from Faber-Castell 9000 may look noticeably different from a 2B in Caran d’Ache Grafwood. Pencil grades affect the darkness and line quality of your marks, so always test swatches on your actual paper before committing to a full drawing.
Types of Graphite Drawing Pencils and How to Use Them
Graphite pencils come in several physical forms, and each one serves a different drawing approach. Knowing which to reach for-and when-saves time and frustration.
Classic wood-cased graphite pencils are the standard. Available in hexagonal or round barrels, they run the entire length of a standard pencil and work beautifully for everything from sketching to detailed rendering. The wood casing protects the core and allows you to sharpen to various point lengths for different effects.
Mechanical pencils (0.3 mm, 0.5 mm, 0.7 mm) provide a consistent line thickness for detailed work, making them ideal for technical drawing, precise hatching, and ultra-fine thin lines. They never need sharpening, which is a real advantage when you need uniformity.
Woodless graphite pencils are solid graphite with just a thin lacquer coating. They’re perfect for broad shading, large sketches, and expressive gesture drawing where you want to use the entire surface of the tool.
Graphite sticks and powdered graphite let you cover big areas fast. Apply powdered graphite with cloth or brushes for background toning and large value masses-techniques that would take forever with a standard pencil tip.
A practical combination: use a 0.5 mm mechanical pencil for rendering eyes and fine details in a portrait, then switch to a 4B wood-cased pencil for hair and soft shadows. Same drawing, two tools, dramatically different marks.
Charcoal Pencils vs Graphite Pencils: Which to Draw With?
Charcoal pencils and graphite pencils look similar on the shelf, but they behave very differently on paper. The choice between them comes down to texture, darkness, control, and what you’re trying to achieve.
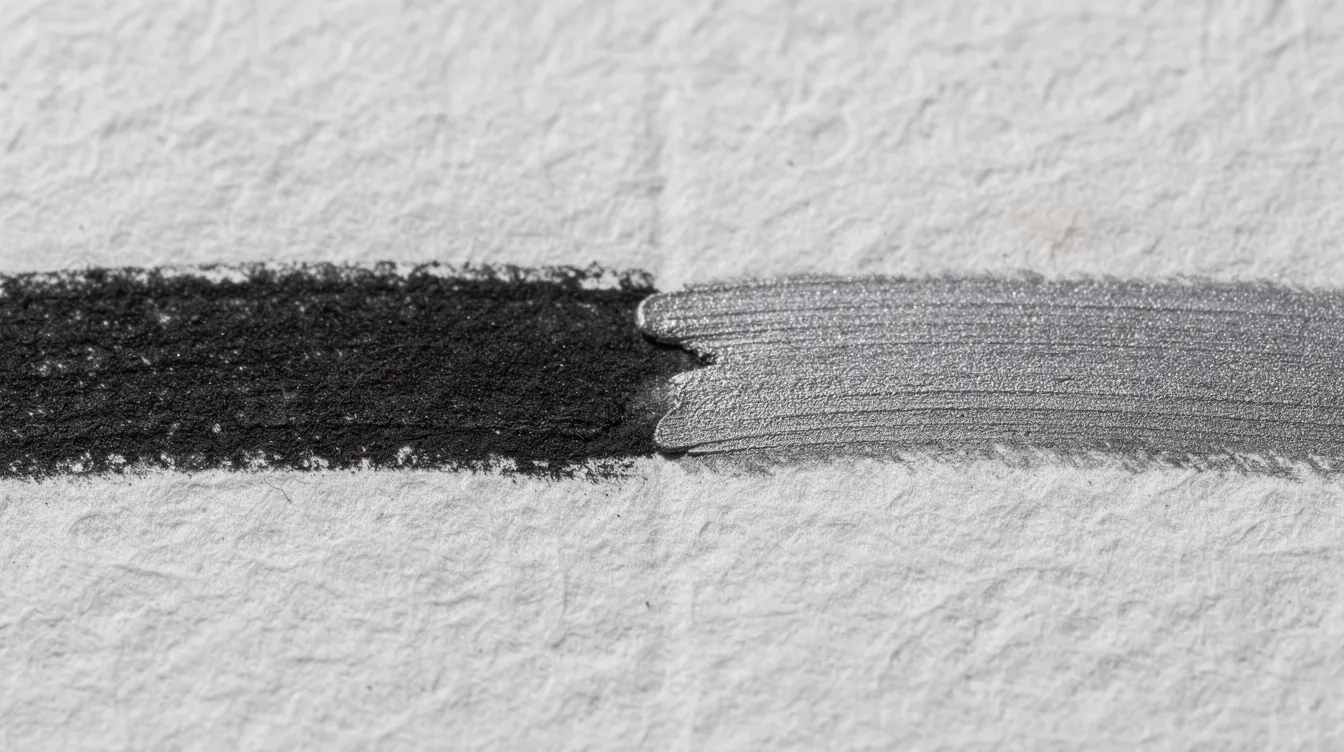
Charcoal pencils are made from compressed charcoal powder and binder, typically graded from HB to 6B. They produce deep, matte blacks with a velvety surface that photographs and scans beautifully. Generals charcoal pencils, for instance, are a popular choice for artists wanting rich darks without breaking the bank. Charcoal pencils create extremely dark sketches and are ideal for dramatic effects in portraiture and figure drawing.
Compared to vine and willow charcoal sticks-which are soft, crumbly, and uncompressed-charcoal pencils offer sharper points and more control. They’re still dustier and more smudge-prone than graphite, though, so plan accordingly.
Graphite pencils produce a characteristic metallic sheen, especially in the 4B–8B range, which can cause a shiny, reflective glare under light or when scanning finished artwork. This is the main aesthetic trade-off. On the plus side, graphite pencils are smoother and easier to erase than charcoal pencils, making them more forgiving.
For beginners in 2026, graphite drawing pencils are the smarter starting point-more control, fewer surprises, and easier corrections. Once you’re comfortable, add charcoal pencils for richer, more dramatic work.
Many artists use both together: graphite for initial construction and midtones, then charcoal for final dark accents. Just be aware that charcoal over heavy graphite can slide, and layering order matters. More on that later.
Essential Accessories: Erasers, Sharpeners, and Blenders
Here’s something that trips up a lot of people: control in pencil drawing depends as much on your erasing and blending tools as on the pencil itself. These accessories aren’t afterthoughts-they’re core instruments.
Kneaded erasers work by adhesion, lifting graphite and charcoal particles off the surface rather than scrubbing them away. Using a kneaded eraser allows lifting graphite without damaging the paper, which makes them perfect for pulling out subtle highlights and softening edges. Shape them into points for precision, knead them to refresh. Their limit? They saturate over time and lose effectiveness on heavy applications.
Vinyl (plastic) erasers are the heavy lifters. They cleanly remove darker graphite marks through gentle abrasion, and pen-style or stick erasers let you erase fine lines and hard edges. Be careful-pressing too hard on thin or delicate paper can tear or burnish the surface.
Electric erasers are an advanced tool for very sharp highlights in hair, reflective metal, or water. They’re powerful but aggressive, so watch for over-erasing that chews into your paper.
Sharpeners range from basic hand-held metal types to crank models. But many artists prefer a craft knife and sandpaper block to sharpen their pencils into long, exposed drawing points-this gives better control for shading with the side of the lead.
Blending tools include tortillons, blending stumps, soft brushes, tissue, and cotton pads. Blending can create the illusion of depth through smooth transitions. Graphite blends into silky gradients; charcoal blends faster but can muddy if overworked. Each tool behaves differently depending on the medium, so experiment.
Choosing the Right Pencil Brands: Faber-Castell, Caran d’Ache, Conté à Paris & More
Brand choice matters more than most beginners realize. Different manufacturers use different graphite sources, clay processing, and wood casing methods-all of which affect consistency, feel, and archival quality in your drawing.
Faber-Castell is the benchmark. Their 9000 graphite pencils, first launched in 1905, remain among the most reliable and consistent on the market. Faber-Castell 9000 pencils range from 6H to 8B, with smooth laydown and professional quality wood casing. Their Polychromos colored pencils are equally respected for lightfastness and pigment purity. Faber Castell is a safe bet for anyone building a serious collection.
Staedtler Mars Lumograph pencils have a wide range from 10H to 12B, making them one of the broadest grade offerings available. They deliver high density graphite with consistent darkness in soft grades and excellent break resistance across the range.
Caran d’Ache Grafwood pencils are expensive but highly regarded for their dense, dark B-grades and superior extra refined barrel treatments. They’re a premium choice for artists who want maximum control and a distinctive feel.
Conté à Paris is a historic French brand producing silky, dark graphite pencils and classic conté sticks. Their pierre noire charcoal tools are legendary for expressive sketching and deep tonal work.
Blackwing pencil models have a devoted following among illustrators, with soft, dark cores and replaceable erasers. They sit at the intersection of writing and sketching tools.
Other brands worth testing: Derwent Graphic pencils are good for blending but can be scratchy in harder grades. Tombow Mono 100 pencils are known for their smoothness and darkness. Koh i Noor offers solid value across their graphite lines, and other brands like these round out the landscape.
The “best” brand is personal preference. Compare a small selection rather than buying an entire range blindly. A balanced drawing kit might combine graphite pencils from one brand with charcoal or colored pencils from another.
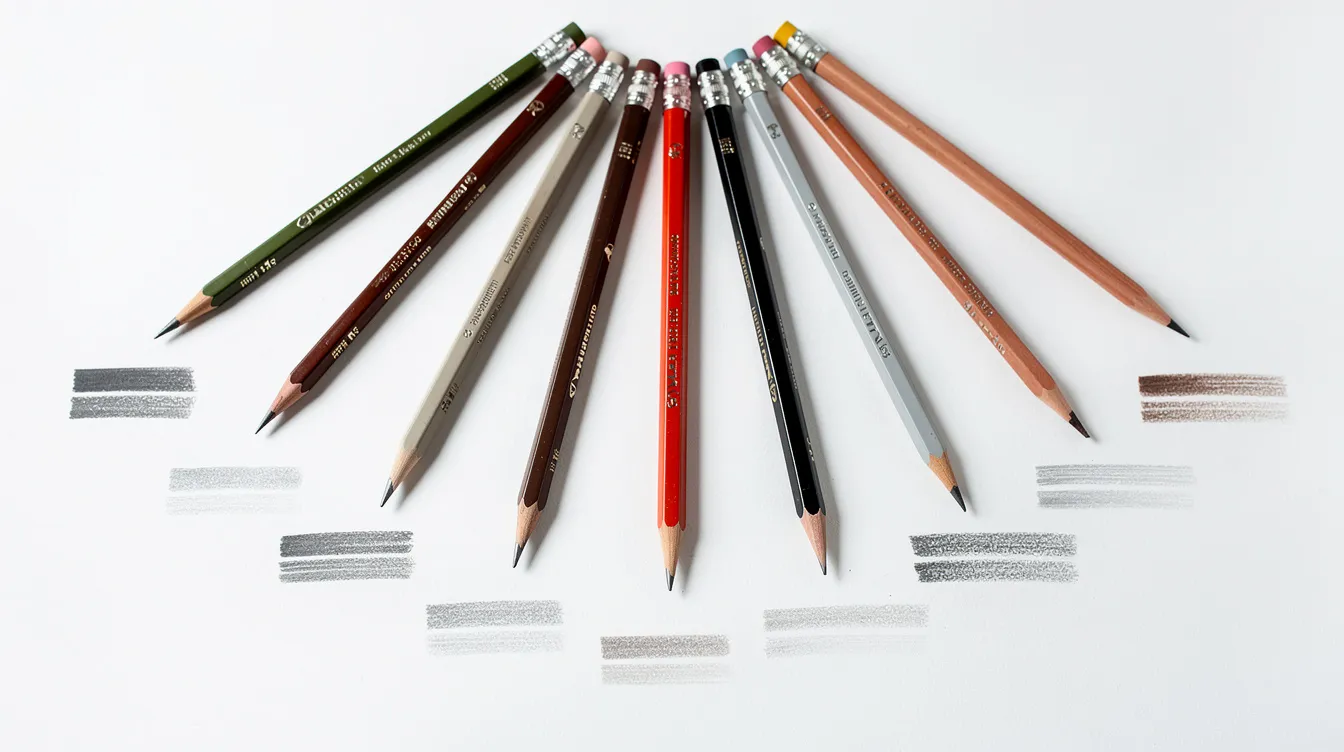
Building a Versatile Drawing Kit (Graphite, Charcoal, and Colored Pencils)
A good drawing kit keeps you ready for quick sketches, detailed studies, and finished artworks without drowning in clutter. Here’s how to build one that actually works.
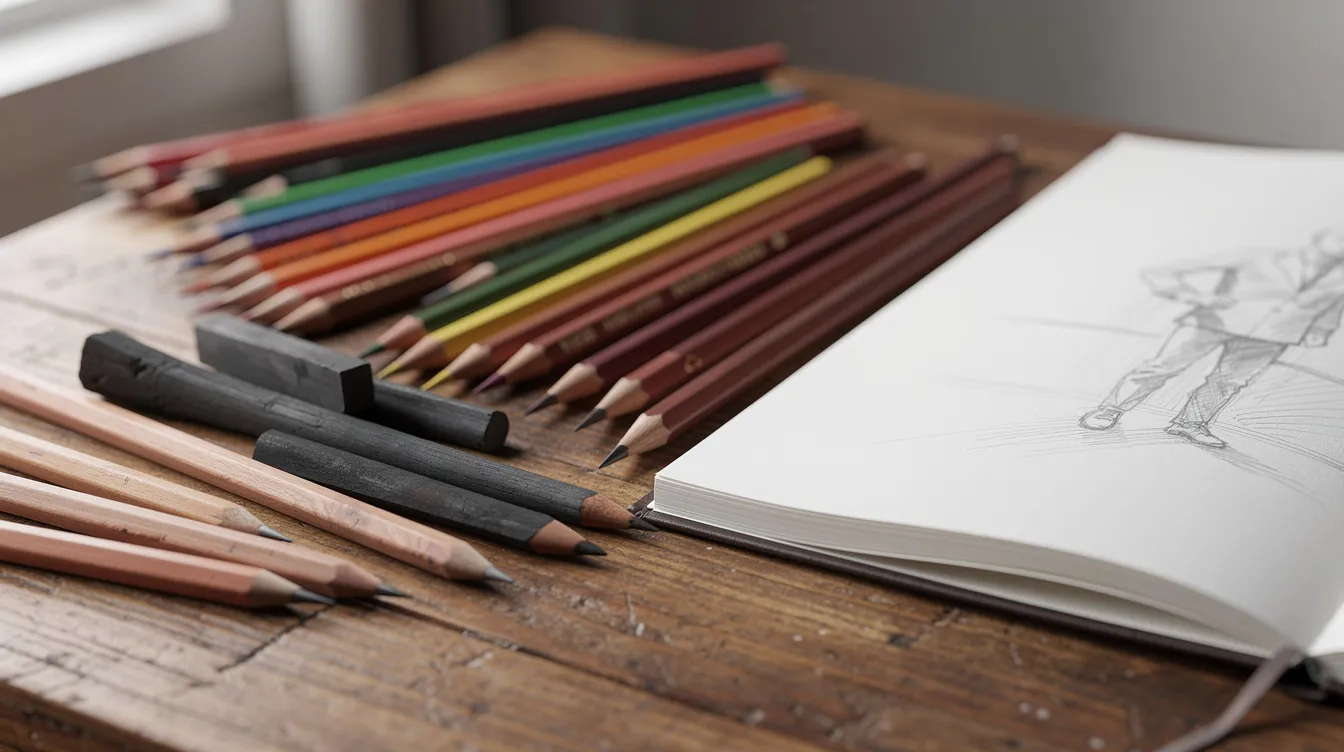
Core graphite setup: 5–7 graphite pencil grades covering a full range of values. A good range would be 2H, HB, 2B, 4B, 6B, and 8B. Add a kneaded eraser and vinyl eraser, a quality sharpener or craft knife, and an A4 sketchbook (180+ gsm with some tooth). Pairing this with fundamentals of drawing instruction covers the hardest grades through to the softest.
Charcoal addition: 2–3 charcoal pencils (HB, 2B, 4B) plus a couple of vine or willow sticks for expressive dark passages and atmospheric background toning. Keep a can of workable fixative nearby.
Color layer: A compact set of 24 colored pencils lets you add selective color to graphite drawings or develop standalone color studies. Watercolor pencils add another dimension if you want to experiment with mixed media and markers.
Travel kit: For urban sketching, pare down to a pencil roll holding HB, 2B, 4B graphite pencils, one charcoal pencil, a small colored pencil set of 12, a kneaded eraser, and a compact A5 sketchbook. That’s a kit that fits in a jacket pocket.
Studio portrait kit: Expand to the full value range-2H through 8B graphite, multiple charcoal grades, a box of 36+ colored pencils, blending stumps, and larger paper. This setup handles everything from lighter values in skin to the deepest shadow in hair, especially when paired with step‑by‑step face drawing courses.
Techniques: Getting the Most Out of Your Pencil to Draw
The same pencil can produce wildly different effects depending on how you hold it, how hard you press, and which direction you move. Effective pencil drawing involves controlling pressure, direction, and value-and none of that requires expensive tools.
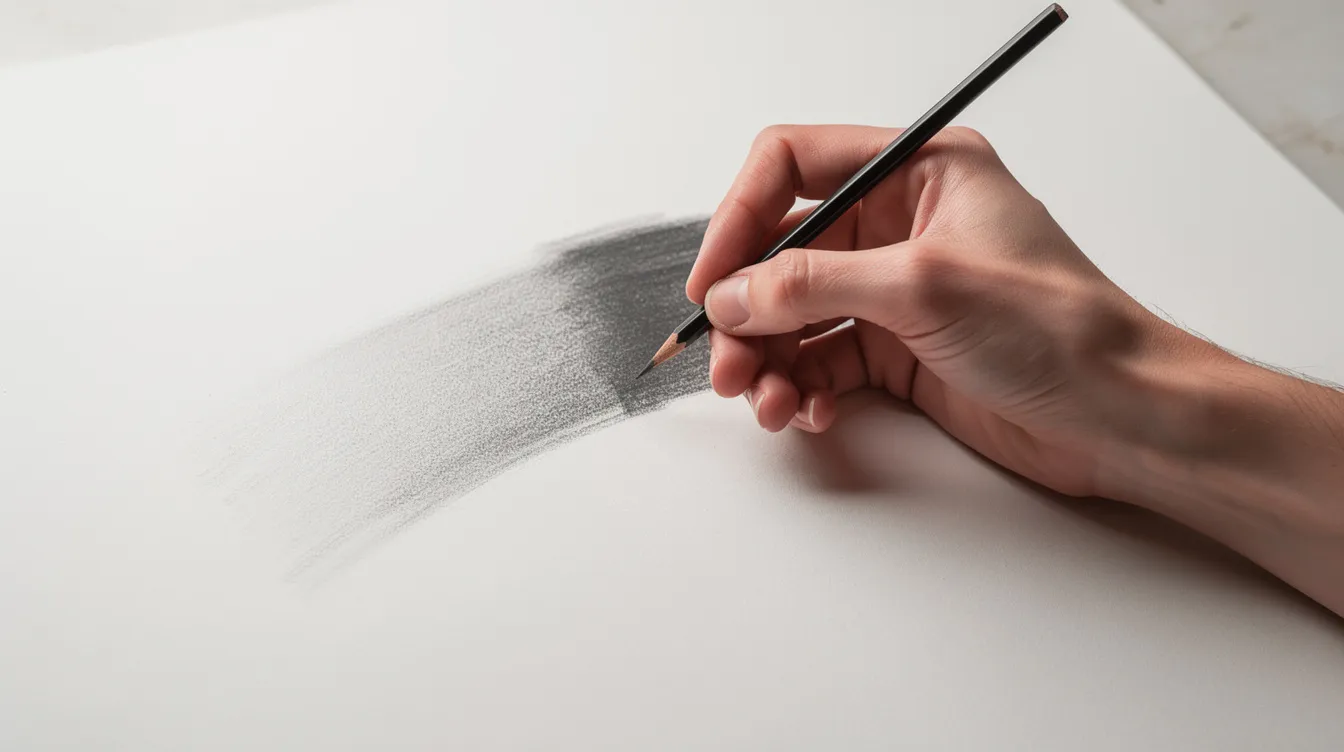
Pencil grips: The standard writing grip gives you fine control for detail work and thin lines. The overhand grip-pencil resting across your fingers, thumb on top-unlocks broad, sweeping strokes for shading. Switch between them constantly.
Pressure control: Beginners should start with light lines to facilitate easy corrections. Draw lightly at first, building tone gradually through multiple passes rather than pressing hard from the start. Light, medium, and heavy pressure each create distinct tones from the same pencil.
Line techniques: Hatching creates tone through parallel lines. Cross-hatching uses intersecting lines to deepen values. Contour shading follows the form of the object. Scribble shading fills areas with irregular marks for texture. Match technique to pencil grade-HB for technical hatching, 4B for soft, atmospheric shading.
Developing a full value range: Use your set of graphite drawing pencils to build from paper-white through midtones to near-black. For smooth shading, use the side of the graphite lead rather than the tip. This wide tonal range is what separates flat sketches from drawings that feel real.
Graphite vs charcoal techniques: Charcoal pencils favor broad, soft shading and eraser-based highlights. Graphite favors controlled, gradual transitions. Practicing drawing straight and curved lines with both media improves confidence and versatility.
Combining Graphite, Charcoal, and Colored Pencils Safely
Many artists work in mixed media, and combining pencil types can produce stunning results-but some combinations work better than others.
Layering rules: Start with harder pencils and lighter graphite grades for structure. Move to softer graphite or charcoal pencils for shadows. Add colored pencil accents last if desired. This order matters because each medium interacts with the paper surface differently.
Compatibility issues: Charcoal laid over heavy, shiny graphite tends to slide and won’t grip the surface. Colored pencils over very smooth graphite may not adhere well either. The fix? Use light graphite underneath, or apply a light spray of workable fixative between layers to create tooth.
Successful combinations: A graphite portrait with charcoal pencils used only in the iris and pupils for depth. Colored pencils glazed lightly over soft graphite midtones for a warm skin tone. Pens or fine markers for linework over graphite underdrawing.
Fixatives: Use workable fixative sprays to lock down charcoal before adding other media. But test first-fixatives can darken tones, shift contrast, and occasionally yellow over time. Apply in thin, even coats and always in a ventilated space.
Caring for Your Pencils and Finished Drawings
Protecting both your tools and your finished art ensures they last for years, not months. A few simple habits make all the difference.
Storing pencils: Keep drawing pencils in cases or rolls, away from extreme heat or moisture. Soft grades like 6B–9B are fragile-protect their tips from impact. Even high point strength cores can snap if dropped on hard surfaces.
Sharpening best practices: Rotate the pencil as you sharpen for an even point. Empty shavings regularly to prevent jamming. For long drawing points that let you shade with the side of the lead, use a craft knife and sandpaper block rather than a standard sharpener.
Protecting finished work: Apply fixative spray to charcoal and soft graphite drawings. Store finished pieces in archival sleeves or portfolios, flat, away from strong light. For colored pencils, watch for wax bloom-a hazy film that appears over heavy wax-based layers. Storing drawings flat in moderate temperatures prevents this.
Archiving habit: Date your sketches, note which pencils and paper you used, and photograph finished works under even lighting. It takes seconds and helps you track your progress, especially when you compare your drawings to gallery examples of finished artwork-and it matters for conservation if your art is ever exhibited or sold.
Now you have everything you need to pick up the right pencil to draw with confidence. Grab a few grades, open your sketchbook, and start making marks. The tools are simple. The practice is what makes the art.