
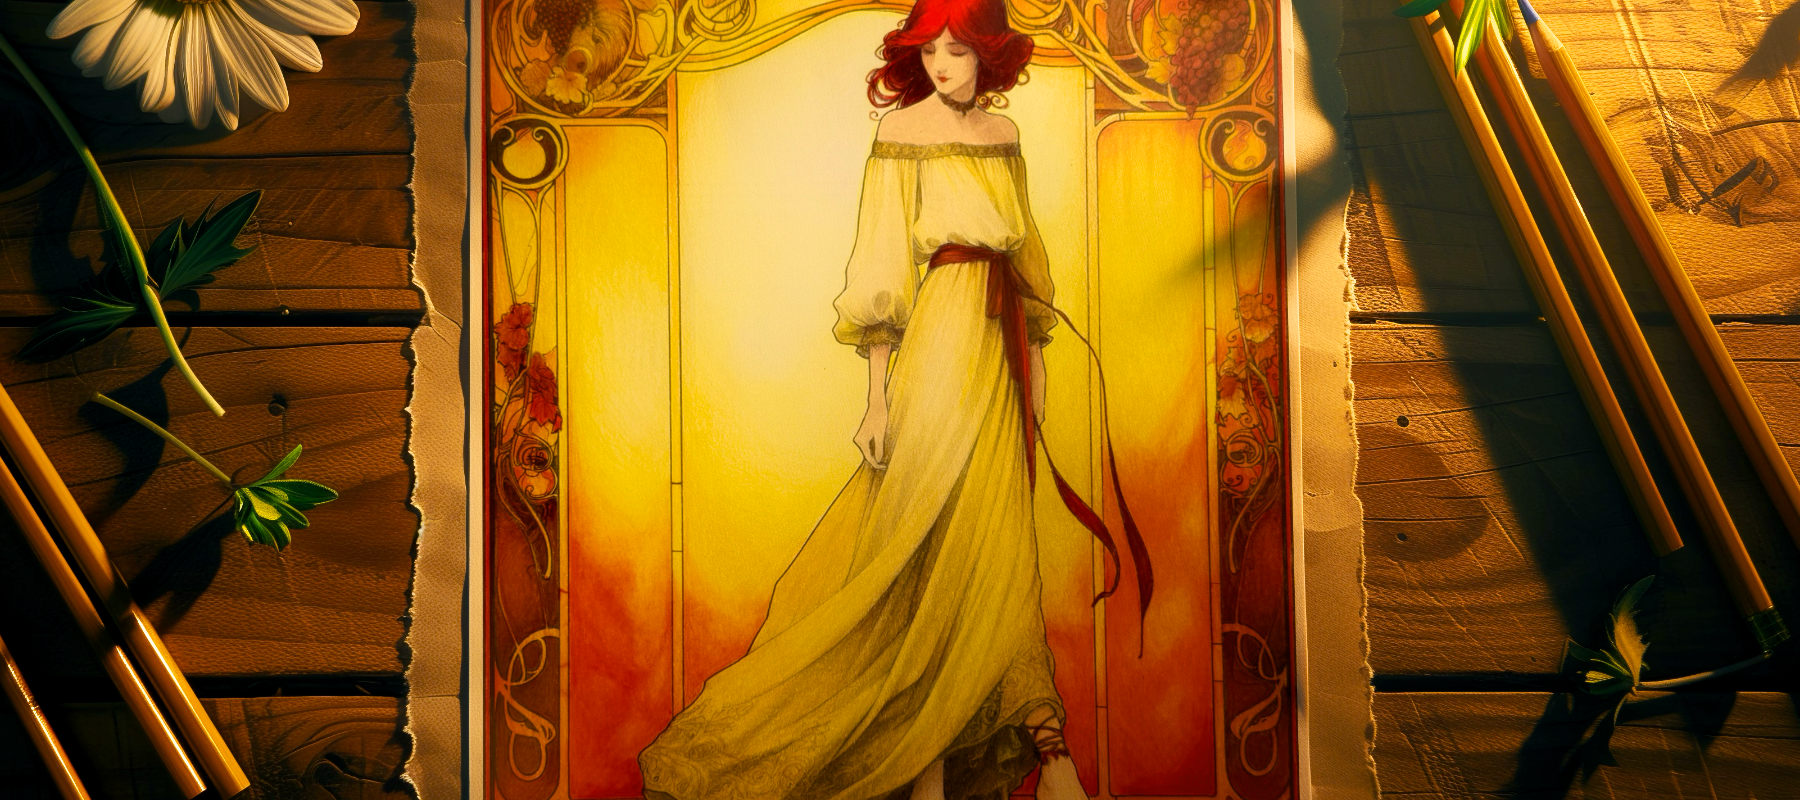
Make colored pencils look like light passing through glass.
About this course
Recreate the luminous look of stained glass using colored pencils. Lisa takes you through every element: the translucent glass base, detailed textures, realistic fabric, skin tone, and red hair. Each module focuses on a different material within a single stained glass-inspired illustration, so you learn how to render multiple surfaces that all work together.
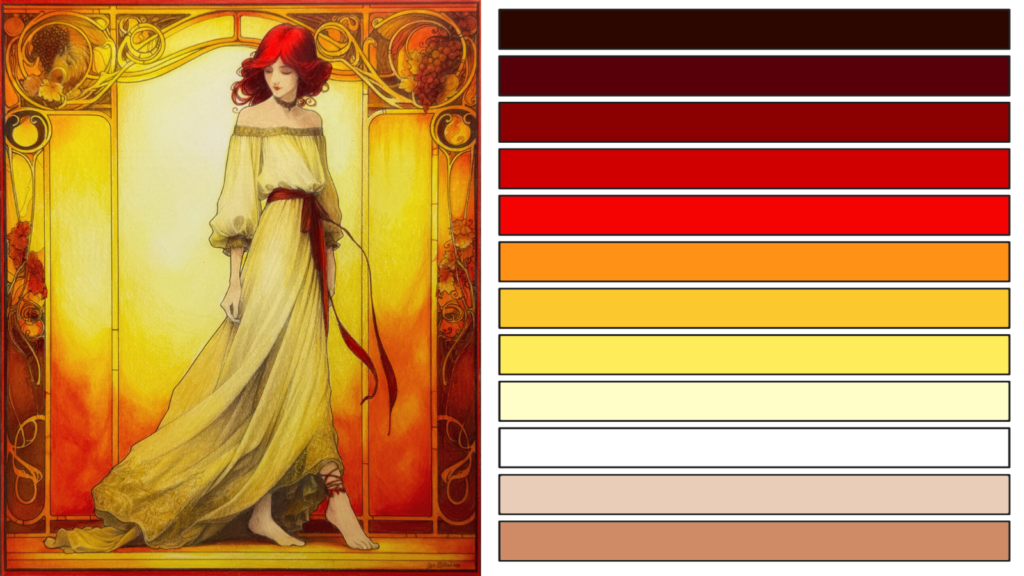
Five modules build to a completed project, teaching you color palette selection, white primer technique, shading, blending, and how to make flat colored pencil work look like light is passing through it.
This course shows you how to create a stained glass effect with colored pencil, so flat color looks like light passing through glass. You learn it by drawing one stained glass-inspired illustration from start to finish, a piece that includes a figure with fabric, skin and red hair. The course is 13 self-paced video lessons, and I walk you through every element of the picture.
We start with the glass itself in Stained Glass Base. You choose a color palette, lay down a white primer, and learn the shading techniques the rest of the piece relies on. Then you put in the main color and blend it. The order of those lessons is the order you work in, so the translucent base is built step by step rather than all at once.
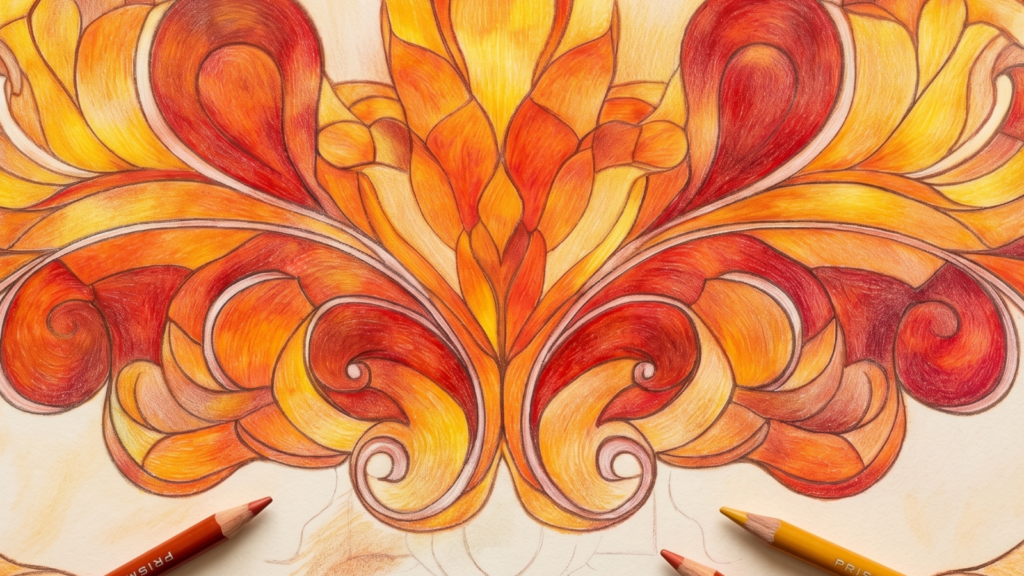
Stained Glass Detail begins with introducing textures, then moves into textures and detail on the glass. Realistic Fabric covers a fabric base, fabric realism and fabric accent colors. Skin Tone and Hair finishes the figure with one lesson on skin tone and one on red hair. Each module gives you a different material to render inside the same illustration.
Because every surface belongs to one picture, you learn to make glass, fabric, skin and hair look different from one another and still work together. You finish with a completed illustration and a clear sense of how to make colored pencil look luminous. It is a contained project, so you can see how each decision in the early lessons shapes the final piece.
What you'll learn
- Choose a color palette for a stained glass illustration
- Apply a white primer as the start of the glass base
- Shade and blend the main color to build a translucent glass base
- Add textures and detail so the glass looks more realistic
- Render fabric with a base, realism and accent colors
- Draw skin tone and red hair that sit alongside the glass
- Complete a stained glass-inspired illustration in colored pencil
Inside the course
- Color Palette
- White Primer
- Shading Techniques
- Main Color
- Blending Color ▶ Preview
- Introducing Textures
- Textures and Detail
- Fabric Base
- Fabric Realism
- Fabric Accent Colors
- Skin Tone
- Red Hair
Who it's for
- Intermediate colored pencil artists who want their color to look luminous
- Artists drawn to stained glass-inspired illustration
- Anyone who wants to practice rendering several materials in one piece
- Colored pencil artists who want to learn how a white primer is used in a layered piece
- Not for complete beginners: if you have never used colored pencils, start with a beginner course first
Your instructor
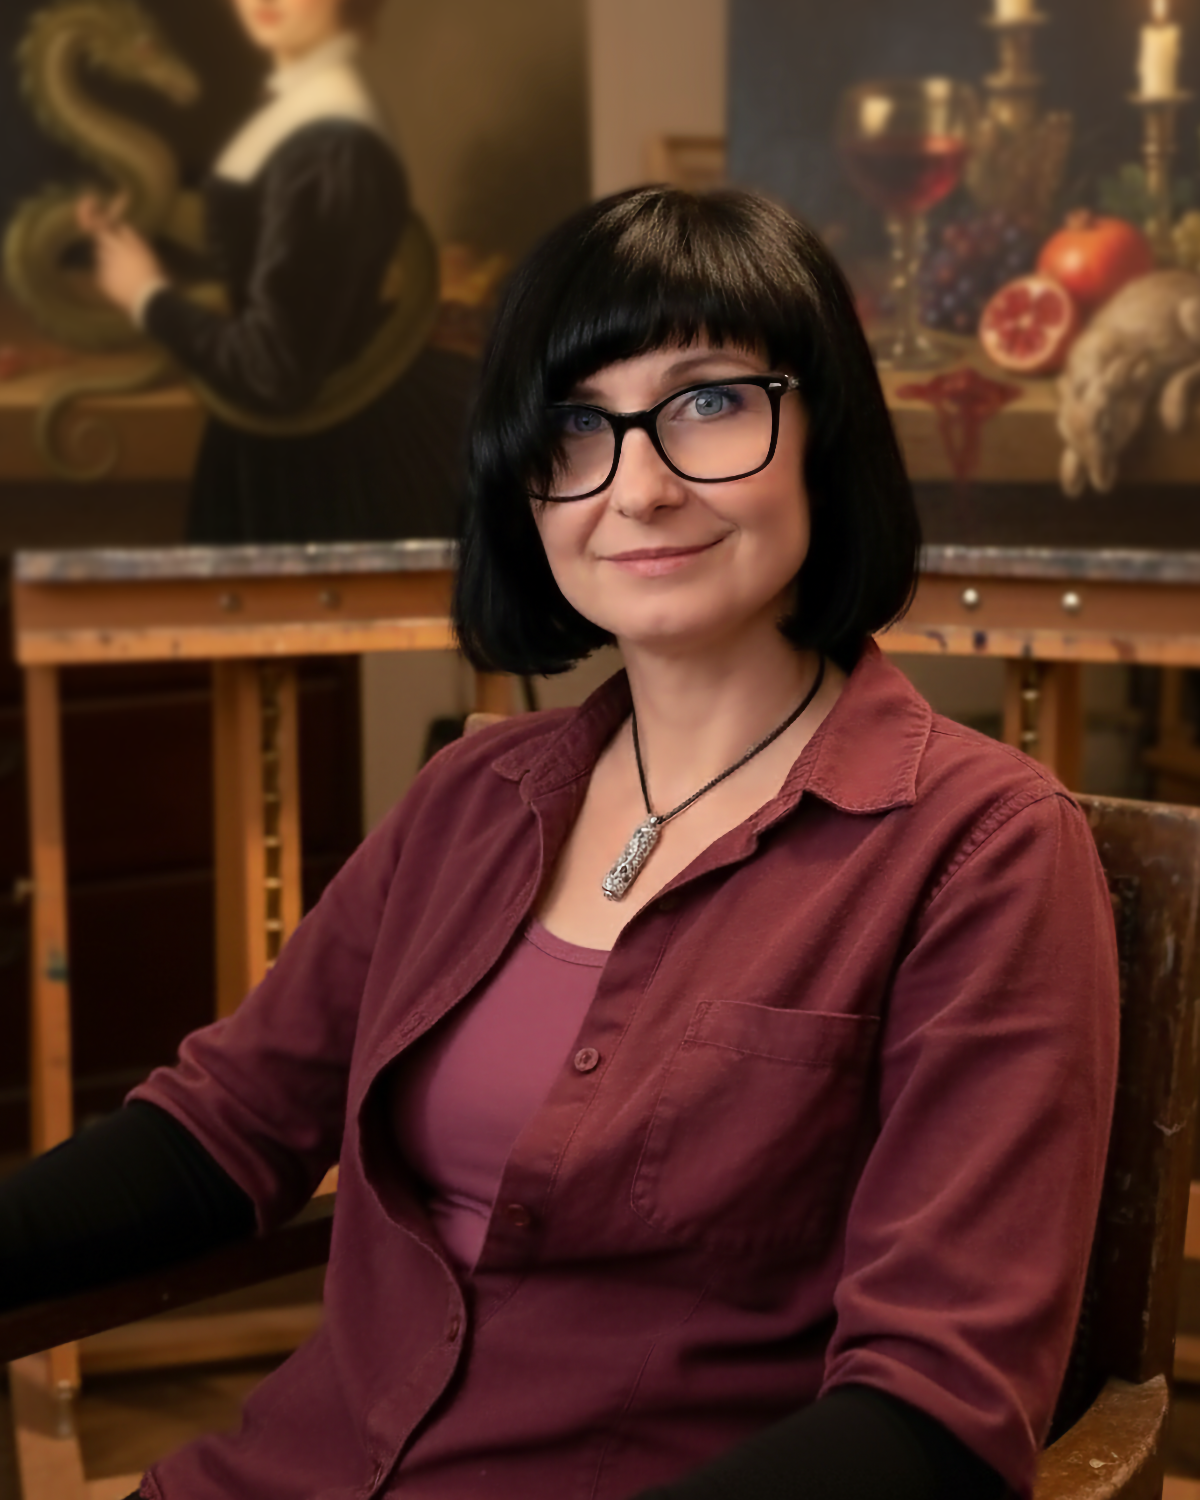
I'm Lisa Mitrokhin. I've been drawing since I was three years old, I have a master's degree in fine art, and I've taught in real classrooms, online, in groups, and one-on-one. I teach the way the artist brain learns: I show you the one thing to focus on, you try it, and then we move on to the next thing.
Questions about Stained Glass Effects With Colored Pencils
What does the white primer do?
It is an early layer in Stained Glass Base that sits under your color. It helps the main color stay bright and blend smoothly instead of sinking into the paper, and that brightness is what makes the glass look like light is passing through it.
Why does a stained glass course include fabric, skin and hair?
The project is a single stained glass-inspired illustration, and each module focuses on a different material within it. Drawing glass, fabric, skin tone and red hair in one piece teaches you to render several surfaces that all work together.
What will I have made by the end?
You will have a completed stained glass-inspired illustration in colored pencil, built lesson by lesson from the glass base through to the skin tone and red hair.
How do you make the glass look textured?
Stained Glass Detail covers it in two lessons. I introduce the kinds of texture real glass has, then work texture and detail into the base you built in the first module, breaking up the flat panes just enough to make them believable without losing the clean color underneath.
How long is Stained Glass Effects With Colored Pencils?
13 video lessons, about 1h 22m of teaching in total, across 4 modules. It's a intermediate course.
Can I buy just this course?
Yes. Every course is sold on its own and is yours to keep. If you want more than one, Artisans get a big discount on every course, live coaching with me, and a community of artists to draw with. See everything Artisans get →
Do I need expensive supplies?
No. I teach with commonly available brands. Artisans also get the Palette Vault, with brand and color number references so you can follow along with the pencils you already have.
Where do I watch the lessons?
On the academy at academy.itseasytodraw.com, from any web browser on any device.
Artisans get this course for half price.
Keep going
 $97
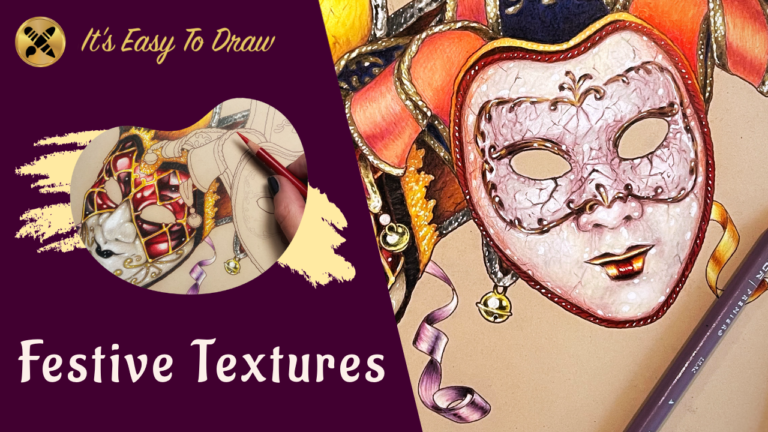
Golden fabric, velvet, porcelain, enamel, satin, and more. Two ornate masks.
 $97
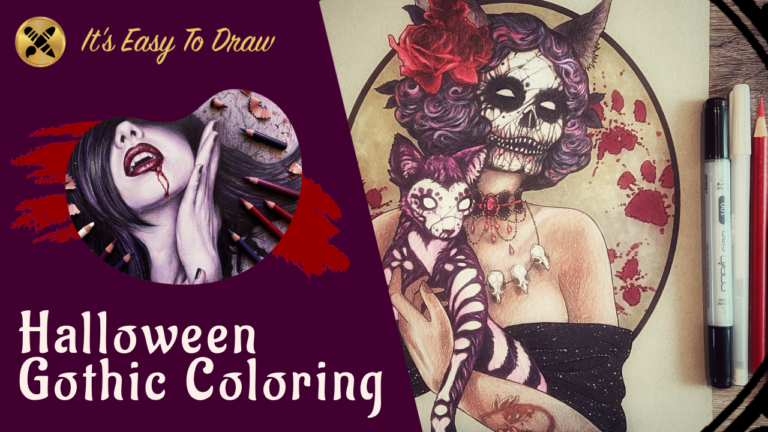
Skulls, undead skin, gothic jewelry, and glitter. One dark, detailed project.
 $97
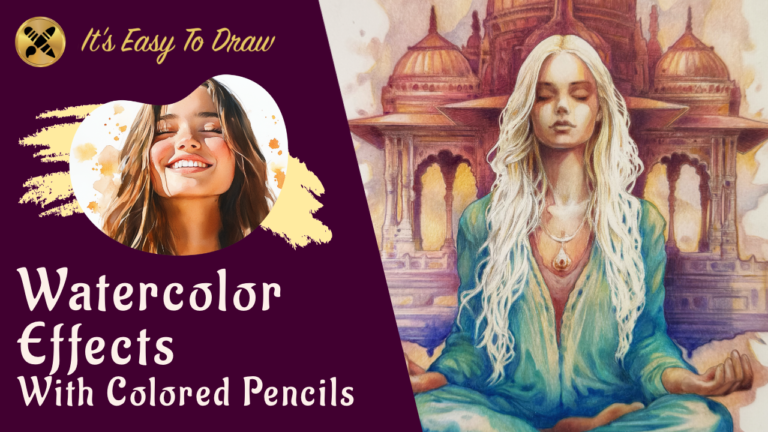
Achieve the watercolor look using only colored pencils. No water needed.